

Guide Navigation

More from Wowcarry

April 25, 2024
5 minutes
This blog post provides an overview of the datamining changes in the War Within Alpha build. It specifically highlights the Mage Fire class changes, including new talents and updates to existing abilities. The post also mentions changes to the Frost Mage, Windwalker Monk, Retribution Paladin, Warlock, and Warrior classes.

April 25, 2024
4 minutes
Blizzard has released Developer Notes for War Within Alpha Build #2, which brings new dungeons, a new zone, and updates to Allied Races and character levels. The blog post also includes detailed changes to classes such as Demon Hunter, Monk, Mage, Paladin, Warlock, and Warrior.

April 25, 2024
3 minutes
Blizzard has implemented a Fire Mage Rework on the War Within Alpha, focusing on addressing maintenance buffs and providing more choices in AoE abilities. The changes aim to simplify rotational complexity, offer adaptive damage profiles, and competitive choice nodes for players. Additionally, adjustments have been made to Sun King's Blessing and maintenance buffs like Firemind and Improved Scorch. Feedback on the new Fire talents is welcomed.
Shadowmoon Burial Grounds Mythic Plus Dungeon Guide
December 30, 2022
8 minutes
In this quick-hit guide, I will teach you the most critical kicks, stops, and boss abilities in Shadowmoon Burial Grounds Mythic+ dungeon. This Warlords of Draenor dungeon has been implemented to the Mythic+ table for Dragonflight Season 1 alongside a few other Legacy dungeons. Feel free to use the guide navigation from the left to jump to whichever boss you're interested in seeing.
Sadana Bloodfury
Sadana Bloodfury Notable Trash
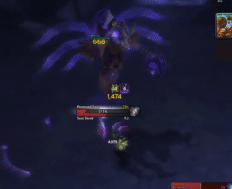
Sadana Bloodfury Boss Fight

Nhallish
Nhallish Notable Trash
Nhallish Boss Fight


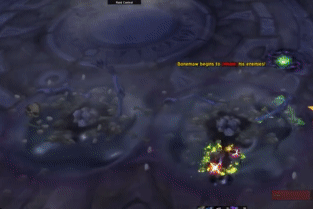
Bonemaw
Bonemaw Notable Trash
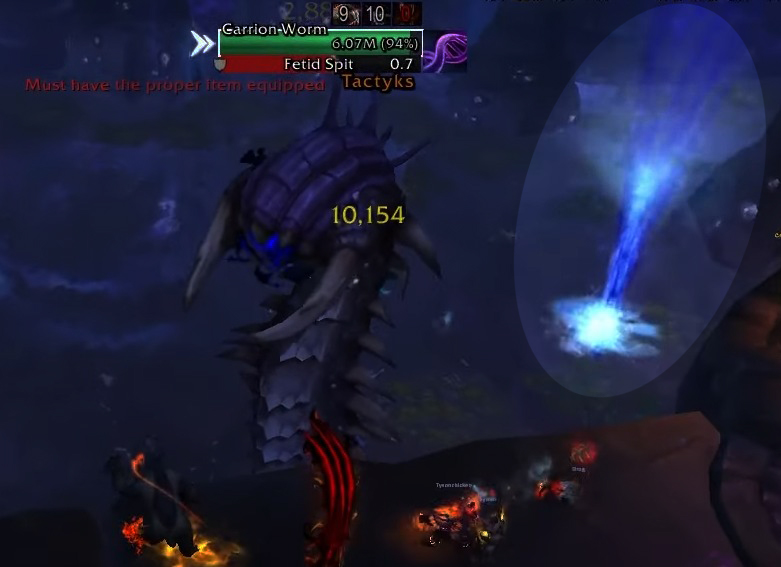
Bonemaw Boss Fight
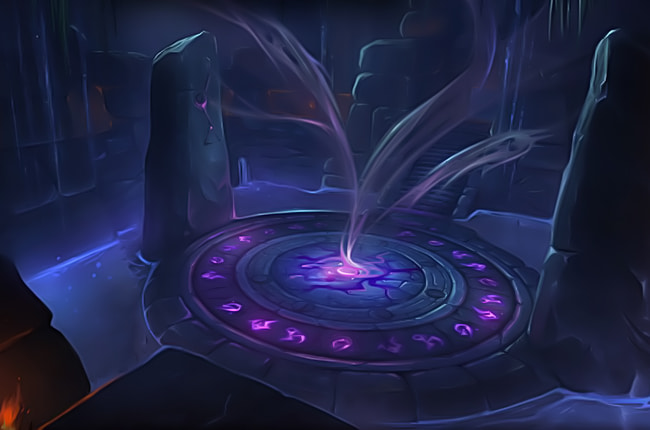
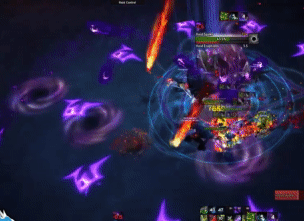
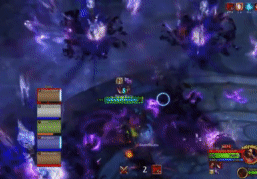
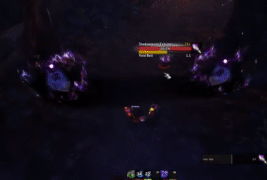
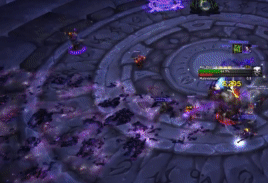
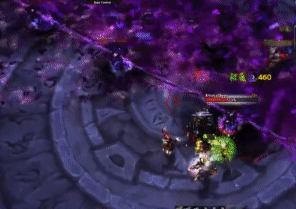
Ner'zhul
Ner'zhul Notable Trash
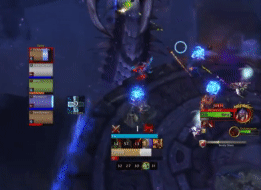
Ner'zhul Boss Fight
Final Thoughts
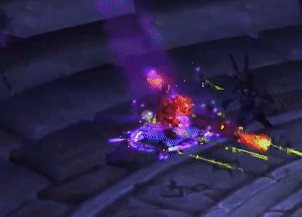
Although the boss fights in Shadowmoon Burial Grounds are relatively straightforward, you can meet unpleasant trash mobs that cast annoying abilities too often and quickly. I recommend that you use your crowd-control talents whenever possible. That covers my quick rundown of Shadowmoon Burial Grounds for Dragonflight in Mythic+ mode. I hope it was helpful. You can also check out the short video guide below.More from Wowcarry
We will guide you through the game
April 25, 2024
5 minutes
This blog post provides an overview of the datamining changes in the War Within Alpha build. It specifically highlights the Mage Fire class changes, including new talents and updates to existing abilities. The post also mentions changes to the Frost Mage, Windwalker Monk, Retribution Paladin, Warlock, and Warrior classes.
April 25, 2024
4 minutes
Blizzard has released Developer Notes for War Within Alpha Build #2, which brings new dungeons, a new zone, and updates to Allied Races and character levels. The blog post also includes detailed changes to classes such as Demon Hunter, Monk, Mage, Paladin, Warlock, and Warrior.
April 25, 2024
3 minutes
Blizzard has implemented a Fire Mage Rework on the War Within Alpha, focusing on addressing maintenance buffs and providing more choices in AoE abilities. The changes aim to simplify rotational complexity, offer adaptive damage profiles, and competitive choice nodes for players. Additionally, adjustments have been made to Sun King's Blessing and maintenance buffs like Firemind and Improved Scorch. Feedback on the new Fire talents is welcomed.