Introduction
Welcome to our comprehensive guide to Navarion's Lair, part of the Dragonflight Season 2 dungeon pool for M+. This guide, brought to you by WowCarry, will go over notable trash mobs, interrupts, and boss mechanics. Let us know your thoughts in the comments and if you'd like more guides like this or something more in-depth.
Notable Trash Mobs
| Trash Mob Name |
Ability Name |
Tips for Dealing with this Ability |
| Embershard Scorpions |
Impaling Shard
|
Focus them down. |
| Vileshard Crawlers |
Acid Splatter |
Keep moving the mobs as they die. |
| Tarspitter Lurker |
Viscid Bile |
Stay stacked and spread once they reappear. Avoid their frontal and focus them down. |
| Rockback Gnasher |
Stone Gaze |
Interrupt the ability to avoid a nasty stun. |
| Understone Drummers |
War Drums
|
Avoid pulling them. If you do, stun and/or knock/grip them away from the big drum to prevent them from summoning more mobs. |
| Mightstone Breakers |
Avalanche |
Spread out to avoid the falling rubble on random players. |
Rockbound Pelters
|
Jagged Discs |
Keep them stunned and CC'd as much as possible. Focus them down. |
| Vileshard Hulks |
Piercing Shards |
Face them away from the group at all times. |
| Blightshard Shapers |
Petrifying Totem |
Swap and nuke down the totems to prevent petrification: Petrified of players or you wll get 10 second stun. |
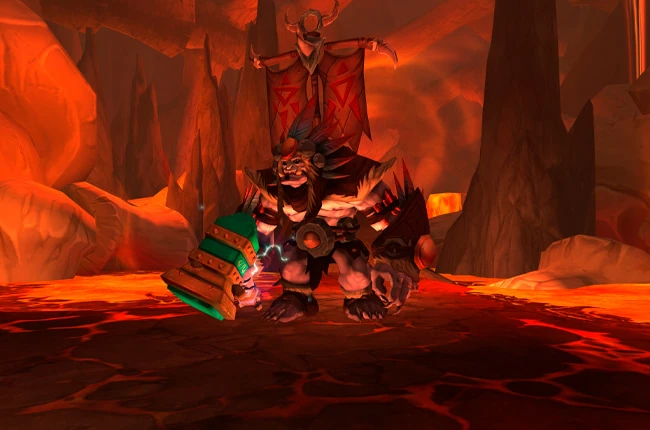
Boss 1: Rockmora
As you DPS Rockmora, Blightshard Skitters will spawn that need to be nuked down as soon as possible.
The boss will stomp the ground and cast Shatter, dealing significant damage to everyone in the party. This also causes any Blight Shard Skidders still alive to explode, dealing damage to everyone. The damage is reduced by the amount of health the Skidders had remaining when they were shattered. If they're dead, they do no damage. Nuke down the adds when the boss casts this ability.
When Rockmora casts Crystalline Ground, do not move. It deals damage to anyone that moves. Tanks should be mindful of the boss's massive frontal cone and aim it well.
Boss 2: Ularogg Cragshaper
Ularogg Cragshaper summons a pair of stone hands underneath players. Move out of them before they clap you.
When the boss spawns Bellowing Idols, prioritize nuking them down and avoid the falling debris that spawns. Tanks should beware of Sunder, as it deals significant damage.
When the boss turns into an idol, you need to guess which of the idols is hiding the boss. Nuke it down and the boss pops out. During this phase, you will be bombarded by falling debris, so try to track the idol as it moves around and kill it quickly. Don't waste damage on any of the other idols if you know which one has the boss. Rinse and repeat until the boss is defeated.
Boss 3: Naraxas
Naraxas will spew toxic pools all over the place. Don't stand in these, as they give you a poisoned DoT. Naraxas also targets random players with Rancid Maw, spawning a pool of toxic bile that slows you by 50% if you stand in it. It prefers to target ranged players, so you want at least one of these pools fairly far back in the room.
The tank needs to run far back when Spiked Tongue is cast, preferably far back into a toxic bile pool so they are slowed. The boss will quickly pull the tank in to eat them, so the tank needs to run against it and use the slowing pools and any other available means to avoid being consumed. If they get eaten, they take a ton of damage and the boss gets a 50% damage increase that stacks.
Periodically, two adds will hop down. These need to be instantly killed and kept away from the boss, or it will eat them and gain a 50% damage increase per add. The boss enrages at 20%, dealing 20% more damage and gaining 20% attack speed.
Boss 4: Dargrul the Underking
Dargrul the Underking spawns Crystal Spikes under a random player's location, dealing damage and knocking them back as they spawn. You will need to hide behind these walls when the boss casts Magma Wave to avoid dying from its AoE.
The boss will slam a massive frontal cone Landslide towards the tank and knock them back. It also destroys Crystal Spikes if it hits them, so avoid hitting the spikes with the frontal attack.
Dargrul the Underking will spawn a Molten Charskin that fixates on a random player and smacks them if it reaches them. The Charskin deals more damage and moves faster the longer it's alive. Kiting one of these into a Crystal Spike breaks the spike and stuns the Charskin, increasing its damage taken by 100%. You will get three spikes before every Magma Wave, so you can use two of them for the adds and the third to hide from the Magma Wave.
Final Thoughts
That's it for our guide on Navarion's Lair! With this knowledge, you should be well-prepared to tackle the dungeon and its challenges. Remember to communicate with your group and adapt your strategy to the various mechanics and phases of each boss fight. Good luck and happy adventuring!
Video Guide
For the convenience of our readers who prefer video content, we have attached a video version of this guide below. This video will help to visually demonstrate the strategies and mechanics discussed in this blog post. Enjoy!