20 Most Difficult League of Legends Combos Ranked
League of Legends combos ranked by difficulty — Lee Sin's Chinese insect (9/10), Riven animation cancels (10/10), Azir's Revenant Shuffle, and 15 more.
By:
John Langan
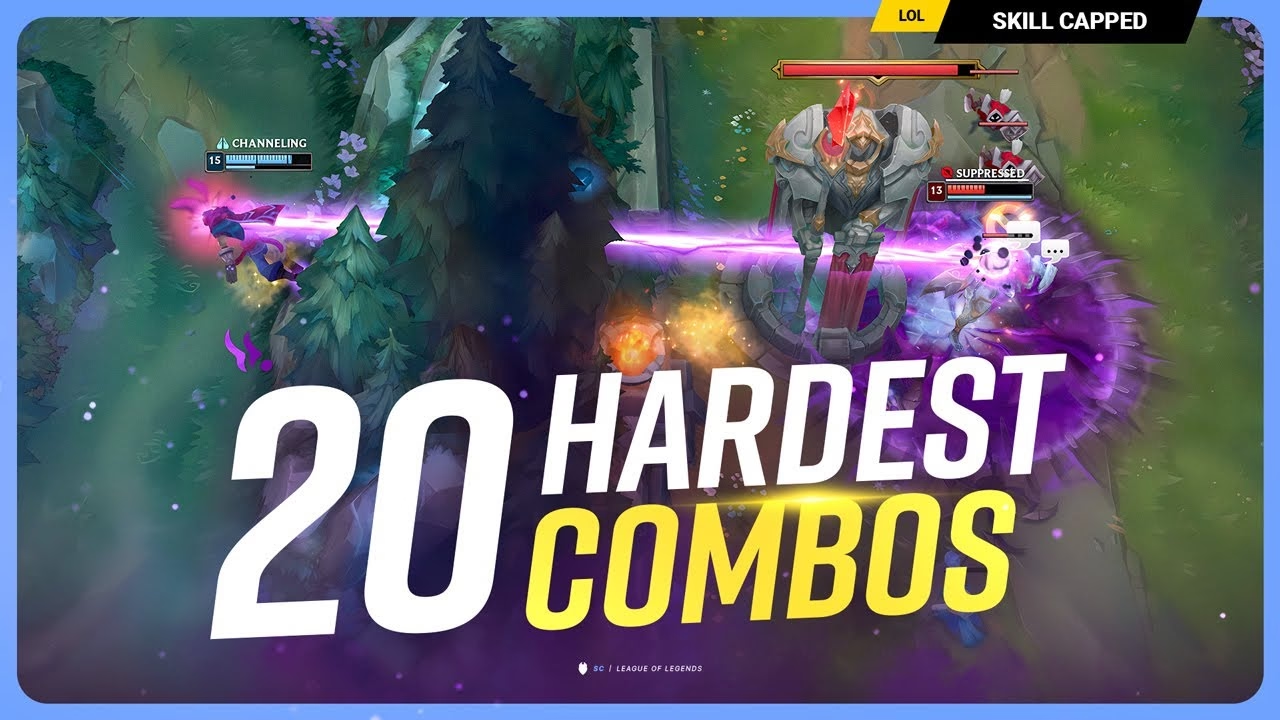
League of Legends is filled with intricate combos that separate average players from genuinely skilled ones. This guide covers some of the most formidable and practise-worthy sequences in the game — ranked by difficulty from 1 to 10. These combos have real use in live games, not just in showcase clips.
With that difficulty map in place, here is each combo broken down in full.
Malzahar's notorious Flash R has a more advanced sibling — the simultaneous R+Flash. This sequence involves activating your E, then pressing R and Flash at the same time. Since Flash resolves instantly, it fires first and repositions Malzahar before the Nether Grasp channel anchors him in the new spot. The result: suppression from unexpected angles. Useful applications:
This combo requires precise timing to avoid the Flash and R firing in the wrong order. Rated 6 out of 10 for difficulty; it becomes reliable with consistent practice.
Azir players regularly aim to land the Shurima Shuffle — dashing behind enemies with soldiers and pushing them with the ult. The Revenant Shuffle is a more sophisticated version that conceals the shuffle's intent and maximises burst instantly.
Steps for the Revenant Shuffle:
The Revenant Shuffle, while complex, is achievable with practice. It scores 6 out of 10 in difficulty and remains one of the game's most impactful mid-difficulty mechanical sequences.
Braum is not typically known for complex mechanisms, but the Brambo combo changes that. By combining W and E with swift timing, you can hide abilities within each other, making them harder to dodge.
Brambo Combo Breakdown:
Given its practicality and low execution floor, the Brambo earns a 3 out of 10 difficulty rating.
Zac enthusiasts have discovered a trick where you cast your ult during the E leap. This makes the leap's final impact harder to avoid since it simultaneously knocks up and damages the target. It highlights how creative Zac gameplay can become with the right mechanics.
These combos are not only about keystrokes — they reward understanding the value each sequence adds to your strategic toolkit. Incorporating them into live games takes time, but the payoff in outplay potential is significant.
Samira's standout combo is designed to rapidly reach the S-style rank needed for her ultimate. Begin with an auto attack, hit your W, then use E and Q simultaneously. Finish with another auto, and as the second part of your W procs, you instantly achieve S-rank and can fire off your ultimate. This combo is straightforward once you are within W range, and can incorporate a flash initiation when needed. Despite how smooth it looks, the execution is a modest 3 out of 10 in difficulty.
Lee Sin's iconic insect combo has evolved significantly over time. The original involved hitting Q, warding behind the target, W-ing to the ward, and executing R. The "kick flash" followed — changing kick direction mid-animation to give enemies less time to react. The "Chinese insect" raises the bar further: pre-position the mouse behind the target, flash, ward, and use W quickly — all before Q strikes. This effectively hides the Q animation and maximises damage while granting unmatched manoeuvrability. This intricate execution scores 9 out of 10 in difficulty.
A newer version is the "driveby insect," where you execute R while midway through Q's second part. By W-ing to a structure or ally before Q2, you overcome the usual limitations and land a clean, uninterrupted kick. Seen in competitive play and just as complex, the driveby insect also rates 9 out of 10.
Vi offers a surprising take on the insect combo. Commonly known for her Q flash mechanic to extend range, Vi can redirect her targets by flashing past them mid-charge. The process involves channelling Q, releasing as you pass the target, and flashing in the desired direction — pulling enemies back into unfavourable positions. This variation scores 8 out of 10 in difficulty.
Vi's ultimate also facilitates an insect manoeuvre. Initiate with Q on your target, use your ultimate, then flash past into a secondary target for added control. The simplicity of this version relies on situational positioning; under live-game pressure it still justifies an 8 out of 10 rating.
What separates proficient Zed players is adept shadow management. The first key trick is executing a double shuriken for maximum burst. Using WQW while deliberately delaying the final shadow deployment causes both Q shurikens to fire simultaneously — one from Zed's position and one from the shadow's position — converging on the target from two separate angles. Once set up, WW immediately followed by Q delivers the full burst cleanly.
A common mistake is initiating the combo with R, which telegraphs your position and intent. High-level Zed play opens with W for instantaneous repositioning after the ultimate — that repositioning is the difference between landing and missing the follow-up damage.
Talon's highest burst sequence, the "flower combo," is closely guarded among Talon mains. The beauty lies in its speed:
An advanced variation integrates Flash: cast W, cancel the cast time with Flash to reposition into melee range, then follow with Q, R, and an auto for maximum DPS. Talon players can also combine this with E wall hops — flashing to cancel the post-hop delay and segue directly into the flower combo. This technique bolsters Talon's lethality and earns a 4 out of 10 for its base version, rising to 7 out of 10 with the full Flash-and-wall variation.
Fiddlesticks possesses the ability to apply a terrifying fear to nearby enemies — but the fear does not come from Crowstorm itself. Fear is applied either by his passive (when he appears from the Fog of War) or by W (Bountiful Harvest). The advanced fear trick exploits this: cast Crowstorm from the Fog of War, then immediately use W as soon as the blink completes to apply fear on landing. Following up with a Flash extends W's reach to enemies at greater range, maximising how many targets are caught.
The timing required to align the Crowstorm blink, W, and Flash makes practice essential. This combo earns a 3 out of 10 for the base version (Crowstorm→W) and rises to around 5 out of 10 with the Flash extension.
Lucian's renowned double-shot passive enables the basic ability-auto rotation familiar to most players:
Expert Lucian players push this further with animation cancelling. As the first shot fires, initiate another ability immediately:
Execute the shortest possible dash for quicker follow-up. Woven together, this combo not only boosts damage but lowers E's cooldown via double-shot contributions. The balance of speed, animation timing, and cooldown management makes this Lucian's quintessential sequence — a deceptively challenging 5 out of 10.
| Champion | Combo Name | Core Mechanics | Difficulty (1-10) |
|---|---|---|---|
| Talon | Flower Combo | W, instant Q, R, auto attack | 4 |
| Fiddlesticks | Fear Trick | Ult from fog → W → Flash | 3–5 |
| Lucian | Ardent Blaze | W, E + auto attack, Q, auto | 5 |
These refinements, while intricate, offer substantial in-game payoff and allow players to fully express their champion's mechanical ceiling.
Mastering Gragas involves understanding how the Explosive Cask knock direction works based on barrel placement — aiming it strategically can pull enemies toward you or send them into the path of allies. The E-Flash manoeuvre lets Gragas close distances and strike unexpectedly, adding another dimension to his kit.
Two notable Gragas combos:
Both combos are executable in practice but become significantly more demanding under live-game pressure, earning 7 out of 10 in difficulty.
Zoe players maximise Sleepy Trouble Bubble by using her R to blink forward, then casting E at the last moment before returning to her starting point. This extends reach significantly and makes the bubble much harder to track and dodge.
Additional enhancements:
This combination creates dynamic and unforeseeable plays, though it requires precise timing. Rated 6 out of 10 in difficulty.
Fiora's success in extended fights hinges on quickly proccing all four vitals of her ultimate. The speed and precision required make this an advanced manoeuvre:
Mastering this combo on moving targets is the key skill for newer Fiora players looking to elevate their game. Rated 7 out of 10.
Riven's strength lies in cancelling animations to output damage faster than opponents can react. By weaving movement commands between abilities, Riven performs combos at a blistering pace. The "S-cancel" technique — using the stop command to negate cast animations — further amplifies her potential:
These advanced manoeuvres earn Riven a 10 out of 10 in difficulty, marking her as one of the most skill-intensive champions in the game.
Ambessa players optimise damage output by clicking on themselves to minimise dash distance, effectively emulating a Riven-style burst playstyle. The process:
Straightforward to understand, this technique meaningfully enhances Ambessa's burst and earns a 4 out of 10 in difficulty.
Some combos test even the most skilled players. One particularly complex sequence is the Yasuo tornado follow-up: prepare a tornado with Q, use E-Q on a secondary target, then immediately Flash onto the main target for an auto attack, triggering the ult into a full knockup combo. This doubles damage output and is difficult to counter. Fitting all actions inside a brief knockup window earns it 9 out of 10 in difficulty.
Camille's E-Flash is equally demanding. Attaching to a wall with E and flashing at the precise moment creates unexpected attack angles. Follow with well-timed W to maximise damage. Camille's knockback — pressing W against the knockback direction — allows for strategic team placement of enemies. Both techniques give Camille a 10 out of 10 difficulty score.
Gangplank represents the pinnacle of barrel mastery. The triple barrel combo requires setting two barrels, cuing the first, and placing the third with precise timing on moving targets. The phantom barrel technique — initiating with Q at maximum barrel range and chaining auto attacks with quick detonations — demands impeccable timing throughout. Here is how the hardest combos in this guide compare:
| Champion | Combo Type | Difficulty Rating |
|---|---|---|
| Riven | Animation Cancel | 10/10 |
| Ambessa | Short-Dash | 4/10 |
| Camille | E-Flash/Knockback | 10/10 |
| Gangplank | Barrels/Phantom | 10/10 |
These combinations define the apex of skillful execution — challenging to master and deeply rewarding once consistent.
Riven, Camille, and Gangplank all hold 10/10 difficulty ratings. Riven's animation cancels demand perfect timing across every ability; Camille's E-Flash requires precise wall angles and flash timing; Gangplank's phantom barrel combos require chaining barrels, autos, and Q within tiny windows on moving targets.
Pre-position your mouse behind the target, Flash in, immediately ward jump with W, and deliver the R kick before Q even lands. The Q animation is hidden by the Flash timing, catching enemies off guard. Rated 9/10 — requires significant practice in the practice tool before applying in live games. Full ability breakdown at the Lee Sin wiki page.
An evolved form of the Shurima Shuffle. Position a soldier with Q just before E ends to extend the dash range, then double tap R immediately. The combined motion disguises your ult intent and maximises burst damage. Rated 6/10. Mechanics detailed at the Azir wiki page.
Press R and Flash simultaneously after activating E. Flash resolves first (it is instantaneous), repositioning Malzahar before the Nether Grasp channel anchors. This lets you suppress enemies from unexpected angles. Rated 6/10 and requires consistent timing to avoid the Flash misfiring before the R cast registers.
Crowstorm itself does not apply fear. The fear comes from Fiddlesticks' W (Bountiful Harvest) or his passive when emerging from the Fog of War. The trick is casting Crowstorm from a bush or fog, then immediately using W as the blink lands — making it appear as if Fiddlesticks emerged unseen even when enemies saw him. Flashing after W extends the fear reach further. See the Fiddlesticks wiki for the full passive and W interaction details.
S-cancelling uses the stop command (default: S key) to interrupt Riven's cast animation mid-ability, skipping the end-lag frame and allowing the next ability to trigger sooner. Combined with movement-command weaving between Q casts, a proficient Riven player outputs abilities significantly faster than the displayed cooldowns suggest. The speed and muscle memory required make it one of the game's highest mechanical floors.
Use WQW while deliberately delaying the final shadow deployment. Both shurikens fire simultaneously — one from Zed's position, one from the shadow's — converging on the target from two angles for maximum burst. Follow up immediately with WW→Q to deliver the damage. Critically, open the combo with W rather than R to keep your repositioning option open after the ultimate. Full mechanics at the Zed wiki page.
Auto attack → W → E+Q simultaneously → auto attack → W procs → ultimate. The sequence chains five unique damage sources in rapid succession, which is the requirement for reaching S-rank style. Once within W range the combo is fairly forgiving, but initiating with Flash into range makes it viable in more situations. Rated 3/10 for base execution. Full style stack mechanics at the Samira wiki page.