Introduction
Welcome to the new Season of Loot Reborn in Diablo IV, where the endgame and itemization have received significant overhauls. One of the most exhilarating additions this season is The Pit, an endgame activity reminiscent of the Greater Rifts from Diablo 3. In The Pit, players are challenged to navigate through progressively tougher dungeon tiers as quickly as possible.
Completing The Pit within the designated time limit rewards players with Masterwork materials and Stygian Stones, which are essential for summoning the most formidable encounters in the game. In this guide, we will delve into all aspects of The Pit activity, from unlocking it and obtaining Runeshards to exploring the various rewards you can gather from this lucrative farming endeavor. Stay tuned as we unfold the essentials to master The Pit in Diablo IV.
Basics of the Pit of Artificers
The Pit of Artificers in Diablo IV is a thrilling test of skill and speed where players must defeat numerous monsters before a 15-minute timer runs out to summon a final boss. The stakes are high as each player death cuts short the available time: the first death deducts 30 seconds, the second 60 seconds, and the third and any subsequent deaths take away 90 seconds each.
Once enough monsters have been vanquished, a portal appears, whisking players away to the boss arena. Defeating the boss within the remaining time not only yields precious Masterworking materials but also opens up the next, more challenging tier(s) of The Pit. If players manage to defeat the boss with 4-6 minutes remaining, they leapfrog a level, unlocking an additional tier. Conquering the boss with over 6 minutes to spare results in a two-tier advancement.
Like the Nightmare Dungeons, The Pit is structured in tiers, beginning at Level 100 (T1) and escalating to Level 300 (T200). Without any modifiers to worry about, the main challenges are the potent enemies and the relentless ticking of the clock. Typically, runs involve clearing two dungeons worth of enemies and a straightforward dungeon boss. A well-rounded build that balances robust damage with solid survivability is crucial, particularly beyond level 120. Currently, the Minion Necromancer and Bash Barbarian builds are considered top-tier for tackling the highest difficulties of The Pit.
How to Unlock the Pit
To gain access to The Pit in Diablo IV, players must first complete the "Pit of the Artificer" quest. This pivotal quest becomes available once you have reached World Tier 4: Nightmare difficulty. After completing the necessary quest steps, your journey leads you to Cerrigar in Scosglen, where the Pit obelisk—and your Pit adventures—begin.
However, entry into The Pit is not as straightforward as just showing up; you'll need Runeshards to participate. Runeshards can be collected from various World Tier 4 activities, including Nightmare Dungeons, Helltide chests, World Bosses, Legion Events, and specific boss fights. Each run through The Pit costs three Runeshards, and it's important to note that these are not refunded should you fail to complete the run.
Runeshard Prerequisite: To start collecting Runeshards, players must first complete at least one T46 Nightmare Dungeon, which is one of the prerequisites for triggering the "Pit of the Artificer" quest.
The Pit Rewards
The primary allure of running The Pit in Diablo IV lies in acquiring Masterwork materials. These coveted items allow players to enhance their gear beyond the usual limits at any Blacksmith, boosting the stat magnitudes on all affixes. A character outfitted entirely in Masterworked gear stands significantly stronger than those without such enhancements. Importantly, unlike the Tempering system, Masterworking is applicable to Legendary and Unique gear as well.
Groups of up to four players can enter The Pit. The player who expends the Runeshards to open the Pit secures 100% of the normal quantity of Masterworking materials, while other participating players receive only 50%. Additionally, only the player who opens the Pit has the opportunity to obtain Stygian Stones.
Stygian Stones are crucial for summoning Tormented Echoes, which are Level 200 variants of summonable bosses in the game. Venturing deeper into The Pit increases the yield of both Stygian Stones and Masterworking materials.
Types of Masterworking Materials:
- Obducite: Required for Masterworking items from Ranks 1 to 4, available from Tiers 1 to 29.
- Ingolith: Essential for Masterworking items from Ranks 5 to 8, obtained by clearing Tiers 30 to 59.
- Neathiron: Necessary for Masterworking items from Ranks 9 to 12, rewarded only in Tiers 60 and above.
Apart from Masterwork materials, The Pit is also an excellent source of Item Power 925 Legendaries. Since the monsters begin at Level 100, every item dropped during this activity will be at the item level cap, maximizing its potential.
Masterworking Explained
Masterworking represents a pivotal upgrade mechanic in Diablo IV, enabling players to enhance the value of their gear's existing affixes across 12 distinct upgrade ranks. This process is conducted at the Blacksmith, utilizing special crafting materials sourced from The Pit of the Artificers.
This new system supersedes the previous Blacksmith’s Gear Upgrade system and the Jeweler’s Ring and Amulet Upgrade system, streamlining item enhancements into a single, more impactful method. Each rank of Masterworking not only improves the gear’s primary stats but also its overall effectiveness in combat, making this a critical pursuit for players aiming to optimize their characters for the toughest challenges in the game.
Masterworking in Diablo IV systematically increases the potency of a gear piece's affixes. Typically, each Masterworking Rank up to the third increases all affixes by 5%. At specific thresholds—Rank 4, Rank 8, and Rank 12—an exceptional upgrade occurs where one randomly chosen affix receives a 25% boost, known as a Masterworking Crit or Masterworking Proc.
These bonuses are cumulative and are further enhanced by the 50% bonus associated with Greater Affixes. For affixes expressed in whole numbers, the increased values are rounded down after the application of these bonuses.
Here's a breakdown of the Masterworking bonuses:
- Ranks 1, 2, 3: Each affix increases by 5%
- Rank 4: One random affix increases by 25%
- Ranks 5, 6, 7: Each affix increases by 5%
- Rank 8: One random affix increases by 25%
- Ranks 9, 10, 11: Each affix increases by 5%
- Rank 12: One random affix increases by 25%
Affixes can receive the Masterworking Crit bonus multiple times. The color of the affix changes based on the number of times it has received this bonus:
- 1 MW Crit: Affix turns blue
- 2 MW Crits: Affix turns yellow
- 3 MW Crits: Affix turns orange
At Rank 12, the total enhancement on an affix, depending on the number of Masterworking Crits received, is as follows:
- 0 MW Crits: +45%
- 1 MW Crit: +70%
- 2 MW Crits: +95%
- 3 MW Crits: +120%
Resetting Masterworking Ranks
Players have the option to reset an item's Masterworking Ranks. This feature can be crucial when a Masterworking Crit bonus is applied to an undesirable affix at ranks 4, 8, or 12. If a player aims to maximize the potential of a specific affix, they might choose to reset the item's Masterworking Rank at Rank 4 to achieve the desired outcome.
While resetting at Rank 4 is relatively common, doing so at Rank 8 is less frequent due to the increased costs involved. It is generally advised against resetting at Rank 12, as the expense and effort required are significantly higher, often outweighing the potential benefits of optimizing a single affix.
Each upgrade through the Masterworking ranks in Diablo IV requires specific materials and a substantial amount of gold. Here's a detailed table listing the necessary reagents for each rank:
| Rank |
Effect |
Cost |
| Rank 1 |
All affixes increased by 5% |
10 Obducite, 10 Rawhide / 10 Iron Chunk, 3 Veiled Crystal, 100,000 Gold |
| Rank 2 |
All affixes increased by 5% |
20 Obducite, 10 Rawhide / 10 Iron Chunk, 3 Veiled Crystal, 150,000 Gold |
| Rank 3 |
All affixes increased by 5% |
30 Obducite, 15 Rawhide / 15 Iron Chunk, 4 Veiled Crystal, 200,000 Gold |
| Rank 4 |
A random affix has been upgraded by 25% |
40 Obducite, 15 Rawhide / 15 Iron Chunk, 4 Veiled Crystal, 300,000 Gold |
| Rank 5 |
All affixes increased by 5% |
20 Ingolith, 25 Rawhide / 25 Iron Chunk, 6 Veiled Crystal, 400,000 Gold |
| Rank 6 |
All affixes increased by 5% |
40 Ingolith, 30 Rawhide / 30 Iron Chunk, 8 Veiled Crystal, 600,000 Gold |
| Rank 7 |
All affixes increased by 5% |
80 Ingolith, 40 Rawhide / 40 Iron Chunk, 10 Veiled Crystal, 800,000 Gold |
| Rank 8 |
A random affix has been upgraded by 25% |
120 Ingolith, 50 Rawhide / 50 Iron Chunk, 15 Veiled Crystal, 800,000 Gold |
| Rank 9 |
All affixes increased by 5% |
50 Neathiron, 20 Veiled Crystal, 10 Abstruse Sigil / 10 Baleful Fragment / 10 Coiling Ward, 3 Forgotten Soul, 2,000,000 Gold |
| Rank 10 |
All affixes increased by 5% |
100 Neathiron, 30 Veiled Crystal, 10 Abstruse Sigil / 10 Baleful Fragment / 10 Coiling Ward, 5 Forgotten Soul, 3,000,000 Gold |
| Rank 11 |
All affixes increased by 5% |
150 Neathiron, 40 Veiled Crystal, 15 Abstruse Sigil / 15 Baleful Fragment / 15 Coiling Ward, 7 Forgotten Soul, 5,000,000 Gold |
| Rank 12 |
A random affix has been upgraded by 25% |
250 Neathiron, 50 Veiled Crystal, 20 Abstruse Sigil / 20 Baleful Fragment / 20 Coiling Ward, 10 Forgotten Soul, 2,500,000 Gold |
Important note: the amount of materials and gold required for Masterworking may and
will change with each patch, most likely making the total cost of Masterworking gear cheaper, just like it was the case with a recent patch 1.4.1. Keep an eye out for changes in the official patch notes and adjust accordingly.
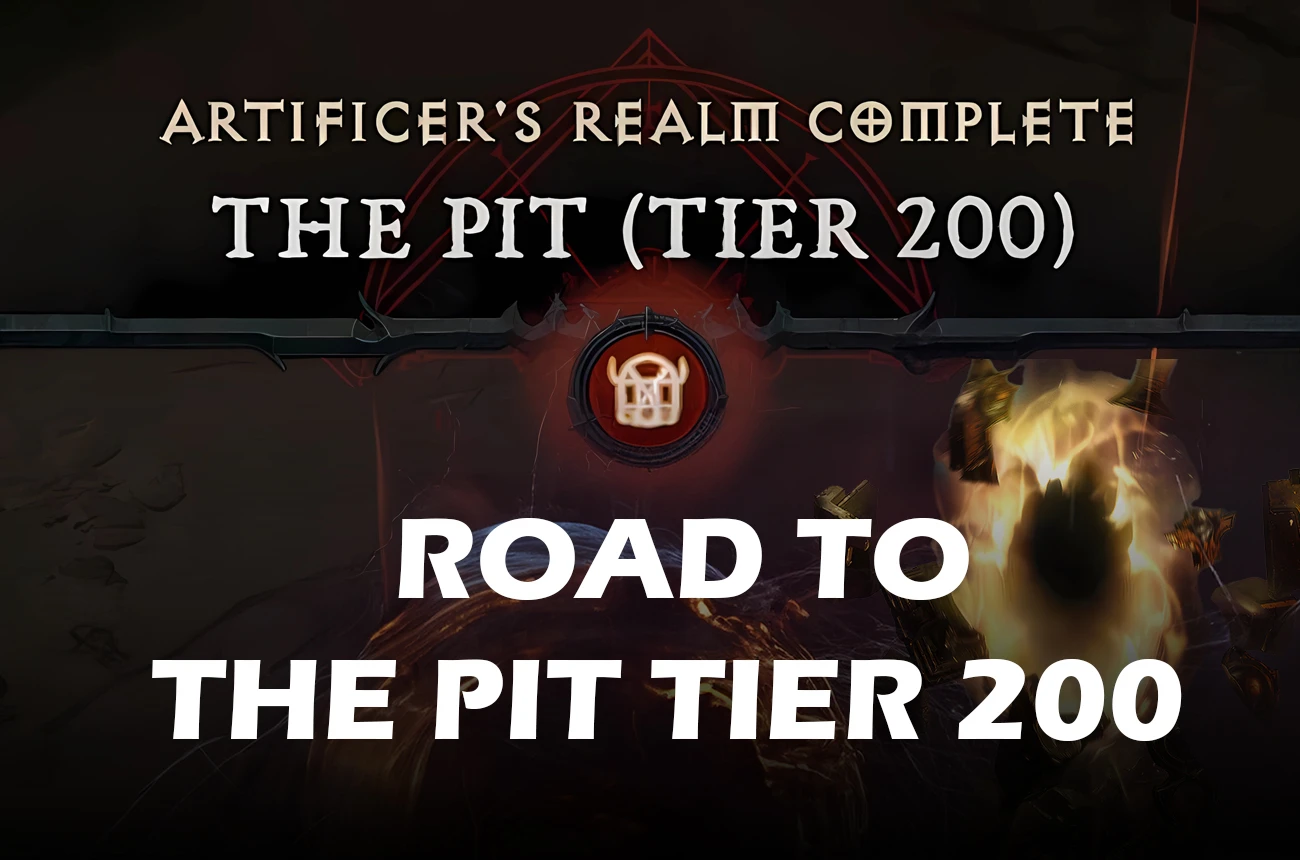
How to Beat T200 of the Pit
Reaching and conquering Tier 200 of The Pit in Diablo IV is a pinnacle challenge that requires not only a deep understanding of the game mechanics but also strategic preparation and execution. The journey to this ultimate level involves mastering the foundational mechanics of The Pit, honed through each tier as challenges escalate.
The structure and progression of The Pit in Diablo IV are critical to mastering its challenges, especially as you aim for Tier 200. Here's a breakdown of its mechanics:
- Layout: The Pit comprises of two finite floors linked by a portal, with both the layout and monster spawns randomized.
- Progression: Elite Monsters contribute the most to progression. Prioritize defeating these foes, but don't neglect smaller monsters as skipping too many can necessitate backtracking.
- Shrines: Strategically placed shrines appear after certain progression thresholds are met. Notably, the "Artillery" and "Blast Wave" types are not available in the Pit of Artificers. Utilizing other shrines effectively can simplify tougher encounters.
- Monster Level Scaling: Monsters' levels scale with the selected Pit Tier, peaking at level 300 in Tier 200. Each tier increases the monsters' level by one, along with their health points and damage output.
- Boss Echoes: As you delve deeper, every boss is assisted by an Echo, an invulnerable shadow of another dangerous boss from Diablo IV. These echoes add complexity to boss fights, introducing additional mechanics that you must navigate.
- Selecting Tiers: Players can choose to quickly progress through lower tiers to accumulate Masterworking materials, which can be down-graded at the Alchemist, or opt to advance slowly into higher tiers for greater future rewards.
- Death Penalty: Dying within The Pit incurs significant time penalties—30 seconds for the first death, 60 seconds for the second, and 90 seconds for each subsequent death.
Strategy for Conquering The Pit
To successfully navigate and conquer Level 200 of The Pit in Diablo IV, a highly strategic approach is essential. Here are some critical strategies:
- Bring Your Best Build: The Pit isn't just another Helltide run; it's a timed, challenging event. The meta builds for this activity are the Minion Necromancer and Bash Barbarian. Ensure your build can handle the intense pace required to defeat enemies quickly.
- Go in Maxed Out: Masterworking your gear is crucial for tackling higher difficulties. Ensure your Glyphs are at least Level 15, ideally 21. Temper and Masterwork your equipment at the Blacksmith and equip the best Gems available from the Jeweler. Also, scale your armor and elemental resistances appropriately.
- Kill Fast & Stay Safe: Minimize deaths by maintaining a steady pace in eliminating enemies. Avoid rushing into densely populated areas without defensive cooldowns ready.
- Use Elixirs Strategically: The Elixir of Holy Bolts is particularly useful for clearing large groups of mobs quickly, enhancing your efficiency in the dungeon. When used, this Elixir releases powerful Holy Bolts from enemy corpses, effectively acting as an artillery barrage that devastates nearby enemies.
- Try Co-op: The Pit supports up to four players. While clients receive only half of the host's Masterworking materials and no Stygian Stones, teamwork can significantly ease the difficulty of runs.
- Focus on Elites: Elite monsters provide the most progression. Focusing on eliminating every Elite can expedite your journey to the final boss.
- Understand Boss Fights: The boss summoned after filling the progression bar is random, and different bosses bring different challenges with their Echoes. Learn and prepare to dodge their unique abilities.
- Unlock The Pit Early: The benefits of Masterworking materials are immense. Aim to complete a Tier 46 Nightmare Dungeon swiftly with your first character to access these resources sooner.
Summary
Mastering The Pit in Diablo IV represents the ultimate challenge for seasoned adventurers seeking to test their skills at the highest difficulty. With strategic preparation, understanding of mechanics, and the right builds, players can not only survive but thrive as they ascend to Tier 200.
For those looking to streamline their journey or maximize their effectiveness in The Pit, WowCarry offers specialized boosting services. Our team of pro-players provides tailored assistance to help you swiftly and safely reach and conquer Tier 200 of The Pit. From optimizing your character's build to guiding you through the toughest tiers, WowCarry ensures a premium and personalized gaming experience.