The Shrine-Boss Engine Starts With Terrors
Domination Scarab of Terrors places Atlas Boss guards at Shrines. Pairing it with additional Shrines is the direct way to build a shrine-boss map. Maven, pack-replacement scarabs and a Mirage encounter add separate opportunities with their own conditions.
This reference covers the non-Ruthless 3.28 Mirage ruleset. GGG’s Mirage release notes increased the base Domination Scarab to three additional Shrines and changed Horned Scarab of Awakening. Those patch boundaries matter when comparing older farming setups.
Choose Scarabs by Their Actual Effect
Start with Terrors and Shrine supply. Treat each extra scarab as a trade between another effect, its cost and a limited Map Device slot:
| Scarab | Effect and role |
|---|---|
| Domination Scarab of Terrors | Core enabler. Places an Atlas Boss at Shrines and carries final-Map-Boss modifiers to those guards. Limit 1. |
| Domination Scarab | Adds 3 Shrines per scarab in non-Ruthless 3.28. Limit 4; fit copies around your unlocked device slots and budget. |
| Horned Scarab of Pandemonium | Optional pack replacement: each monster pack has a 15% chance to become a random Atlas Boss. Limit 1. |
| Horned Scarab of Awakening | Optional difficulty increase: in Tier 16+ areas, adds the bosses from a random Maven Invitation. Limit 1. |
| Cartography Scarab of Escalation | Map-drop scaling: 10% increased Maps found per Map Modifier affecting the area. It does not add bosses. Limit 1. |
A simple starting setup is one Terrors plus base Domination Scarabs. Add copies only within the item limit and the slots your Map Device has unlocked. Test the resulting fights before replacing a Shrine-supply slot with a more demanding boss modifier.
Terrors and Pandemonium both mention final-Map-Boss modifiers applying to the bosses they add. Read the reward’s condition carefully: inheriting a modifier does not make every added boss the map-completion boss or a separate Maven witness.
Atlas Choices: More Shrines or a Maven Route?
The Atlas passive descriptions give Supplication one additional Shrine and provide small passives that add a chance for another Shrine. Syncretism adds another effect to a Shrine’s buff; that extra effect is not another Shrine object to guard.
For a separate Maven layer, enable witnessing and allocate Destructive Play. Maven’s Up the Stakes summons one to three additional Atlas Bosses when she witnesses the map boss, with more favored when fewer monsters remain. This creates a reason to clear the map before its boss.
Choose the route around how you run maps. A character rushing directly between Shrine guards may value different passives from one clearing most monsters for Destructive Play. Terrors’ Shrine guards do not require the Maven keystone.
Astrolabes: Read the Shaped Region Before Spending Scarabs
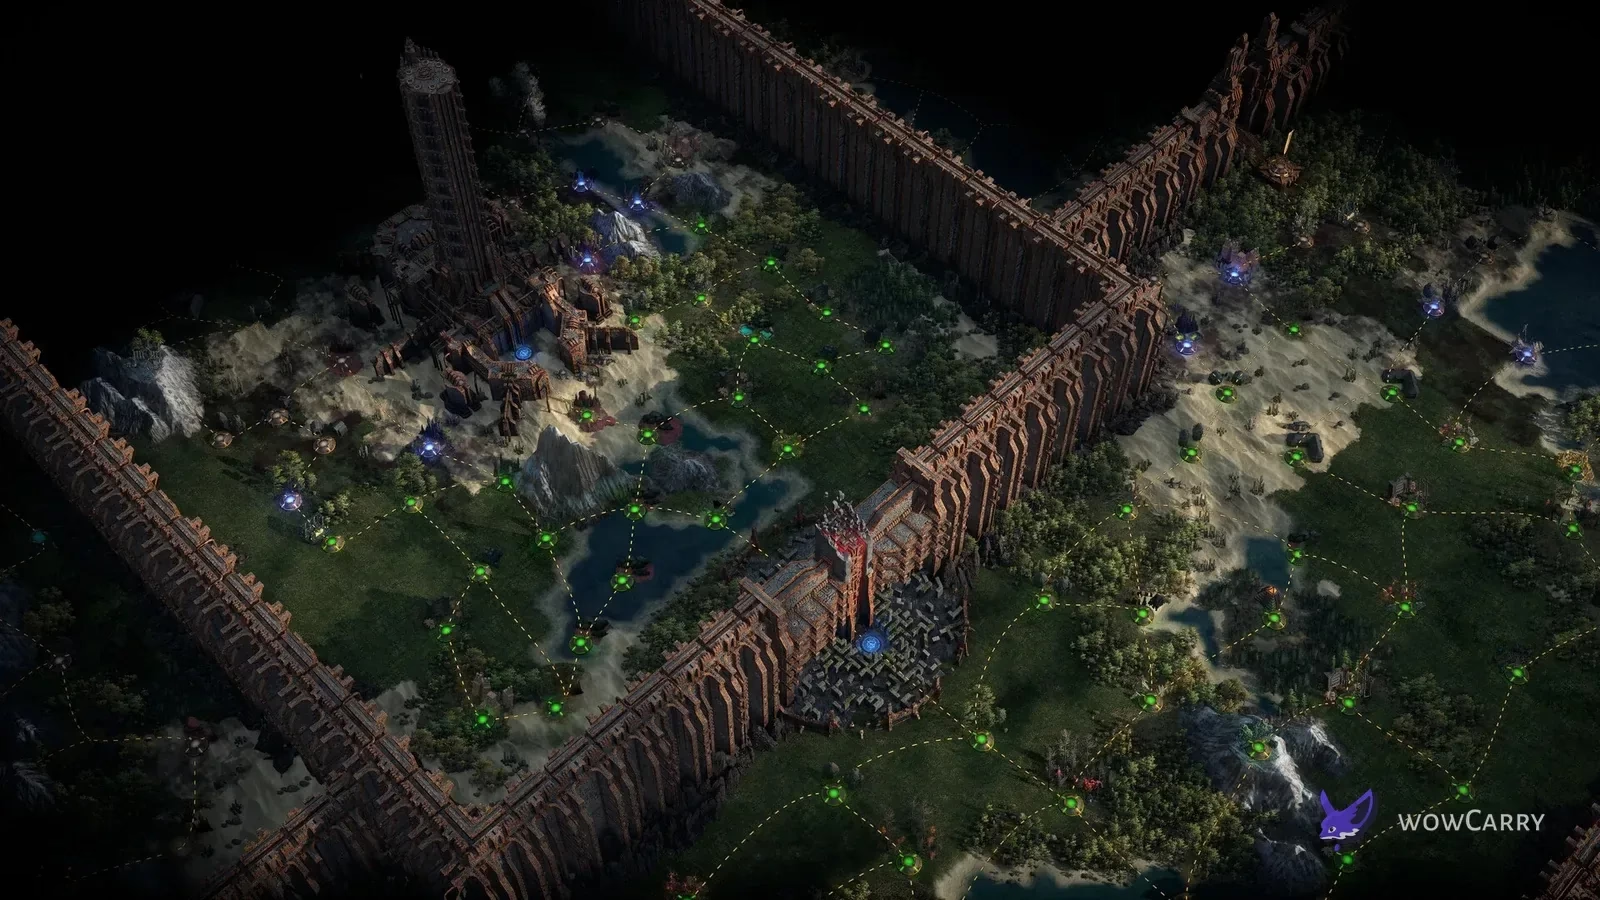
In 3.28, Astrolabes created Shaped Regions on the Atlas. Completing a map removed it from the region and strengthened the remaining maps with another modifier. Inspect the regional bonuses on the map you intend to run before committing the scarab set.
Synthesised Stability changed that progression: completing a map objective in the region collapsed a different map instead. This could preserve a useful location while the region changed around it. Keep track of the remaining connected region; it was not an unlimited source of identical runs.
When a regional bonus applies to the final Map Boss, compare its wording with the modifier-inheritance line on Terrors or Pandemonium. That is the relevant link between regional rewards and extra boss guards.
Mirages Copy an Area, So Check What Is Inside
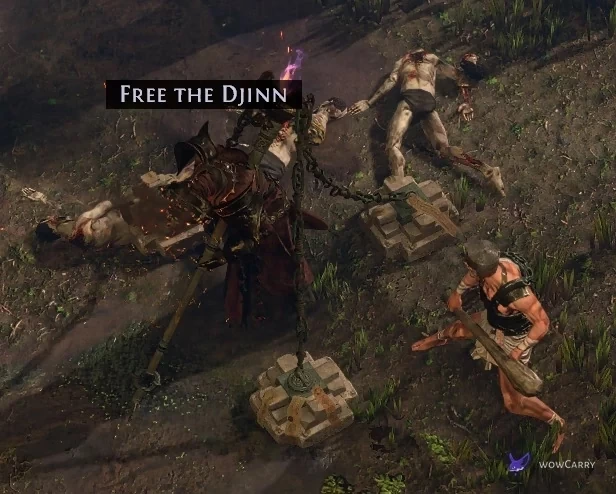
The encounter sequence in GGG’s reveal was: defeat the Afarud around the trapped Djinn, choose a Wish, enter the Astral Realm, then fight through the copied area to break the tether. Freeing the Djinn was the objective inside that encounter.
A Mirage was an imperfect copy of the surrounding area. Its position and coverage determined which Shrines, monsters and boss spaces were included. Inspect that boundary before expecting another set of boss kills. A map containing a Mirage did not automatically provide a second copy of every boss in the map.
| Route | What it asks of the run |
|---|---|
| Shrine guards | Find and defeat the boss at each Shrine. More actual Shrine objects supply more guard locations. |
| Maven / Destructive Play | Use Maven witnessing and clear monsters before the map-boss fight to favor more summoned bosses. |
| Shaped Region | Read the regional modifiers and decide whether preserving a productive map with Synthesised Stability fits the remaining region. |
| Mirage copy | Inspect the copied area and its Wish. Boss opportunities depend on what lies inside that area. |
Begin with a layout you can navigate quickly and a boss your character handles reliably. Compare the actual Shrine travel, boss phases and Mirage coverage over several runs. Those observations are more useful than choosing a map solely because another player called it the consensus best base.
Count the Rewards You Actually Receive
More boss encounters give more opportunities, but boss types and reward conditions differ. Record normal-area and Mirage rewards separately when evaluating the setup, including preparation time, deaths and unused portals. Compare the proceeds with the scarabs and regional setup you consumed.
Cartographer’s Chisels could no longer be obtained in 3.28, but existing copies still functioned. Maven’s Chisels retained distinct reward-quality effects, with tuning changed in the same patch. The notes did not turn every boss kill into a guaranteed Chisel or Astrolabe drop.
Special Mirage encounters also had their own rewards. The Black Barya is a single-use map fragment opening the Saresh encounter. Keep such special rewards separate from the expected return of an ordinary Shrine guard.
Scale the setup after the basic guard fights are comfortable. Pandemonium or Awakening can substantially change the encounters you face; adding more bosses is useful only if the character can finish the map consistently.