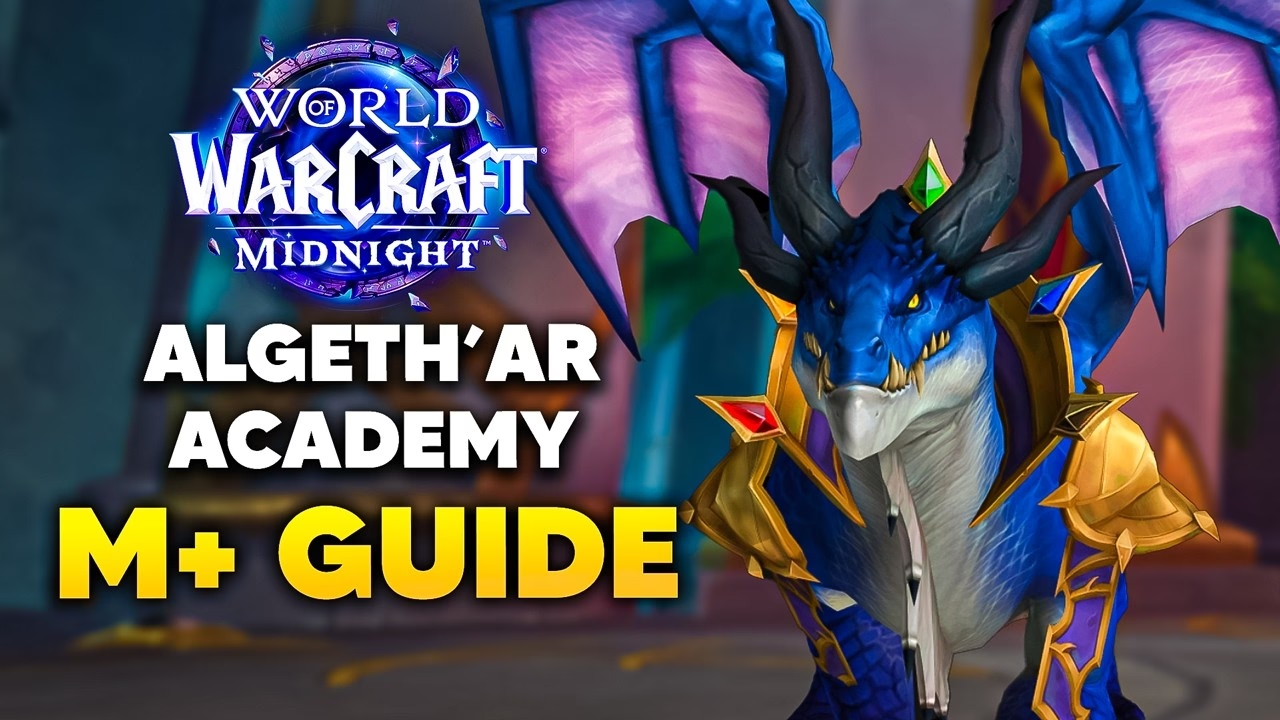
Mythic+ Guide for ALGETH'AR ACADEMY: Midnight Season 1
A Midnight Season 1 walkthrough of Algeth'ar Academy: all four bosses in order, retuned mechanics, dragonflight stat buffs, and Pulsar affix tips.
By:
John Langan
Algeth'ar Academy is one of the four legacy dungeons rotated into the Midnight Season 1 Mythic+ pool, running beside the four new Midnight dungeons. The layout you remember from Dragonflight is intact, but the trash packs and bosses have been retuned for Season 1 keys, which scale from +2 to +20. Every pull this season also carries the Xal'atath's Bargain: Pulsar affix: Void Pulsar orbs tether to players and need to be absorbed for a party-wide Mastery and Leech buff, or left alone to hand enemies a stacking damage bonus. If you would rather skip straight to a timed clear, you can book a Mythic+ dungeon carry instead of learning the route pull by pull. For the full retuned ability list, the Icy-Veins Algeth'ar Academy guide tracks every spell ID.
Those are the fast facts. The sections that follow walk each boss in pull order with the retuned mechanic names.
As the run begins you pass five dragonflight recruiters, each offering a stat buff that lasts the whole dungeon. Bronze grants 5% Haste, Red grants 5% Versatility, Black grants 5% Critical Strike, Blue grants Mastery rating, and Green grants 10% increased healing received. Most damage specs pick the buff that matches their best secondary stat, while a healer-heavy comp on a high key can lean on the Green recruiter for the extra throughput. The choice is locked once you take it, so decide before the first pull rather than mid-route.
The first wing is overgrown jungle. Vile Lashers apply Vile Bite, a stacking bleed on the tank, so bring a bleed cleanse or burn them fast. Aggravated Skitterfly gain Agitation, a stacking physical-damage buff aimed at the tank; an Enrage-type Soothe strips it cleanly when one is available. Watch for Detonation Seeds on the ground, which disorient anyone who steps on them.

The Overgrown Ancient itself rewards a stacked group. Germinate spawns dormant lashers that wake close together for easy cleave, and Branch Out summons adds whose Abundance circles dispel the group-wide bleed when the adds die. When the boss casts Burst Forth, any lasher still alive wakes up and piles on extra debuffs, so clear them before the cast lands. Barkbreaker is the tank hit to plan a defensive around.
📌 The most common wipe here comes from ignoring Branch Out adds. If the Abundance circles never get triggered, the bleed never falls off and the healer runs dry well before the boss does.
The central platform is guarded by the Guardian Sentry, a mini-boss. Storm Slash is a tankbuster, and Deadly Winds drops player-targeted tornadoes that knock back anyone caught in them. After the Sentry falls, waves of Territorial Eagle and Alpha Eagle move in. Territorial Eagles apply bleeds, while the Alpha Eagles use a frontal cleave and can enrage nearby birds.

Crawth is the next boss. Savage Peck is a damage-over-time hit that wants a defensive rotation rather than a single big cooldown, and Deafening Screech deals splash damage with a lingering DoT. The fight cycles through two objective phases: Goal of the Rushing Winds activates tornadoes and pushback while granting a temporary Haste buff, and Goal of the Searing Blaze stuns the boss for a damage window but spawns fire circles and steady fire damage. Treat both as burst windows and keep the group spread enough to handle the movement.
Past Crawth the dungeon shifts into the arcane library. Corrupted Manafiends cast interruptible bolts that should be kicked on cooldown, and they can apply Mana Void, a debuff that cannot be removed, so play around it rather than trying to dispel it. Arcane Ravagers open with Vicious Ambush on the furthest player, then follow with the Rift Breath frontal; assign a durable player to eat the ambush and have the tank angle the frontal away from the group. The smaller Arcane Foragers use Vicious Lunge to dash at random players, and Unruly Textbooks cast Monotonous Lecture, which wants an interrupt.
Vexamus is a soak fight. Arcane Orbs appear around the room in sets, and each one needs to be intercepted before it reaches the boss, since every orb that connects triggers an explosive reaction. One orb per player per wave is the clean split, with the tank picking up extras when defensives are available. Arcane Expulsion is a frontal the tank points away from the raid, Mana Bombs leave ticking ground puddles to drop tactically, and at full energy Arcane Fissure pushes everyone back through hazard circles, so heal up and sidestep before it lands.
✏️ On Pulsar weeks, fold Void Pulsar soaks into the Vexamus orb assignments. A player already moving to grab an Arcane Orb is usually the cleanest pick to absorb a pulsar on the same path.
Echo of Doragosa unlocks only after Overgrown Ancient, Crawth, and Vexamus are all dead. The defining mechanic is Overwhelming Power, a debuff that grants Haste but builds risk as it stacks, so every player needs to watch their own count so Arcane Rifts do not land on top of the group. Arcane Missiles and Energy Bomb overlap often enough that defensives matter, and Power Vacuum pulls players toward rifts, so be ready to reposition fast.
Tanks carry the extra load of Astral Blast, a heavy arcane hit that also stacks Overwhelming Power. Use defensives on it regularly and place the resulting Arcane Rifts on the room's edge to keep the centre clear. A tidy rift layout is the difference between a comfortable kill and a scramble at low boss health.
⚠️ Overwhelming Power stacks do not reset between mechanics. A player who hoarded Haste early can be the one who places a rift in the worst possible spot late, so call stacks out loud on higher keys.
With clean rift placement, disciplined orb soaks, and the right dragonflight buff chosen up front, Algeth'ar Academy is one of the more forgiving keys in the Season 1 rotation. The mechanics are all telegraphed; the timer pressure comes from trash routing, not from boss randomness.
Yes. Algeth'ar Academy is one of the four legacy dungeons in the Midnight Season 1 Mythic+ rotation, alongside the four new Midnight dungeons. It is the Dragonflight dungeon, retuned for Season 1 keys that scale from +2 to +20.
The order is fixed: Overgrown Ancient first, then Crawth, then Vexamus, then Echo of Doragosa. Echo of Doragosa cannot be pulled until the other three bosses are dead.
Take the recruiter whose stat matches your spec's strongest secondary: Bronze for Haste, Red for Versatility, Black for Critical Strike, Blue for Mastery. A healer-heavy group pushing a high key can instead take Green for 10% increased healing received. The buff is locked once chosen.
Intercept every Arcane Orb before it reaches the boss. Assign one orb per player per wave, with the tank covering extras when defensives are up. Each orb that connects with Vexamus triggers an explosive reaction that quickly overwhelms the healer.
Echo of Doragosa stays untargetable until Overgrown Ancient, Crawth, and Vexamus have all been defeated. Clear the first three bosses and the final encounter opens.
Xal'atath's Bargain: Pulsar spawns Void Pulsar orbs that tether to players. Absorbing a pulsar grants the party Mastery and Leech for a short window; leaving one unsoaked gives nearby enemies a stacking damage bonus. Fold soaks into existing movement, especially during the Vexamus orb phase.
It is on the friendlier end. Every boss mechanic is telegraphed and there is no hard enrage gimmick, so most of the timer pressure comes from trash routing rather than boss execution. Clean Arcane Rift placement on Echo of Doragosa is the main skill check.
Maintained by WowCarry's WoW team. Last reviewed 2026-05-20 against Patch 12.0.5 Lingering Shadows.