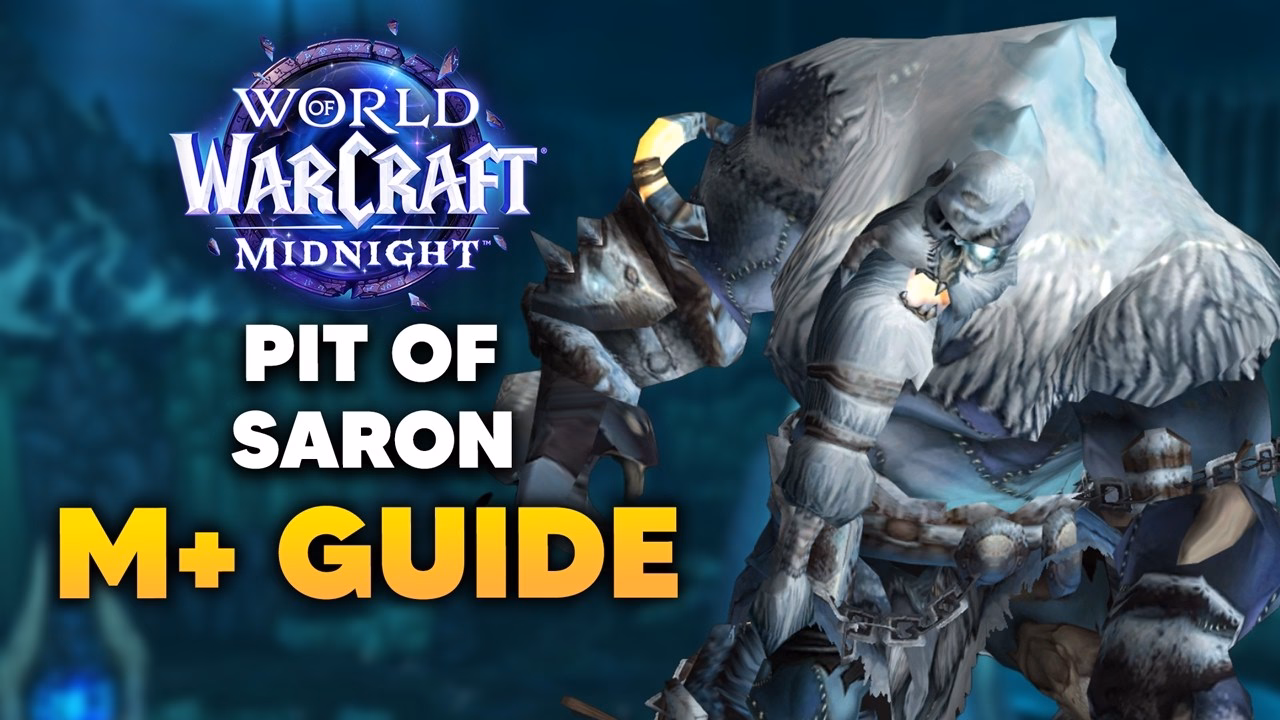
Mythic+ Pit of Saron Dungeon Guide | Midnight Season 1
A Mythic+ walkthrough of Pit of Saron in WoW Midnight Season 1: Forgemaster Garfrost, Ick and Krick, Scourgelord Tyrannus, and the camp gate.
By:
John Langan
Season 1 of WoW Midnight did something the Mythic+ system had never done before: it pulled a Wrath of the Lich King dungeon into the rotation. Pit of Saron is the first WotLK-era instance ever keyed for Mythic+, and it landed in the eight-dungeon pool when M+ opened the week of March 24, 2026.
The layout is the same icy quarry players cleared in the Icecrown Citadel five-mans years ago, but the tuning is current and the affixes are seasonal. Three bosses gate the run, a stretch of quarry trash sits between the entrance and the final encounter, and a hard camp-liberation check decides when the last pull becomes possible. This guide walks the route boss by boss with the mechanics that actually wipe pugs.
The quarry trash and the six-camp gate come first, before a single boss is pulled.
The opening stretch is a quarry of prisoner camps. There are six camps in total, and every one of them has to be liberated before Scourgelord Tyrannus becomes attackable at the end of the dungeon. Treat the camps as a checklist, not a suggestion: a group that rushes the final room and finds the boss immune has to backtrack and burn timer.
The trash itself is a mix of casters and heavy melee. Gloombound Shadebringers cast shadow damage and apply a healing-absorb curse that reads as a Curse, so a Druid, Mage, or Shaman should keep a Curse dispel ready. Plungetalon Gargoyles use Plunge Grip to lift a player out of the fight; interrupt the channel or break the gargoyle quickly to drop the captive. Iceborn Proto-Drakes cleave a frontal cone and apply a magic snare, so keep them pointed away from the group. Ymirjar Graveblades are immune to crowd control and hit tanks hard with frost-themed melee, which means defensive cooldowns rather than kiting.
📌 The most common pug mistake here is pulling toward the ice cave without counting camps. Liberate all six on the way through and the final boss is ready the moment you arrive.
Forgemaster Garfrost is a positioning fight built around Saronite ore. He periodically uses Throw Saronite to drop ore boulders on the floor, and those boulders are the tools the group survives the encounter with.
Glacial Overload is the cast that defines the fight. It is a channeled raid-wide attack that ramps each player's Frost damage taken every half-second, and the only counter is line of sight. When Garfrost begins the channel, everyone breaks LoS behind a Saronite boulder. A group caught in the open will not survive the ramp.
Orebreaker is the tank mechanic: a mace slam that lands a heavy physical hit and an eight-second stun. If the slam connects with a Saronite boulder instead of the tank, it shatters the ore and skips the stun, so tanks position to feed Orebreaker into the rocks. Underneath all of this is Siphoning Chill, a passive frost component that keeps steady pressure on the healer, and Cryostomp, a physical burst that leaves Cryoshards behind. Cryoshards amplifies Frost damage taken and slows the target; a magic dispel removes the debuff outright, while a snare-clear such as Blessing of Freedom or Tiger's Lust strips the slow.
Ick and Krick is a two-body encounter with one health bar. The gnome necromancer Krick rides the abomination Ick, and the Necrolink mechanic links their health pools, so the group splits damage evenly rather than focusing one target.
Krick's dangerous cast is Death Bolt. It hits hard enough to kill a target outright and must be interrupted on every cast: assign a rotation and do not miss one. Shade Shift summons shadow adds whose snare reads as a Curse, so the same Curse dispellers from the trash pull stay useful here. Krick also drops Shadowbind on random players and the pair leaves Plague Globs on the floor as void zones to step out of.
The fixate phase is signalled when Krick climbs onto Ick's back and shouts "Get 'em, Ick!" Ick then locks onto a random player for roughly seven seconds at a time across a longer window, chasing them down. The fixated player kites; the rest of the group keeps cleaving both bodies and avoiding the puddles.
✏️ Pre-assign the Death Bolt interrupt order before the pull. Ick and Krick is the fight where a single missed interrupt turns a clean key into a body count.
The final encounter is functionally a two-target fight. Scourgelord Tyrannus fights on the ground while the frost wyrm Rimefang circles overhead, contributing ranged frost pressure. Before the pull is even possible, all six quarry camps must already be liberated.

The arena is dotted with bone piles. Left alone, those piles erupt into undead adds, and the Army of the Dead phase brings Scourge Plaguespreaders that the group should prioritise. The control tool is Rime Blast, a player-targeted hit that freezes a bone pile on impact. The play is to aim those impacts so that four of the five infused piles are frozen, which caps how many empowered adds the group has to handle.
Bone Infusion is a raid-wide damage spike that should be answered with a planned healing cooldown rather than reactive healing. Death's Grasp and Ice Barrage are ground hazards to dodge. Scourgelord's Brand is the tank mechanic, a brand-and-knockback that can be steered into bone piles to freeze them on purpose.
⚠️ Do not save personal defensives for the end of the fight. Bone Infusion lands on a timer, and a group that uses cooldowns reactively will lose a healer before Tyrannus dies.
The Midnight Season 1 seasonal affix is Xal'atath's Bargain: Pulsar. During combat, Void Pulsar orbs tether to players and orbit briefly; absorbing them grants the party Mastery and Leech, while ignoring them hands enemies a damage and damage-reduction buff. Treat the orbs as a soak job, not background noise. Fortified and Tyrannical rotate weekly on keys from +7 upward, and tanks can opt into Lindormi's Glow through the Lindormi NPC to highlight the enemy forces a route needs to clear.
The keystone timer is 30 minutes. Pit of Saron is a comfortable timer for a coordinated group, so the score pressure comes from clean execution rather than raw speed: the camp-liberation route, the Glacial Overload line-of-sight call, and the Death Bolt interrupt chain are where keys are won and lost. Players chasing portal-range rating can climb their Mythic+ rating this season with a steady run partner rather than rerolling pugs every week.
Yes. Pit of Saron is one of the eight dungeons in the WoW Midnight Season 1 Mythic+ pool, which opened the week of March 24, 2026. It is the first Wrath of the Lich King dungeon ever brought into the Mythic+ format.
Three: Forgemaster Garfrost, the Ick and Krick pair, and Scourgelord Tyrannus, who fights alongside the frost wyrm Rimefang. The Ick and Krick encounter counts as one boss despite having two bodies.
Yes. All six prisoner camps in the quarry must be liberated before Scourgelord Tyrannus can be attacked. Skipping camps leaves the final boss immune and forces a backtrack.
Glacial Overload from Forgemaster Garfrost is a line-of-sight check. When he begins the channel, every player breaks line of sight behind one of the Saronite ore boulders he drops with Throw Saronite. Standing in the open through the channel is a wipe.
The keystone timer is 30 minutes. For a coordinated group that is a generous window, so the difficulty sits in execution — the camp route, the Glacial Overload calls, and the Death Bolt interrupt rotation — rather than in raw speed.
Gloombound Shadebringers apply a healing-absorb effect that registers as a Curse. A Restoration Druid, a Mage, or a Shaman can remove it with their Curse dispel, so assign one of them to clear it during quarry trash pulls.
Pit of Saron rewards preparation over reflexes: the camp gate, the line-of-sight call on Garfrost, the linked health bar on Ick and Krick, and the Rime Blast freezes on Tyrannus are all things a group can plan before the pull. Once the route is muscle memory, the 30-minute timer stops being a concern. Players who would rather run with a settled group than reroll pugs each week can push a Mythic+ key with seasoned runners who already have the camp route down.
Maintained by WowCarry's WoW team. Last reviewed 2026-05-20 against Patch 12.0.5 Lingering Shadows.