Key Takeaways
- Vaelgor & Ezzorak are boss 4 of The Voidspire in Midnight Season 1, red dragonflight clutchmates corrupted by Xal'atath and fought as a duo with shared health pressure.
- Twilight Bond doubles boss damage if the dragons stand within 15 yards of each other or if their HP diverges by more than 10%, the central rule that defines the pull.
- Mythic delta vs Heroic: bosses stay grounded the whole time, Dread Breath fear adds a 50% movement speed boost, Nullbeam stacks to 12 per tank, Gloom soak group expands to seven players, and Voidorbs no longer drift after Void Howl ends.
- Mythic intermissions add Cosmosis, which keeps the bosses' signature abilities firing as reflections while Radiant Barrier, Midnight Flames, and the Manifestation of Midnight add resolve.
- Default composition is two tanks, four healers, and 14 DPS. A third Blood Death Knight tank for Gorefiend's Grasp add control or a fifth healer for group-damage safety are the standard variants.
- Wipe causes for Cutting Edge groups cluster around three patterns: missed Twilight Bond HP delta, late Gloom soaks bleeding Gloomtouched stacks into the next set, and uncoordinated Voidorb pickups during Void Howl.
The sections that follow walk through the encounter in the order a progression group will encounter it: the lore frame, the Mythic-only deltas, each dragon's kit, the intermission template, the comp tradeoffs, role tips, positioning, and finally an FAQ for the questions raid leaders get asked twice a night.
Encounter Overview
Vaelgor and Ezzorak were once paired guardians of the red dragonflight, hatched as clutchmates and sworn to the protection of all living things. By the time you pull them in The Voidspire, that vow is gone. Xal'atath's hold has stripped away everything except the bond they share with each other, and that bond is the encounter design. Every major mechanic punishes you for letting the two dragons drift apart in either position or HP.
The fight runs as a single duo pull from start to finish. There is no kill-one-boss-first phase. Twilight Bond activates whenever the dragons stand closer than 15 yards together or their remaining health diverges by more than 10%. While Twilight Bond is up, both dragons deal double damage to the raid, which folds a soft enrage into the fight that scales with how well your tanks position and how well your DPS balance damage.
Mythic adds Cosmosis on top of the normal intermission template, removes the airborne phase that gives Heroic groups breathing room, and tightens every shared-damage threshold the encounter cares about. Expect every pull to test position discipline more than burst.
The Vaelgor & Ezzorak art below shows the duo mid-encounter, twisted red colouring giving away the Xal'atath corruption.
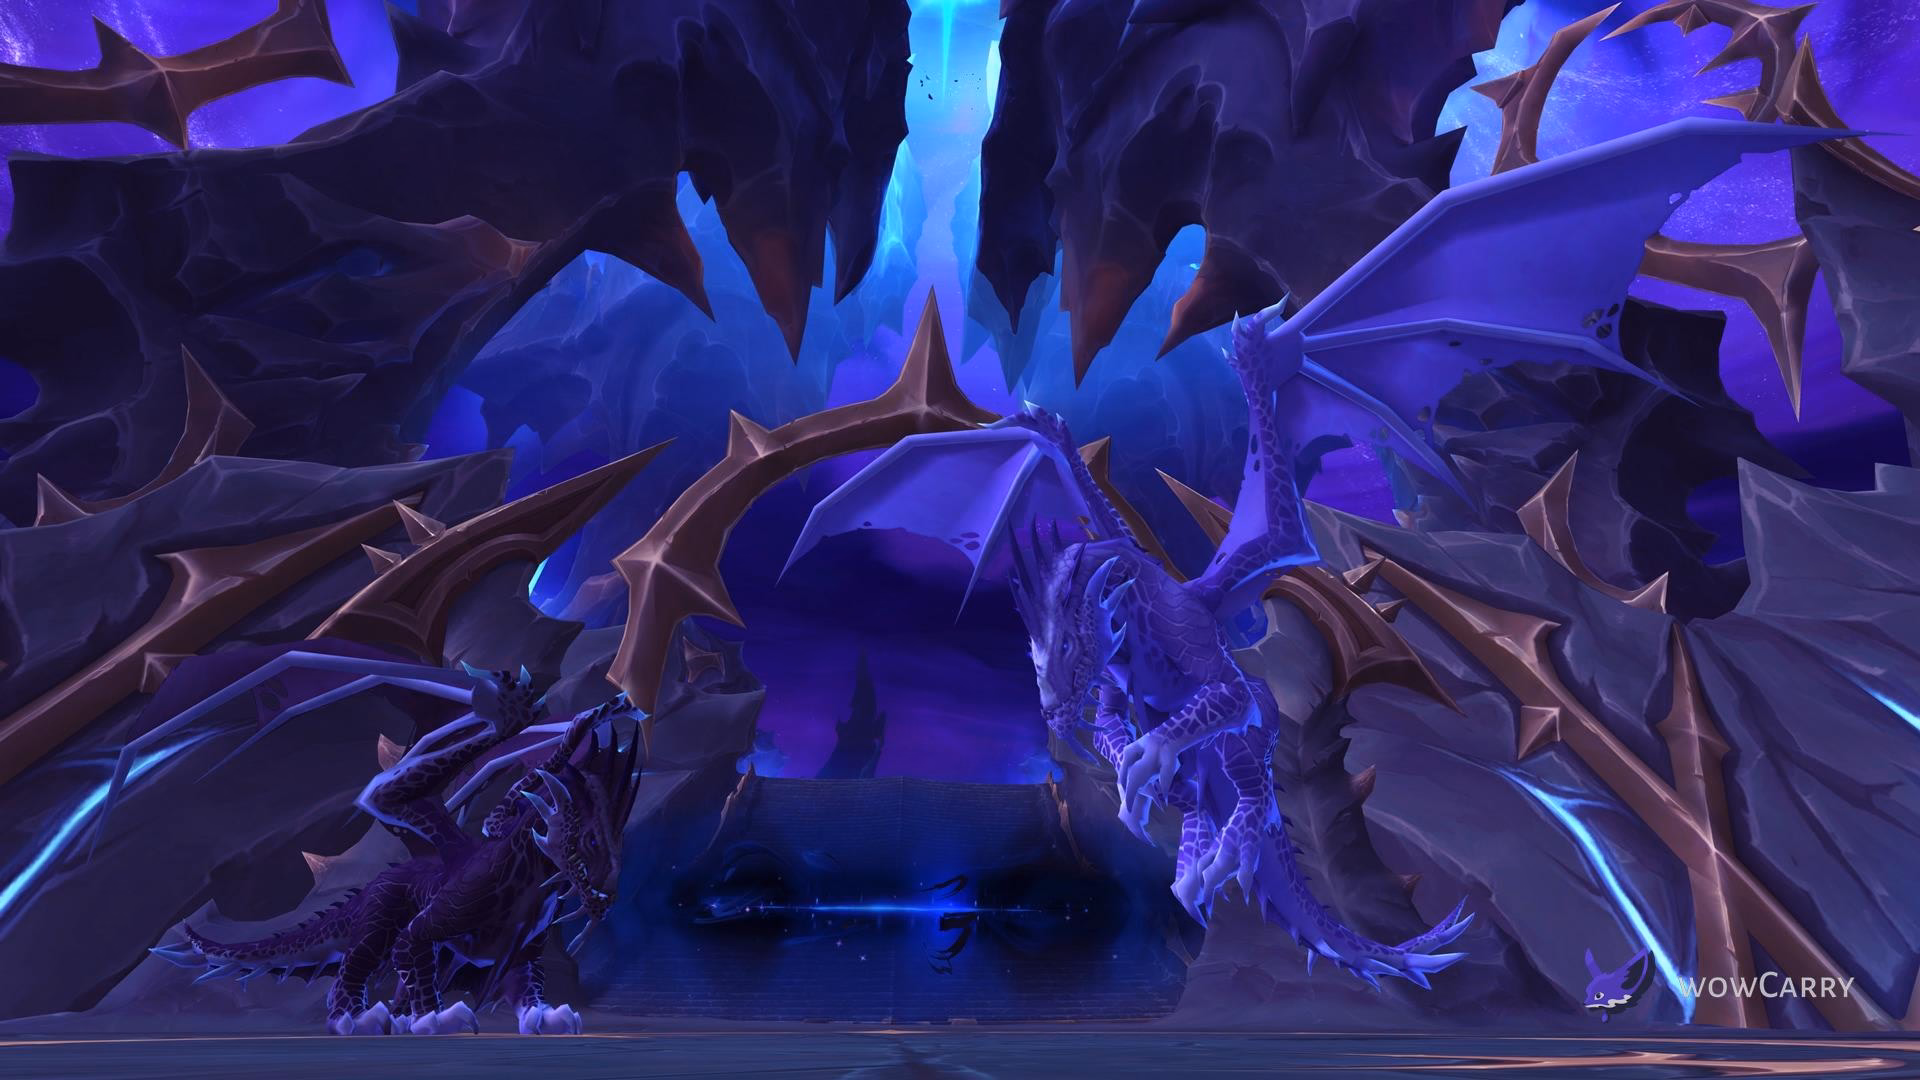
With the encounter framing in mind, the next section catalogues exactly what Mythic difficulty changes about the fight.
Mythic-Only Changes
Five mechanic changes separate Mythic from Heroic. Each one changes how your group sets up the pull, so use the list as a first-three-pulls checklist before you start trying to one-shot phases.
| Mechanic | Heroic | Mythic |
|---|
| Boss phase | Airborne periods give the raid breathing room | Grounded the whole pull. The Heroic breather where you reset cooldowns is gone, and the cleave window stays open from pull to kill |
| Dread Breath fear | Standard fear | Feared target gains 50% movement speed, so the fear carries further than the dispel window catches unless your dispeller is pre-positioned |
| Nullbeam stacks | Cap of 8 per tank | Cap of 12 per tank, which pulls your swap cadence in from roughly 25s to 18s; a slow off-tank taunt feeds the active tank a full Nullsnap |
| Gloom soakers | 5 players | 7 players including a tank, with backups named by order |
| Void Howl Voidorbs | Drift inward after Howl ends | Stay where they spawn. Kill in place or pre-stack the raid one cast in advance |
| Intermission overlap | Bosses go inert | Cosmosis keeps the bosses' signature abilities firing as reflections through the intermission |
Mythic does not add new phases. It removes the recovery windows Heroic gives you, the airborne pause, the inert intermission, the drift on Voidorbs, and tightens every threshold by 25 to 40%.
Vaelgor's Abilities
Vaelgor is the Nullbeam dragon. Most of his kit is built around the tether mechanic that drives tank swaps and Mythic-only dodging.
- Dread Breath: frontal cone fear targeting one player. On Mythic, the feared target gains a 50% movement speed boost, which means the fear carries them further than the dispel window will catch unless you pre-position your designated dispeller next to the targeted player. Mass Dispel, Cleanse, Purify Spirit, or a Felhunter's Singe Magic are the cleanest tools.
- Nullbeam: tank-targeted beam that creates a tethered Nullzone. Each stack weakens the inward pull, so the conventional play is to absorb 4 to 5 stacks per tank and swap before the next beam. The 12-stack cap is per tank on Mythic, which gives two tanks plenty of headroom across the pull.
- Nullzone: circle anchored to the tank's position with a tether to the room centre. Standing inside the circle takes ramping shadow damage; over-extending the tether triggers Nullsnap.
- Nullsnap: burst damage when the tether is pulled taut. The targeted tank uses a personal here.
- Nullscatter: Mythic only. When the first Nullbeam tether snaps in any given cycle, scatter circles spawn under random raid members. Dodge immediately or eat avoidable shadow damage on top of the existing burst.
- Tail Lash and Vaelwing: rear cone and knockback respectively. Standard do-not-stand-behind-the-dragon coaching; melee stays on the flanks.
The Nullbeam family is the most tightly-coupled mechanic set in the fight, and reading the swap cadence right will define how often your raid eats avoidable burst.
Ezzorak's Abilities
Ezzorak owns the shadow-soak and add-spawn half of the fight. His kit pressures your healer cooldown rotation more than your tank swap.
- Gloom: Ezzorak ejects a moving mass of darkness in a frontal direction. On impact it deals raid-wide shadow damage and leaves a stationary Gloomfield on the ground. On Mythic, expect 3 casts in Phase 1, 2 in Phase 2, 1 during the second intermission, and 2 more in Phase 3.
- Gloomfield: stationary darkness zone that persists after the soak resolves. Keep the centre of the room clear so the soak group can stack on the impact point without losing space for Voidorb pickups.
- Gloomtouched: stacking shadow DoT applied to every player who shares the Gloom soak. Seven soakers per cast on Mythic, tank included; backups stand ready in case one of the seven is in fear, dispel debt, or movement debuff at the moment of impact.
- Void Howl: wreaths all players in shadow and spawns a Voidorb add at each player's position. Players within 5 yards of each other take additional shadow damage during the howl, so the standard play is to spread before the cast lands.
- Voidorb: the add summoned by Void Howl. On Mythic they no longer drift, which converts the mechanic from a kite into a stack-and-cleave check. Pre-stack the raid one cast in advance so Voidorbs spawn clustered for Gorefiend's Grasp and AoE cleave.
- Rakfang: tank strike that applies a heal absorb. Sheilun's Gift on a Mistweaver Monk strips it cleanest; otherwise pre-shield the tank before the cast lands.
- Impale: rear cone stun. Same flank rule as Vaelgor.
📌 Common mistake: assigning Gloom backups as a vague "the next person if someone dies" pool. Backups need a fixed order: backup 1, 2, 3 by name, so the call is "Tirion in for the eighth slot" not "someone go". Seven seconds between the call and the impact. Miss the backup call and the eighth slot is empty, the unsoaked Gloom hits the raid for raw shadow damage, and the seven who did soak still take Gloomtouched. It compounds on the next cast.
Intermission: Radiant Barrier and Cosmosis
Each intermission triggers when boss energy fills to 100. The template is identical every time, so practice the first one and the rest are muscle memory.
- Radiant Barrier spawns at the centre of the room. Stack inside it. Outside the barrier, Midnight Flames tick raid-wide shadow damage that will quickly outpace healing.
- Manifestation of Midnight spawns as an intermission add. It ramps its attack speed every 30 seconds, so kill it before the second ramp lands. Slows lose effectiveness as the ramps progress, which means your second-intermission window is shorter than your first if the add survives too long.
- On Mythic, Cosmosis overlays the intermission with reflections of the bosses' Phase 1 abilities. Plan dispels and movement cooldowns as if Phase 1 is still active, because functionally it is.
The fight runs through three or four intermissions before the kill window opens, depending on your group's DPS. Every intermission uses the same template; the only thing that varies on Mythic is how much of the previous phase's pressure overlaps because of Cosmosis.
Recommended Composition
Two shapes are standard for Mythic progression. A third exists for groups that want to specialise into add control at the cost of one DPS slot.
- Default, 2 tanks / 4 healers / 14 DPS. What Method and Echo run. Suits groups with reliable Dread Breath dispels and a Mistweaver for Rakfang absorbs.
- Three-tank variant, 2 tanks plus a third tank Blood Death Knight, 4 healers, 13 DPS. The Blood DK gives you extra Gorefiend's Grasp for Voidorb consolidation and a Gloom-soak backup that always exists. Method's writeup recommends this; the enrage timer is generous enough that losing the DPS slot does not matter.
- Five-healer variant, 2 tanks / 5 healers / 13 DPS. Pure safety play. Trades DPS for healing throughput on the group damage from Gloomtouched cascades and Midnight Flames overrun.
The triple Blood Death Knight comp you may see in PoV videos is a specialised setup that maximises Gorefiend's Grasp uptime for Voidorb add control. It works but is not the published optimum; treat it as a niche solution for groups that have already cleared the fight and want a smoother farm pull.
The Voidspire raid loading shot below sets the visual scale of the encounter zone.
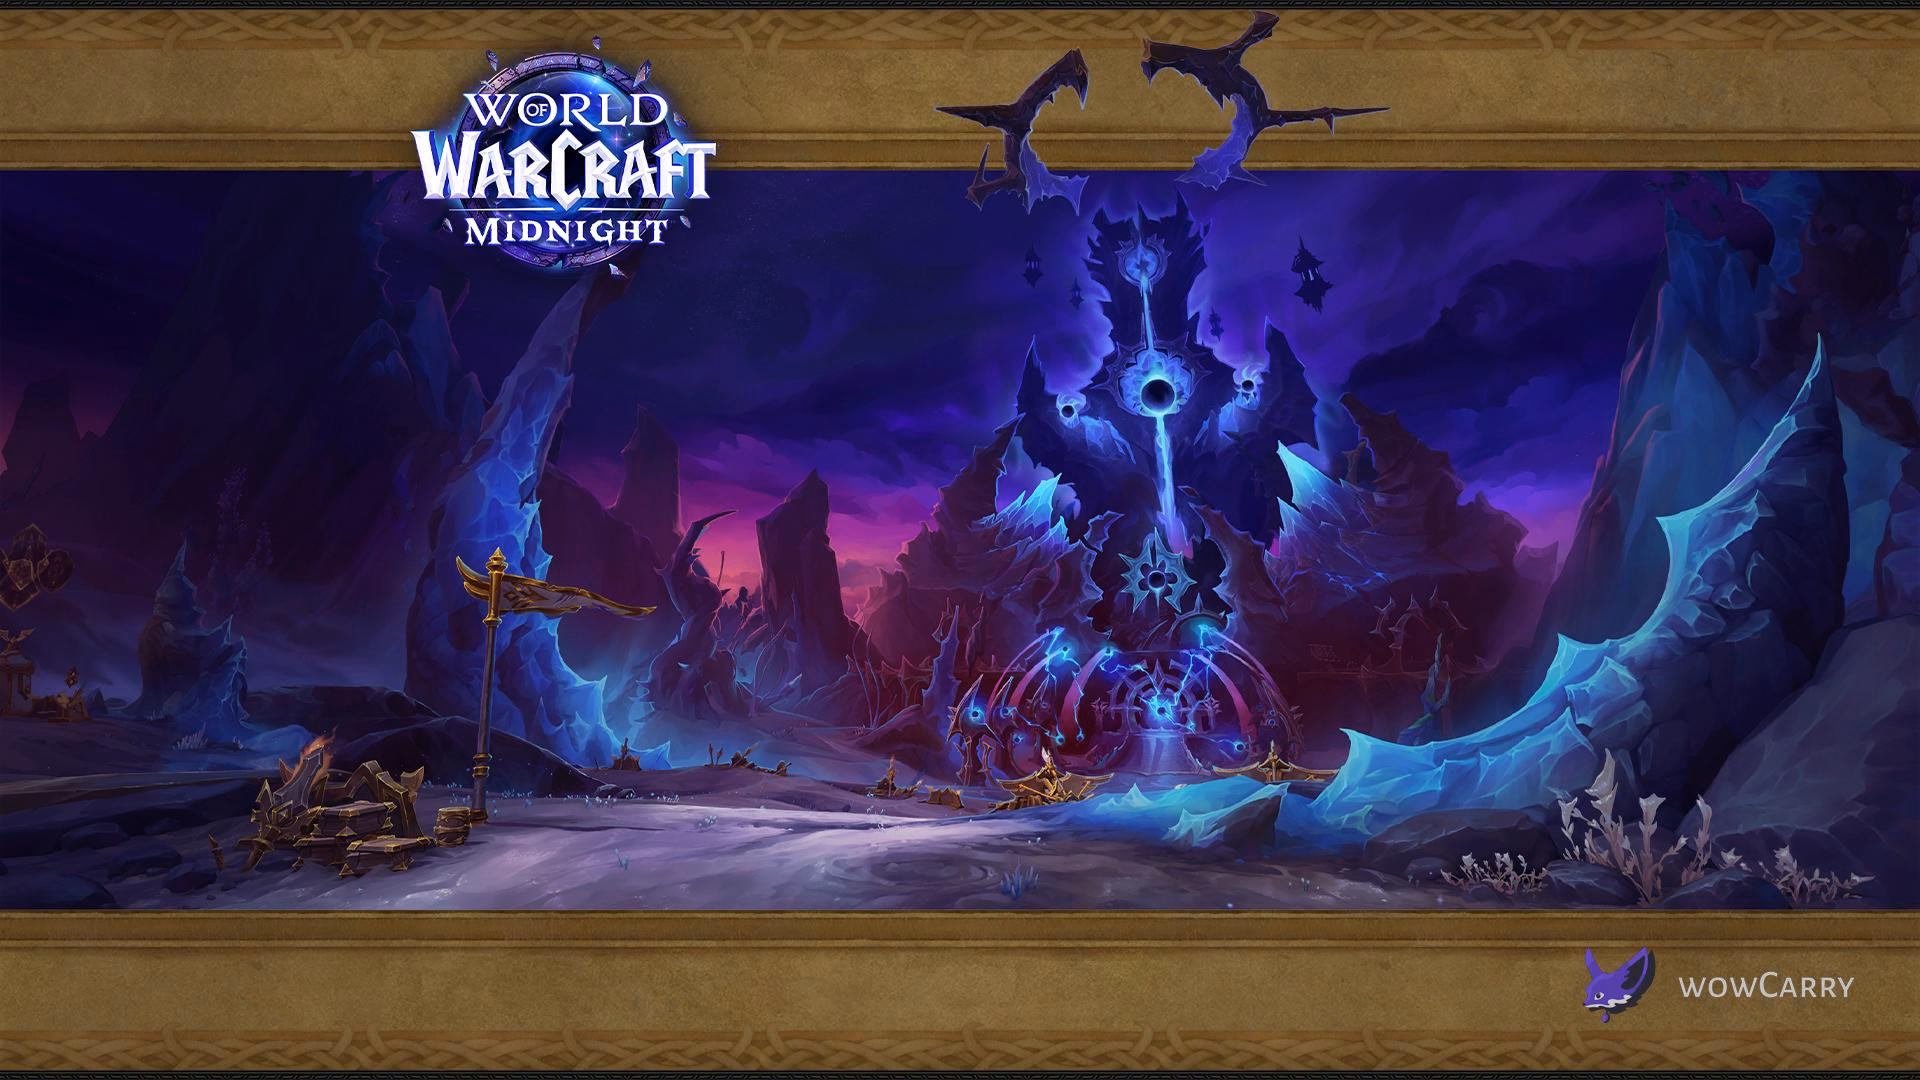
With composition decided, the next section breaks down the role-specific play patterns each Mythic pull will demand.
Role-by-Role Mythic Tips
Tanks
- Keep the dragons 15 yards apart at every moment. Twilight Bond is the single biggest soft enrage in the fight.
- Swap on every Gloom cast. The Gloomtouched stack from soaking pressures the tank's healing budget and stacks compound across the cycle.
- Share Nullbeam soaks across both tanks so each tank stays under 8 stacks. On a 3-tank rotation, target 4 to 5 stacks per tank.
- Never point the boss rear at the raid. Tail Lash and Impale chew the back rows in seconds.
Healers
- Pre-assign a Dread Breath dispeller for each cast. On Mythic the 50% MS boost means the fear carries the target further from the dispeller's position than Heroic, so pre-position next to the target before the cast lands.
- Drop Spirit Link Totem, Pain Suppression, or Ironbark on the Gloom soak group before the cast resolves. Backline cooldowns are reactive; the soak takes a planned cooldown.
- Mistweaver Sheilun's Gift is the cleanest Rakfang absorb removal. If no Mistweaver, pre-shield the targeted tank.
- Save group cooldowns for Cosmosis overlaps during the second and third intermissions. That is where pugs fall apart.
DPS
- Voidorbs are priority targets the moment they spawn. Cleave the bosses while the Voidorb cluster falls; do not switch off the bosses unless your raid leader calls for a hard swap.
- Balance damage between Vaelgor and Ezzorak so HP stays within 10%. Burst on whichever dragon is ahead in HP, never both simultaneously.
- Take your assigned Gloom soak slot every time, including when your raid loses a body and you are promoted into one of the backup positions.
- Dodge Nullscatter circles immediately on the first tether snap each cycle. They overlap with other shadow damage and Mythic-tier players get globaled by the combined hit.
✏️ Technique tip: coordinate your defensives with your raid's bloodlust call. The cleanest Mythic kill windows open at the third or fourth intermission once the dragons drop into execute range, and that is when your Cosmosis overlap will be at its busiest. Save your raid-wide defensive (Spirit Link, Aura Mastery, Anti-Magic Zone) for that overlap, not for the first intermission.
Positioning, Gloom Marker Examples, and Add Timings
Marker callouts and add-spawn timings are guild-specific. The schemes below are examples drawn from one common Mythic strat note. Your raid leader's call may differ in marker colour, position, or precise timing; follow your group's MRT note.
A common Phase 1 Gloom rotation drops the first soak at a triangle marker, the second near a diamond marker, and the third on the side of the room, which leaves the centre clear for Radiant Barrier stacking during the intermission. Phase 2 typically shifts the soaks toward green and star markers so the centre stays clean between intermission cycles.
On the add side, expect the Manifestation of Midnight every intermission, with Voidorb clusters spawning every Void Howl in between. One observed pull schedule placed add-control burst windows at roughly 0:38, 2:51, 5:08, and 7:34. Treat those numbers as approximate; they shift with bloodlust timing, tank Nullbeam stack management, and any DPS check that pushes the energy bar faster.
If you are running with a single Blood DK, time Gorefiend's Grasp on the central DPS rather than the tank position so Voidorbs cluster at the cleave point. A macro that retargets the DPS focus saves the 2 to 3 seconds you would otherwise lose pivoting the camera.
⚠️ Warning: Mythic raid tuning shifts across the season. Numbers and stack thresholds described here match patch 12.0.5 "Lingering Shadows" as of mid-May 2026. Re-verify against the most recent hotfix notes before a fresh Cutting Edge progression push, especially if a balance patch lands between your reads.
Where Pugs Lose This Fight
If your raid is stuck on Vaelgor & Ezzorak after a week of progression pulls and the wipes cluster around the same intermission, sometimes the cleanest fix is to order a Mythic Voidspire carry for a single-boss kill, watch how the carry team positions during Cosmosis, and apply the lessons to your own pulls. Pug raids often skip past the duo by buying boss four and resuming progression on Lightblinded Vanguard the same night.
For broader Season 1 help across the three raids, see the WoW raid boost lineup.
Frequently Asked Questions
How long does a clean Mythic Vaelgor & Ezzorak pull take?
Around 8 to 10 minutes from pull to kill on a smooth pull, longer if your DPS slips into the fourth intermission. The fight is energy-paced, not enrage-paced, so a slow kill is safer than a panicked burn. Bloodlust on the pull is conventional; saving it for execute is also viable if your healers prefer the smoother first phases.
What is the most common Cutting Edge wipe cause?
Twilight Bond damage doubling from a missed 10% HP delta during execute. Either a DPS player tunnels one dragon at the wrong moment, or a Gloom soak miss kills a player on the lagging boss and the HP gap opens. Communicate the swap window 5 seconds out and keep a healthy buffer.
Is the third-tank Blood Death Knight strategy required on Mythic?
No. The default 2-tank / 4-healer / 14-DPS comp is what Method and Echo ran for Cutting Edge. A third tank smooths out Voidorb consolidation via Gorefiend's Grasp and adds a Gloom soak backup that always exists. If your group has reliable add control and your soak group has discipline, you do not need it.
Should I save bloodlust for the kill window or use it on pull?
Either works. On-pull bloodlust eats through Phase 1 faster and lands you in the first intermission with high mana, which is the conventional play. Saving for execute pays off if your DPS check is close to the line; the third intermission has the heaviest Cosmosis overlap, and bursting through it shortens the most pressured part of the fight.
How do I handle Dread Breath when my dispeller is in a Gloom soak?
Assign two dispellers per cycle. Primary takes Dread Breath whenever it is not their soak rotation; secondary covers the cycles where the primary is locked in a soak. A pre-cast Mass Dispel from a backup Priest or a Mistweaver Revival both clear the fear without breaking the soak, though Revival is a 3-minute raid cooldown so the Priest call is the planned default.
What tier-set bonus drops from this boss?
The Legs token in the Nullcore tier set series, Tier 35 in Midnight Season 1. On Mythic the gear ilvl is 279. Tier from raid drops, Mythic+ Great Vault, or the Catalyst depending on how your group sequences progression.
What happens if one tank dies during Nullbeam?
The surviving tank picks up both dragons and the Nullbeam stacks compound on a single tank. You have about 4 to 5 seconds before the next beam lands; if your battle rez is up, use it. If not, kite the dragons apart so Twilight Bond does not stack on top of the tank death, and the raid plays for a soft reset.
Last Reviewed
Maintained by WowCarry's WoW raid team. Last reviewed 2026-05-19 against patch 12.0.5 "Lingering Shadows" and the live Mythic difficulty of The Voidspire in Midnight Season 1.