Alleria Raid: Normal & Heroic Crown of the Cosmos Guide
Crown of the Cosmos walkthrough for Normal and Heroic in WoW Midnight Season 1 — verified phase triggers, named mechanics, and the Heroic-only deltas.
By:
John Langan
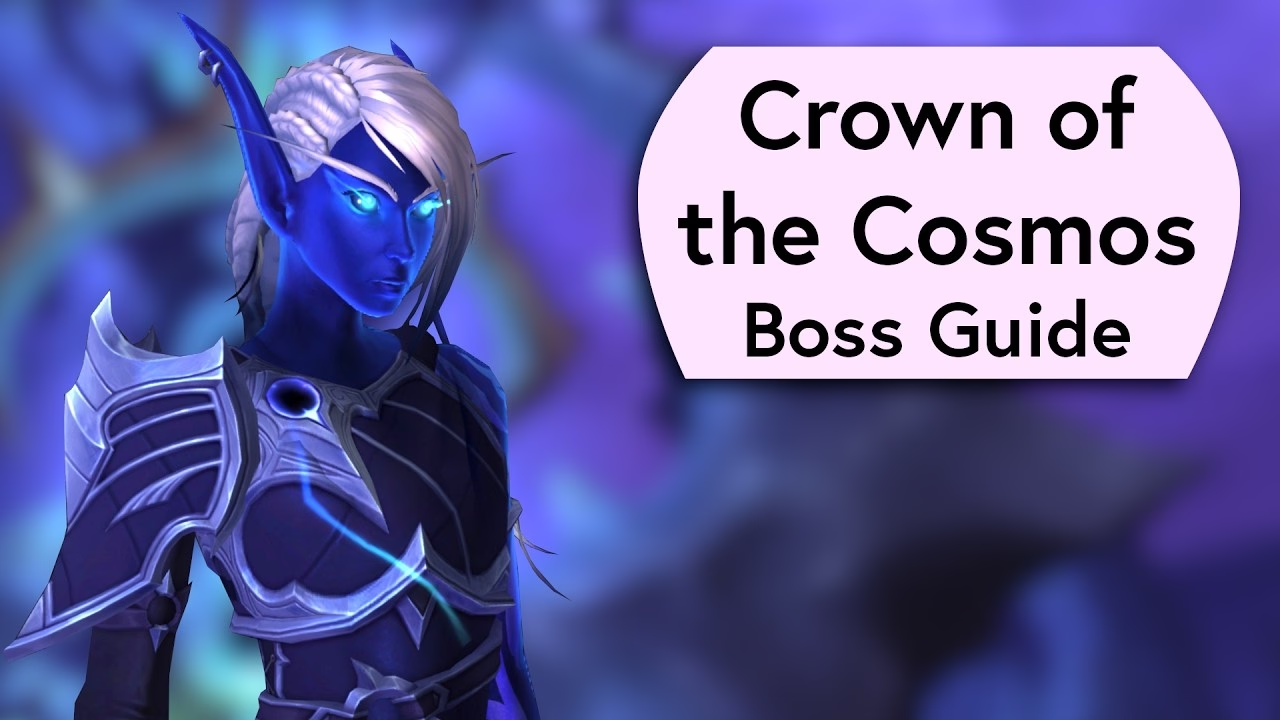
Crown of the Cosmos is the sixth and final encounter of The Voidspire, the Midnight Season 1 raid that opened on March 18, 2026, with Heroic and Mythic following the week after. The boss fought is Alleria Windrunner after her Void descent, framed by Xal'atath. The fight runs three phases with two intermissions and is the gate for the Ahead of the Curve achievement this tier. This guide rebuilds the strategy from the verified Normal and Heroic numbers — what triggers each phase, which mechanics are tank-only, and where the Heroic deltas actually live.
The remaining sections walk each phase in order, with the named mechanics, the numeric thresholds, and the Heroic deltas the raid lead needs in callouts.
The Voidspire opens on the Voidstorm fortress; the loading screen sets the geography for Phase 1's three demibosses and the platform sections that fragment in Phase 3.

The fight opens with three demibosses tethered to Alleria by Umbral Tether. They cannot die until a Silverstrike Arrow severs the tether on each one. The soft enrage fires at 2:10 — if all three are not down by then, the raid wipes.
All three share Echoing Darkness, a raid-wide pulse every 2 seconds that ramps 4% per tick if no melee is in range. Keep at least one melee glued to the active demiboss at all times.
Silverstrike Arrows are the raid-wide tool for the entire fight. They fire in a line through a marked player and strip Void effects: Umbral Tether on the demibosses, Corrupting Essence on stacked players, and Voidstalker Sting later on. Position the arrow path so it hits the active demiboss and any Void Droplet on the way. Droplets explode on death and apply Corrupting Essence at 30% damage taken per stack for 20 seconds, so do not let the raid stand in them. Grasp of Emptiness anchors to obelisks and fires beams on expiration (one player on Normal, two on Heroic). Void Expulsion targets a ranged player and leaves a permanent pool. Null Corona applies a large heal absorb to two players; dispel only if they are about to die.
Alleria becomes immune. Stellar Emission pulls the raid toward the center, with a ramping DoT and slow stacks the longer you stay outside the safe band. Silverstrike Barrage fires across the platform; getting hit by an arrow strips the slow stacks.
On Normal, plan to take the second and fourth arrow. On Heroic, the Silverstrike Barrage hit applies +300% damage taken from arrows for 8 seconds; absorbing a second arrow inside that window is lethal. Heroic also adds a solid wall of orbs that forces the raid across at least one platform section, so call the platform jump before the wall closes.
Phase 2 is where the Voidlink shared-HP mechanic decides whether the raid sequences clean cleaves or splits DPS unevenly.

Burn one boss and the other drops with it: Voidlink shares one health pool between Alleria and the Rift Simulacrum, and Phase 3 begins when that pool hits 62% of Alleria's max HP. Tanks taunt at max melee range to prevent the pair leaping together and buffing each other. Both bosses leap to whoever is outside melee, which is why the taunt position matters.
Rift Slash is the Phase 2 tank buster: physical hit, 10% all stats lost per stack, 20-second duration. Swap at 2 to 3 stacks. Call of the Void spawns two Undying Voidspawn adds that grip toward Alleria; Silverstrike Ricochet bounces an arrow through three players and is the only way to kill the adds before they detonate. Cosmic Barrier is an absorb shield on the Rift Simulacrum that the raid must burn through before the next cycle. Void Barrage is a hard cast that deals 500% damage at 100 energy: kick the cast, no excuses.
Volatile Fissure leaves a stacking DoT on anyone crossing platform cracks during a section change. Voidstalker Sting is a stacking debuff that becomes lethal if it stays uncleared — feed it into a Silverstrike Arrow to remove it.
📌 Common mistake: tunneling Alleria and ignoring the Rift Simulacrum. Voidlink means the raid sees Alleria's HP bar dropping fast, but the Rift Simulacrum's own HP is what gates Phase 3 — if you cleave both equally the transition lands cleanly; if you split DPS heavily onto one side, the buff-stack window opens and the pair starts hitting harder.
The second intermission mirrors the first but with three arrows instead of two. On Normal, plan to absorb the first and second, or the third on its own. Do not end the intermission on a cracked platform section: those tiles drop and kill anyone standing on them. On Heroic, the entire raid has to end on the same surviving section together; call the final destination before the wall starts compressing.
Alleria fights solo on a shrinking platform. The defining mechanic is Aspect of the End: three tethers fire on one tank, one melee DPS, and one ranged DPS. Breaking a tether triggers Gravity Collapse on the target, and the break threshold is 30 yards.
Snap them in this order: melee first (the shortest run), tank second (wait for Grasp of Emptiness so the heal coverage stays clean), ranged third. Splitting the snaps lets healers recover between damage events.
Devouring Cosmos covers a platform slice and prevents healing on anything in that zone. To move to a new slice, intercept a Dark Rush feather for a glide buff — class mobility (Demon Hunter glide, Druid flight form, Warlock Demonic Circle) works as an alternative when the feathers run out. Grasp of Emptiness, Void Expulsion, Null Corona, and Voidstalker Sting all carry over from earlier phases. On Heroic, Grasp of Emptiness anchors to two players instead of one, doubling the obelisks.
⚠️ Phase 3 warning: tether breaks are the gate, not the DPS check. Heroic AOTC pulls die on missed snaps, not on healer mana — if your three tether targets are not assigned by name before pull, the snap order collapses every time.
The Mythic version of the fight (released April 1, 2026) layers more on top, but Normal and Heroic share the same skeleton: Voidlink, Silverstrike, Aspect, Dark Rush. Heroic AOTC ships when the raid lands clean Phase 3 tether breaks; that is the gate, not the DPS check. Raid leads short on a final-boss kill can Compare Voidspire raid carry options for Normal-clear, Heroic AOTC, or Mythic Cutting Edge depending on where the wall is.
The Voidspire raid opened on March 18, 2026, with Normal and Heroic Crown of the Cosmos accessible the same week. Mythic followed on April 1, 2026, gated by the cross-server progression unlock that was standard for the early Midnight patches.
62% of Alleria's maximum HP. Phase 2 ends when the Voidlink-shared health pool between Alleria and the Rift Simulacrum runs out, which lines up with the 62% boss-frame mark. You cannot skip into Phase 3 by burning one of the two — they share one bar.
An arrow fires in a line through a marked player. It strips Void effects from anything it touches: Umbral Tether on the Phase 1 demibosses, Corrupting Essence stacks on raid members, and Voidstalker Sting later. Position the marked player so the line clips the demiboss or stack target — and avoid letting it hit anyone you do not want stripped.
The mechanic auto-selects one tank, one melee DPS, and one ranged DPS. You cannot pre-assign the target list, but you can pre-assign the break order: melee first, tank second after Grasp lands, ranged third. Stagger the breaks so healers can recover.
Phase 1 has a 2:10 soft enrage: if all three demibosses are not dead by then, the encounter wipes. Phase 2 and Phase 3 do not have explicit hard enrages, but Devouring Cosmos in Phase 3 progressively consumes platform space until the raid has nowhere to stand.
Yes. Ahead of the Curve: Crown of the Cosmos requires a Heroic kill before the next raid tier opens. The 12-month feat-of-strength clock starts when the next tier launches.
Crown of the Cosmos rewards a raid that can sequence specific mechanics (tether order, arrow placement, swap stacks) more than a raid that hits a DPS or HPS number. The fight's wipe pattern is "we missed a tether break" or "we ate two arrows on Heroic", not "the boss enraged on us". Treat the Phase 3 snap order as the AOTC gate, get the three tether targets pre-assigned to specific names, and the kill lands inside a handful of attempts.
Maintained by WowCarry's WoW team. Last reviewed 2026-05-19 against Patch 12.0.5 Lingering Shadows.