Chimaerus Raid Boss Guide & Walkthrough | Midnight S1 Dreamrift
Mythic Chimaerus Dreamrift strategy: Alndust Upheaval soak rotation, Dissonance realm split, intermission Corrupted Devastation, utility callouts.
By:
John Langan

The full mythic strategy follows, with utility callouts and intermission management organised the way Method and Icy-Veins walk it.
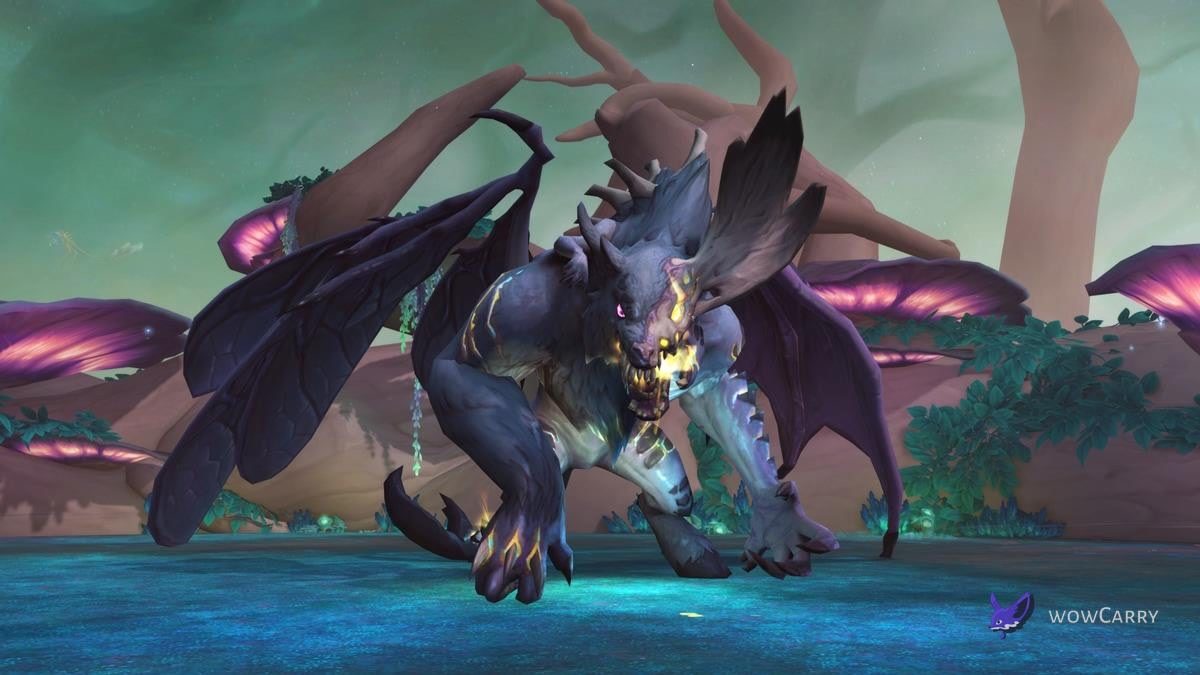
The Dreamrift is a single-boss raid located in southeastern Harandar (~61.0, 64.2). Chimaerus the Undreamt God is the only encounter, available on Normal, Heroic, and Mythic, with Mythic opening the week of March 24, 2026. The fight is a two-realm dance: half the raid stays in Reality (upstairs) and half operates in the Rift (downstairs), swapping on assignment, with a Phase 1 loop that breaks into intermissions when boss energy fills.
The fight's core loop runs around Alndust Upheaval. The boss tank-targets a player; the soak group eats the cast, takes the knockup into the Rift, and gains Alnsight for 40 seconds. Alnsight is the only way to see and damage Manifestations spawned by Rift Emergence. When the buff falls off, Rift Vulnerability applies and stacks: the soaker takes +600% damage from subsequent Alndust Upheavals for 1.5 minutes, so the assignment rotates through the soak roster.
While the soak rotation runs, the boss also cycles Caustic Phlegm (raid-wide), Rending Tear (frontal cone bleed), and spawns the three add types listed in the composition section.
Three add types appear during Phase 1:
If Chimaerus eats a Manifestation via Insatiable, he gains a permanent Cannibalized Essence stack: more damage on every subsequent cast. Interrupt Insatiable and kill Manifestations fast to keep stack count manageable.
Mythic adds two mechanics that turn the encounter from "single-target boss with a soak" into "two-team raid".
Dissonance is a proximity-separation mechanic, not a cleave: players in opposing realms cannot stand near each other without the raid taking damage. This is why the raid splits into two even groups, with one group anchored in the Rift and one in Reality, so the realm-difference never lights up.
Rift Madness debuffs 1 healer and 1 DPS who are downstairs at the time of cast; the assigned upstairs players must swap and soak the rescue to clear it. Hard-assign which upstairs player rescues which role to remove the call-out pressure.
At 100 boss energy the encounter goes into intermission via Consume. Three things follow in sequence:
After Ravenous Dive the fight returns to Phase 1 loop. Most kill compositions plan to clear two intermissions before the boss dies; pushing harder is achievable but depends on group damage and Rift Vulnerability stack management.
The class utility list earns the encounter:
Realm-swap discipline is the other half: keep the same 1T/2H/7D split in each group, never let melee DPS drift across the dividing line, and let assigned soakers handle Alndust Upheaval rotation without melee crashing the soak position.
Damage priority cycles: keep boss pressure on Phase 1, switch to add management on Insatiable casts, switch to Manifestations the moment Rift Emergence fires. Over-investing in adds at boss's 20-25% range is the typical loss condition: the second intermission you avoid is the kill window you reach.
Position the boss centred on the realm divider line so melee can cleave adds without breaking the Dissonance separation. Use slows (Ursol's Vortex, Chains of Ice, Capacitor Totem) to keep Haunting Essences in interrupt range. Dispel Consuming Miasma near a ground puddle so the dispel clears the puddle along with the debuff.
One. The Dreamrift is a single-boss raid; Chimaerus the Undreamt God is the only encounter. Voidspire (6 bosses) and March on Quel'Danas (2 bosses) round out Midnight Season 1's 3-raid, 9-boss roster.
The cast knocks one or more soakers into the Rift and grants Alnsight (40s buff to see and damage Manifestations). When Alnsight falls off, Rift Vulnerability applies for 1.5 minutes, multiplying further Alndust Upheaval damage by 7x. Rotate at least three soak players through the cast so Vulnerability never overlaps with a fresh soak assignment.
Single boss. Dreamrift uses the same single-encounter pattern as Sanctum of Domination's wing-finishers.
Warriors (Berserker Shout fear cleanse), Shamans (Tremor Totem + Capacitor for interrupts), Death Knights (Death Grip for distant interrupt targets), Druids (Ursol's Vortex for add snare), Warlocks (Demonic Gateway to cancel the Alndust Upheaval knockup).
Two groups of 1 tank / 2 healers / 7 DPS, one anchored in Reality, one in the Rift. Each group handles its own Haunting Essence interrupts, its own Swarming Shades cleave, and its own Alndust Upheaval soak rotation.
The encounter does not have a hard-coded skip threshold. Method and Icy-Veins both walk the fight as cycling Phase 1 and intermissions until the boss dies. If your raid pushes the boss low enough that Consume fires once at the very end, that effectively skips a second intermission, but plan for two.
Groups stuck on the Dissonance/Rift Madness mythic mechanics can book a Chimaerus Mythic kill for a guaranteed lockout clear. The wider Season 1 roster is on the Midnight Mythic raid carries page if you need Voidspire or March on Quel'Danas as well.