Where Fallen-King Salhadaar Fits in The Voidspire
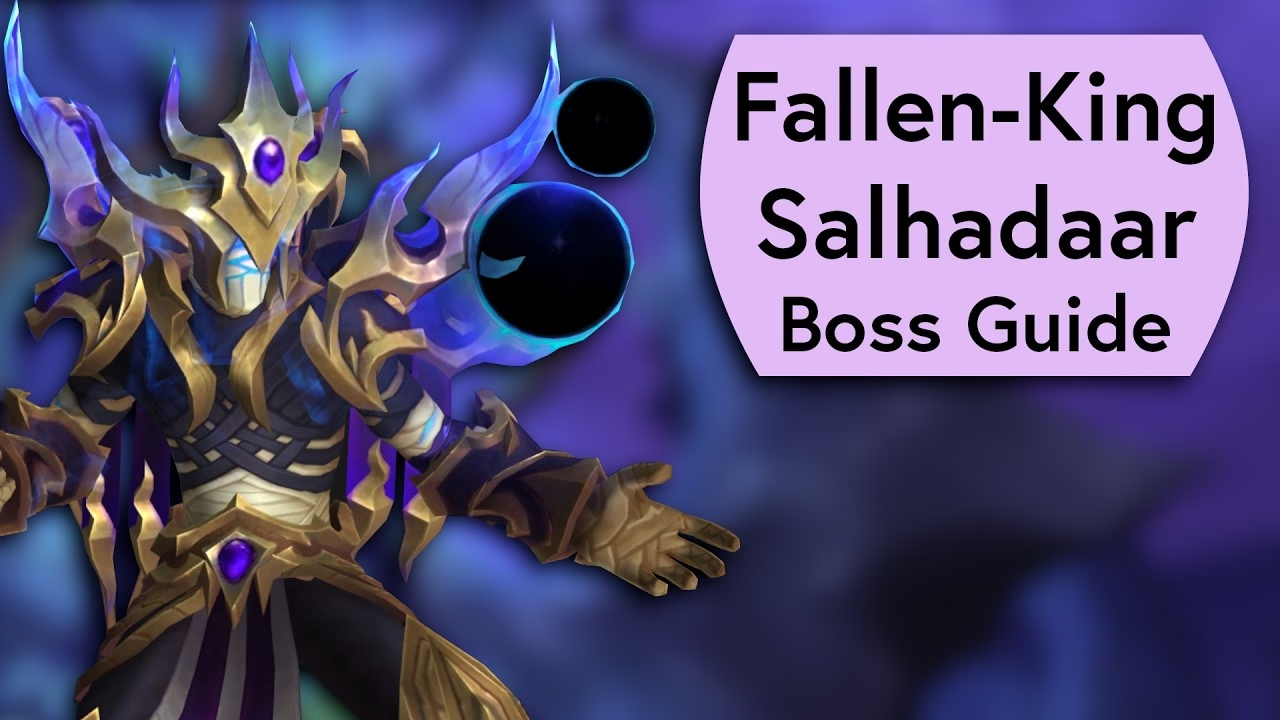
Fallen-King Salhadaar is the third boss of The Voidspire, the six-boss flagship raid of World of Warcraft: Midnight Season 1. He sits after Imperator Averzian and Vorasius, and before the Vaelgor and Ezzorak dual encounter, so most groups meet him once they have a few raid nights of coordination behind them.
Salhadaar is an execution check rather than a gear check. The fight is built around an energy bar that fills to an intermission, and around a handful of abilities that punish players who stand in the wrong place. Learn the pattern and the kill comes quickly. This guide covers the encounter on Normal and Heroic, with the role priorities that decide most pulls.
Key Takeaways
- Fallen-King Salhadaar is boss three of six in The Voidspire, the Midnight Season 1 raid.
- Destabilizing Strikes is a stacking tank damage-over-time effect; swap tanks around eight stacks or sooner if damage spikes.
- Void Convergence spawns Concentrated Void orbs that buff Salhadaar if they reach him, so killing them before contact is mandatory.
- Entropic Unraveling at 100 Energy is a danger phase, not a free burn window: the boss fires rotating beams that deal heavy contact damage while taking increased damage.
- On Heroic, killing a Concentrated Void orb applies an eight-second stacking raid damage effect, so orb kills must be staggered.
- Shattering Twilight forms a spike pattern around the tank on Normal and targets multiple players on Heroic.
Each ability is broken down below, followed by the Heroic changes and a role-by-role priority list.
Phase One Abilities
The bulk of the fight is a single phase that repeats until Salhadaar reaches full energy. Five abilities define it, and most wipes trace back to mishandling one of them.
- Destabilizing Strikes: a stacking damage-over-time effect on the active tank. Swap tanks at roughly eight stacks, or earlier if healing cannot keep pace. The off-tank should taunt before the stack count becomes dangerous, not after.
- Void Convergence: portals spawn Concentrated Void orbs that drift toward Salhadaar. If an orb reaches him it grants him a damage buff, so the raid must destroy each orb before contact. Melee players should avoid standing inside an orb, as it deals heavy damage on contact.
- Fractured Projection: Salhadaar summons add clones that cast damaging spells. Interrupt and crowd-control them quickly. A failed interrupt leaves a damaging ground pool, so assign interrupts rather than hoping someone catches the cast.
- Shattering Twilight: on Normal, this creates a star-shaped pattern of spikes centred on the tank. After a short delay the spikes detonate along the lines of the star. The tank positions so the lines do not sweep through the raid.
- Despotic Command: targeted players drop a puddle that applies a healing absorb. Move the puddle away from the group, and have healers ready to clear the absorb so it does not stall raid healing.
📌 Common mistake: Treating Void Convergence as a melee-only problem. The orbs buff Salhadaar on contact, which is a raid-wide damage increase. Ranged players should help pick up orbs that spawn on their side rather than leaving every orb to melee.
Hold that phase steady and Salhadaar's energy bar climbs toward the intermission that follows.
The Entropic Unraveling Intermission
When Salhadaar reaches 100 Energy he casts Entropic Unraveling. Treating this moment as a simple free damage window is the single most dangerous mistake a group can make. Entropic Unraveling is an intermission of roughly twenty seconds during which Salhadaar stands still and fires rotating beams across the room.
Those beams deal heavy contact damage. The boss does take increased damage during the intermission, so it is a burn window, but only for players who keep moving with the beam rotation. Stand in a beam to squeeze in an extra global cooldown and you will not survive to use your cooldowns at all.
✏️ Technique: Pick a rotation direction at the start of Entropic Unraveling and have the whole raid strafe the same way. A raid that all moves clockwise never clips a beam; a raid where half the group guesses will clip beams and start losing players.
Use personal damage cooldowns once you are confident in the beam pattern, not on the cast. The increased damage lasts the whole intermission, so a few seconds spent settling into the rotation costs nothing.
Heroic Difficulty Changes
Heroic keeps the same skeleton and tightens two specific mechanics. Groups stepping up from Normal should brief these before the first pull.
- Concentrated Void damage on death: on Heroic, killing a Concentrated Void orb applies an eight-second damage-over-time effect to the whole raid, and it stacks. Stagger the orb kills so each effect falls off before the next orb dies. Burning every orb at once stacks the effect into a healing check the group will fail.
- Shattering Twilight on multiple players: instead of a single tank-centred pattern, Heroic Shattering Twilight targets several players at once. Everyone marked needs to position so their spike lines do not cross the raid. Spread before the spikes form, not after.
⚠️ Watch out: On Heroic, do not let two players burn their Concentrated Void orbs at the same time. Overlapping the eight-second raid damage effect turns a manageable tick into a healing check, so call orb kills one at a time.
Neither change introduces a new ability, so a group that has Normal clean is mostly drilling cleaner spacing and tighter orb timing for Heroic.
Role Priorities: Tanks, Healers, DPS
Most Salhadaar pulls are decided by whether each role nails one or two specific jobs. This is the short list worth pinning before a progression night.
- Tanks: communicate the Destabilizing Strikes swap out loud. Position Salhadaar so Shattering Twilight spike lines point into open space, and keep the boss roughly central for the Entropic Unraveling intermission so beams have room to rotate.
- Healers: pre-empt Despotic Command absorbs rather than reacting to them, and save raid cooldowns for the stacked Concentrated Void damage on Heroic. The intermission is also a movement-heavy healing stretch.
- DPS: own the interrupt assignments on Fractured Projection, help clear Concentrated Void orbs, and hold major cooldowns for the Entropic Unraveling damage window once the beam rotation is settled.
Groups that keep wiping to the Heroic orb damage or Shattering Twilight spacing can book a Voidspire raid carry with a coordinated team instead of burning another lockout. Raiders shopping the wider tier can also compare Midnight raid carry options across Normal, Heroic and Mythic.
Frequently Asked Questions
Which boss of The Voidspire is Fallen-King Salhadaar?
Salhadaar is the third of the six bosses in The Voidspire, the Midnight Season 1 raid. He follows Imperator Averzian and Vorasius, and comes before the Vaelgor and Ezzorak encounter.
When should tanks swap on Destabilizing Strikes?
Swap at roughly eight stacks of Destabilizing Strikes, or earlier if the damage-over-time effect is outpacing healing. The off-tank should taunt proactively rather than waiting for the active tank to call an emergency.
Is Entropic Unraveling a free damage window?
Not entirely. Salhadaar takes increased damage during Entropic Unraveling, but he also fires rotating beams that deal heavy contact damage for the full twenty-second intermission. It is a burn window only for players who keep moving with the rotation.
Why do Concentrated Void orbs need to die before reaching Salhadaar?
An orb that reaches Salhadaar grants him a damage buff, increasing raid-wide pressure. Destroying each orb before contact keeps that buff off the boss. Melee should also avoid standing inside an orb.
What changes on Heroic Salhadaar?
Two things. Killing a Concentrated Void orb applies an eight-second stacking raid damage effect, so orb kills must be staggered. And Shattering Twilight targets multiple players instead of forming a single tank-centred pattern.
How do you handle Fractured Projection adds?
Interrupt and crowd-control the add clones as they cast. Assign interrupts ahead of time, because a missed interrupt leaves a damaging ground pool that shrinks the safe space for the rest of the phase.
What does Despotic Command do?
Despotic Command marks players who then drop a puddle applying a healing absorb. Move the puddle clear of the group and have healers ready to clear the absorb so it does not stall raid healing.
Bringing the Kill Together
Fallen-King Salhadaar rewards a group that treats every phase the same way: kill the Concentrated Void orbs, assign the Fractured Projection interrupts, swap on Destabilizing Strikes, and respect the Entropic Unraveling beams instead of greeding them. Heroic only tightens the orb timing and the Shattering Twilight spacing. Drill those points and the third boss of The Voidspire falls on schedule.
Maintained by WowCarry's WoW raiding team. Last reviewed 2026-05-20 against Patch 12.0.5, Lingering Shadows. For a full ability reference, see the Icy Veins Salhadaar guide.