Vaelgor & Ezzorak Raid Guide: Normal and Heroic Voidspire Boss
A Normal and Heroic strategy guide for Vaelgor and Ezzorak, boss 4 of The Voidspire: Twilight Bond, Nullbeam, Gloom soaks, the air phase, and role-by-role tips.
By:
John Langan
Twilight Bond is the rule that defines this pull, so it comes first; each dragon's kit, the air phase, and the Heroic step-up all build out from there.
Vaelgor and Ezzorak were hatched as clutchmates of the red dragonflight, sworn together to the protection of all living things. By the time your raid pulls them on the fourth floor of The Voidspire, that vow is gone. Xal'atath's corruption has hollowed them out, and the only thing left of the dragons they once were is the bond they still share with each other. That bond is the encounter design.
This is a single duo pull from start to finish. There is no phase where one dragon dies first. Twilight Bond activates the moment the two dragons stand closer than 15 yards together, or the moment their remaining health drifts more than 10% apart. While Twilight Bond is active, both dragons deal double damage to the raid. Your tanks own the 15-yard spacing; your DPS own the 10% health gap. Get either wrong and the fight punishes the whole raid at once.
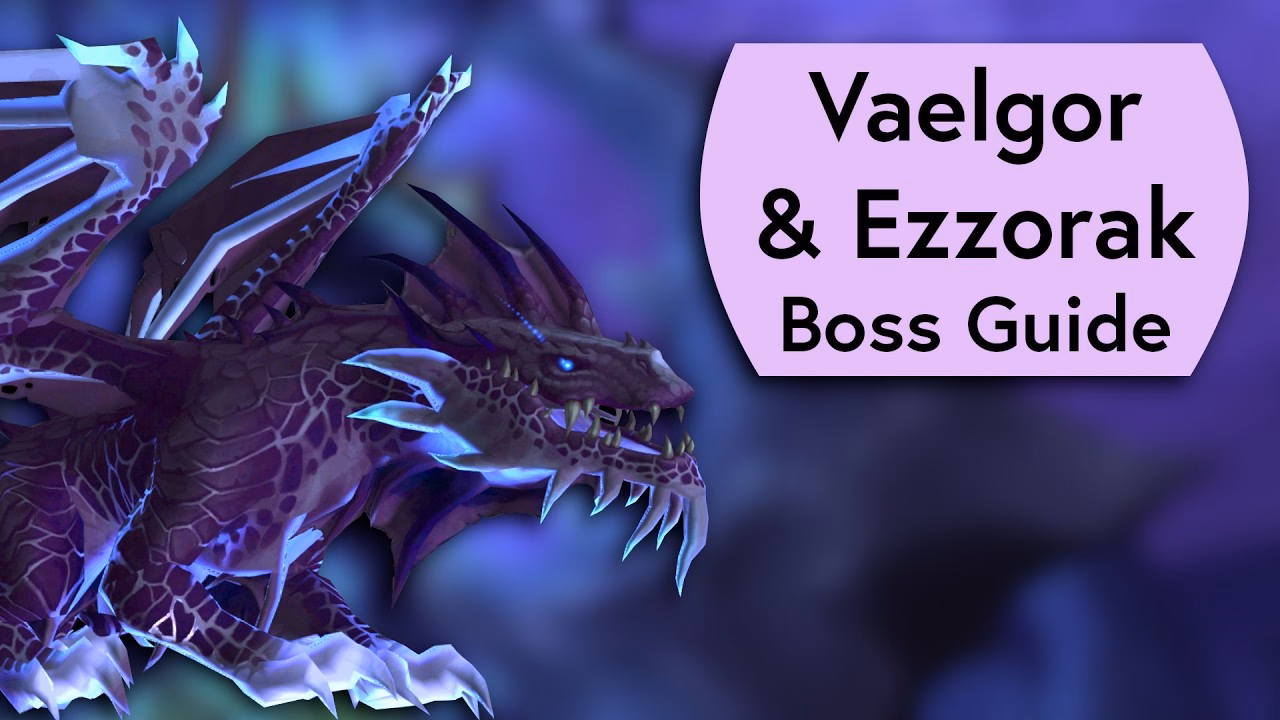
The art below shows the corrupted twin dragons mid-encounter, their red scales shot through with void colouring.

You fight the two dragons together, but their ability sets are entirely separate, and your raid splits its attention along that line.
Vaelgor is the tank dragon. Almost everything in his kit feeds the Nullbeam tether mechanic that sets your tank-swap rhythm.
The Nullbeam family is the most tightly linked set of mechanics in the fight; nail the swap timing and you keep avoidable burst off the raid.
Ezzorak owns the raid-wide half of the encounter. His kit pressures your healers and your DPS positioning far more than your tanks.
📌 Common mistake: treating Void Howl as a "spread, then forget" mechanic. The orbs spawn where players stand, so if your raid spreads randomly the Voidorbs scatter across the room and become impossible to cleave. Spread to assigned spots so the orbs land in predictable clusters.
On Normal and Heroic, the dragons periodically take to the air. This air phase is the encounter's intermission, and it runs to a fixed script.
Once the add is down and the barrier expires, the dragons land and the standard ability cycle resumes. Repeat the same plan each time the air phase comes around.
Heroic does not add new mechanics to Vaelgor & Ezzorak. It tightens the numbers and adds one debuff, so a group that knows the Normal fight already knows the Heroic fight.
| Mechanic | Normal | Heroic |
|---|---|---|
| Nullbeam stacks | Caps at 6 per tank | Caps at 8 per tank, so tank swaps come slightly sooner |
| Gloom soak group | Up to 4 soakers per cast | 5 soakers per cast, with named backups |
| Manifestation of Midnight | No extra debuff | Applies the Shadowmark debuff; marked players move out |
| Nullzone damage | Forgiving | After the final tether snaps, expect an extra burst of raid damage — pre-plan a defensive |
| Overall tuning | Clears on coordination alone | Punishes loose soaks and slow add kills harder |
Every role has a specific job in this fight, and the cleanest pulls come from each player knowing theirs cold.
✏️ Technique tip: assign Gloom soak backups by name, not as a vague "next person available" pool. The call should be "third backup in" rather than "someone go". A missed soak sends raw shadow damage into the raid and still leaves the soakers with their Gloomtouched stacks.
Most Normal and Heroic wipes on this duo trace back to the same three patterns: a Twilight Bond proc from one dragon pulling too far ahead in health, a Gloom soak that went short and let stacks bleed into the next cast, and Voidorbs scattered across the room because the raid spread randomly during Void Howl. None of those are gear checks; they all come down to coordination.
If your group is stuck on the same wipe night after night, one option is to book a Voidspire raid carry, watch how the carry team positions through the air phase, and bring those lessons back to your own pulls. For broader Season 1 help across all three raids, the full WoW raid boost lineup covers Normal through Mythic. For the publisher's mechanic-by-mechanic breakdown, Icy Veins keeps a current Vaelgor & Ezzorak raid guide.
They are the fourth of six bosses in The Voidspire, the Midnight Season 1 raid. The pull order runs Imperator Averzian, Vorasius, Fallen-King Salhadaar, then Vaelgor & Ezzorak, followed by Lightblinded Vanguard and Crown of the Cosmos.
Twilight Bond doubles both dragons' damage whenever their health bars drift more than 10% apart. If you burn one dragon far ahead of the other, you trigger that damage doubling on your whole raid. Aim to bring both to execute range together and finish them within a couple of seconds of each other.
Four healers is the standard for a Heroic clear, with five a comfortable choice for groups still learning the Gloom soak and Midnight Flames timing. Two tanks is correct for both Normal and Heroic; the third-tank setups you may read about are a Mythic-only consideration.
The air phase is the encounter's intermission. The dragons fly up, a Radiant Barrier forms in the centre of the room, and Midnight Flames tick raid-wide damage on anyone outside the barrier. Stack inside the barrier, kill the Manifestation of Midnight add quickly, and move out if you get a Shadowmark ring on Heroic.
Vaelgor & Ezzorak drop the Legs slot tier token for Midnight Season 1, alongside the usual non-tier gear. Normal loot lands around item level 253 and Heroic around 266, so this boss is a reliable tier-piece target on a weekly clear.
It is a clear step up from the first three Voidspire bosses because it asks the whole raid to manage spacing and balanced damage at the same time. The mechanics are not individually hard, but they overlap, so the fight rewards groups that communicate soak and swap timing out loud.
Maintained by WowCarry's WoW raid team. Last reviewed 2026-06-17 against patch 12.0.5 "Lingering Shadows" and the live Normal and Heroic difficulties of The Voidspire in Midnight Season 1.