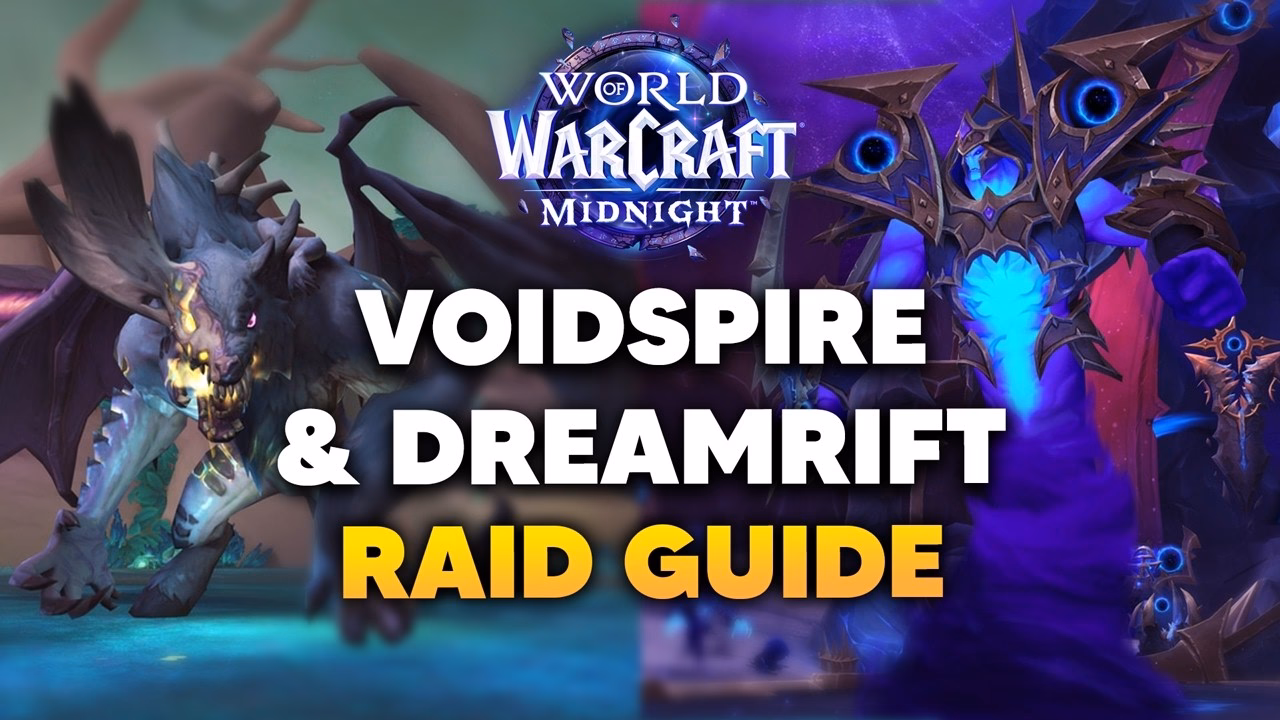
Voidspire & Dreamrift Raid Guide: Normal/Heroic Tips
Normal and Heroic tactics for Voidspire bosses one to five plus Chimaerus in The Dreamrift, with mechanics for each Midnight Season 1 fight.
By:
John Langan
With six encounters to cover, it helps to take them in pull order, starting with how to prepare before the first pull.
Midnight Season 1 opened with three raids, and this guide walks the Normal and Heroic strategies for the early progression path: the first five bosses of The Voidspire, then Chimaerus in the single-boss raid The Dreamrift. The Voidspire's sixth and final boss, Crown of the Cosmos, has its own dedicated guide and is not covered here.
Both raids have been live since Patch 12.0.5 launched on April 21, 2026, so the tactics below reflect the live encounters rather than beta builds. The structure is consistent across The Voidspire: most bosses build Energy to 100 and trigger an intermission, and most reward tight positioning over raw throughput. Bring the standard utility kit: Death Grip, Gorefiend's Grasp, Anti-Magic Zone, Rallying Cry, and Mass Dispel all matter on more than one fight.

Each boss is covered in pull order, with the Normal baseline and the Heroic additions called out as they come up. Groups weighing a guided run can compare Midnight raid carry options to see the progression path executed cleanly before pugging it.
Imperator Averzian opens The Voidspire, and the encounter plays out on a 3x3 grid of nine zones laid out like a tic-tac-toe board. The boss is trying to claim spaces, and that is the heart of the fight: if he completes three claimed spaces in a row, in any direction, the raid wipes.
He claims spaces with Umbral Collapse, the grid-claim cast. Your job is to deny lines: read which spaces are contested and reposition so a third-in-a-row never completes. Adds called Abyssal Voidshapers spawn into the grid; assign players to bring them down quickly, and use soak coordination to contest the spaces they threaten. Watch for the damaging lines the boss fires across the room and simply do not stand in them.
The encounter has a knockback intermission, Void Fall: manage the knockback, dodge the ground circles, and avoid the patrolling hazards until the boss re-engages. On Heroic, keep Imperator Averzian away from live adds, since letting them stack near him pushes the encounter toward an enrage.
✏️ Call the grid out loud. One player tracking which spaces are claimed and announcing the threatened line turns Umbral Collapse from a wipe risk into a simple "move here" instruction for the raid.
Vorasius opens with a strong pull-in followed by a knockback, so top the raid before that sequence so nobody gets clipped low. Through the fight the boss slams the ground, sending expanding shockwave rings outward from Shadowclaw Slam and Aftershock; tanks soak where required and everyone else positions to dodge the rings.
The signature mechanic is the crystal walls. After the early shockwave events, crystalline barriers appear and must be destroyed, and they are broken by the encounter's adds, the Blistercreep. Blistercreep fixate on players; lead them into a wall, and their death detonates against it. On Normal a single Blistercreep explosion breaks a wall section; on Heroic it takes two. Use Gorefiend's Grasp or Death Grip to gather the adds on the side you want to break.
The walls matter because of Void Breath, Vorasius's beam sweep. The boss telegraphs the sweep with a visual cue: one hand glows to mark the side the beam starts from. If it sweeps from your left, move past the right wall to break line of sight, and vice versa. The sweep deals heavy damage, so plan a healing cooldown such as Rallying Cry or Anti-Magic Zone for it.
📌 If an older guide tells you Vorasius has "parasites," ignore it. There is no parasite mechanic on this boss. The wall-breaking adds are Blistercreep, full stop. The kiting plan is the same, but call the add by its real name so nobody is hunting for a mechanic that does not exist.
Fallen-King Salhadaar is a positioning and add-control fight. His core cast is Void Convergence, which spawns Concentrated Void orbs that drift toward the boss; if an orb reaches Salhadaar, the raid wipes, so the orbs have to be killed in transit.
He also casts Shattering Twilight, which lays down a star pattern that then detonates spikes, so reposition out of the pattern before it goes off. Fractured Projection spawns adds that need crowd control and interrupts, and Despotic Command drops pulsing damage circles; carry those to the room's edge to keep the center clear. Tanks manage Destabilizing Strikes, swapping at around eight stacks.
At 100 Energy, Salhadaar stands still and channels Entropic Unraveling for roughly 20 seconds as rotating beams sweep the room while the boss takes increased damage. Use defensive cooldowns to ride out the beams, and pour offensive cooldowns into the boss while the damage-taken window is open.
⚠️ On Heroic, killing a Concentrated Void orb applies an 8-second damage-over-time effect to the whole raid. Stagger the orb kills so the DoTs do not all land at once; overlapping them stacks raid damage your healers cannot cover.
The fourth encounter is a dragon pair, Vaelgor and Ezzorak. They do not share a health pool, but they are bound by Twilight Bond: if the two dragons sit within 15 yards of each other, or their health totals drift more than 10% apart, Twilight Bond doubles their damage. So the fight is a balancing act: split your raid into two roughly equal groups, one per dragon, and keep the health bars in lockstep. Multi-dotting specs such as Warlocks are excellent here for evening the bars out.
Vaelgor's Nullbeam drops circles on players that must be broken up by spreading, and his Dread Breath is a frontal cone that fears a random player, so affected players move clear until the fear is handled, and a Tremor Totem helps. Keep clear of Tail Lash, the rear cone, by positioning the dragons with their tails pointed away from the raid.
Ezzorak brings the soak mechanic. Void Howl wreathes players in shadow and spawns Voidorbs, so spread out to handle them, and cleave the orbs down with help from Gorefiend's Grasp. The Gloom soak leaves the Gloomtouched debuff and a lingering Gloomfield zone; on Normal four players soak, while Heroic needs five and a rotation because the debuff stops the same players from soaking back-to-back. During the intermission the dragons take flight, a barrier appears at the center, and tanks pick up the larger adds; stay inside the shield radius, then re-read which dragon is grounded when the fight resumes.
The Lightblinded Vanguard is a council fight against three paladin bosses at once: General Amias Bellamy (Protection), Commander Venel Lightblood (Retribution), and War Chaplain Senn (Holy). Killing one enrages the surviving two, so this is a cleave fight: keep all three health bars close and finish them together.
Commander Venel's Execution Sentence marks several players with soak rings; the assigned groups stack to absorb the hit, then spread so the Divine Hammers that spawn afterward have clear lanes. War Chaplain Senn's Tyr's Wrath places a stacking healing absorb on the 5 nearest players, so healers keep a gap from him. General Bellamy's Avenger's Shield drops circles that must be spread out and dispelled.
Each boss reaches 100 Energy and casts an Ultimate that projects a 40-yard aura buffing the other bosses, so tanks walk the bosses apart so the auras do not overlap. On Heroic, every Ultimate cycle leaves a permanent Consecration on the floor, so the arena steadily shrinks. Groups that want this council pull handled cleanly can book a Voidspire Heroic clear; the full encounter has its own dedicated boss guide as well.
The Dreamrift is a single-boss raid, and that boss is Chimaerus the Undreamt God. The encounter splits the raid across two realms; players talk about "upstairs" and "downstairs". A clean two-group composition of one tank, two healers, and seven DPS per group sets up the fight well.

The Phase 1 loop runs on Alndust Upheaval, a tank-targeted soak that knocks the target into the Rift and grants the Alnsight buff. Alnsight is what lets players see and damage the Manifestations on the other side. Rift Emergence deals Nature damage to the raid and pushes Manifestations out, and Caustic Phlegm is a sustained raid-wide damage cast that taxes healers. Adds round out the phase: Colossal Horrors for the tanks, Haunting Essences that must be interrupted (their Fearsome Cry will fear the group), and Swarming Shades to cleave.
At 100 Energy the boss casts Consume to trigger the intermission. During it, Corrupted Devastation sweeps a line breath that deals heavy damage, stuns, and leaves puddles, while Rift Shroud caps the boss at 99% damage reduction, so the intermission is about survival and add control, not DPS. Once it ends, the Phase 1 loop resumes. Keep your soak rotation honest: as the Alnsight buff expires it leaves a stacking vulnerability debuff, which is exactly why fresh players have to rotate into the Alndust Upheaval soak rather than letting one tank eat every cast.
It covers the first five bosses of The Voidspire (Imperator Averzian, Vorasius, Fallen-King Salhadaar, Vaelgor & Ezzorak, and the Lightblinded Vanguard) plus Chimaerus the Undreamt God in The Dreamrift. The Voidspire's sixth boss, Crown of the Cosmos, has its own separate guide.
The crystal walls are destroyed by the Blistercreep adds, not by direct damage. Lead a fixating Blistercreep into a wall so its death detonates against it: one explosion breaks a wall section on Normal, two on Heroic. There is no parasite mechanic on this boss.
Imperator Averzian fights on a 3x3 grid and claims spaces with Umbral Collapse. If he completes three claimed spaces in a row, whether horizontal, vertical, or diagonal, and the raid wipes. Track the grid and reposition to deny the third space in any line.
No. The two dragons have independent health pools. Twilight Bond punishes you if they sit within 15 yards of each other or their health totals drift more than 10% apart, doubling their damage, so balance the two health bars and keep the dragons separated.
On Normal, four players soak the Gloom. Heroic raises that to five players and requires a rotation, because the Gloomtouched debuff prevents the same players from soaking consecutive casts.
Salhadaar triggers his intermission at 100 Energy by channeling Entropic Unraveling for about 20 seconds. Rotating beams sweep the room and the boss takes increased damage during the channel; survive the beams with defensives and burn the boss while the window is open.
Manifestations can only be seen and damaged by players carrying the Alnsight buff. Alnsight comes from being knocked into the Rift by Alndust Upheaval, so your soak rotation directly controls how much of the raid can fight the Manifestations at any time.
Yes. The Voidspire and The Dreamrift have been live since Patch 12.0.5 launched on April 21, 2026, and these tactics reflect the live Normal and Heroic encounters rather than beta builds.
Maintained by WowCarry's WoW team. Last reviewed 2026-05-20 against Patch 12.0.5 "Lingering Shadows."