Coiled Isle at a Glance
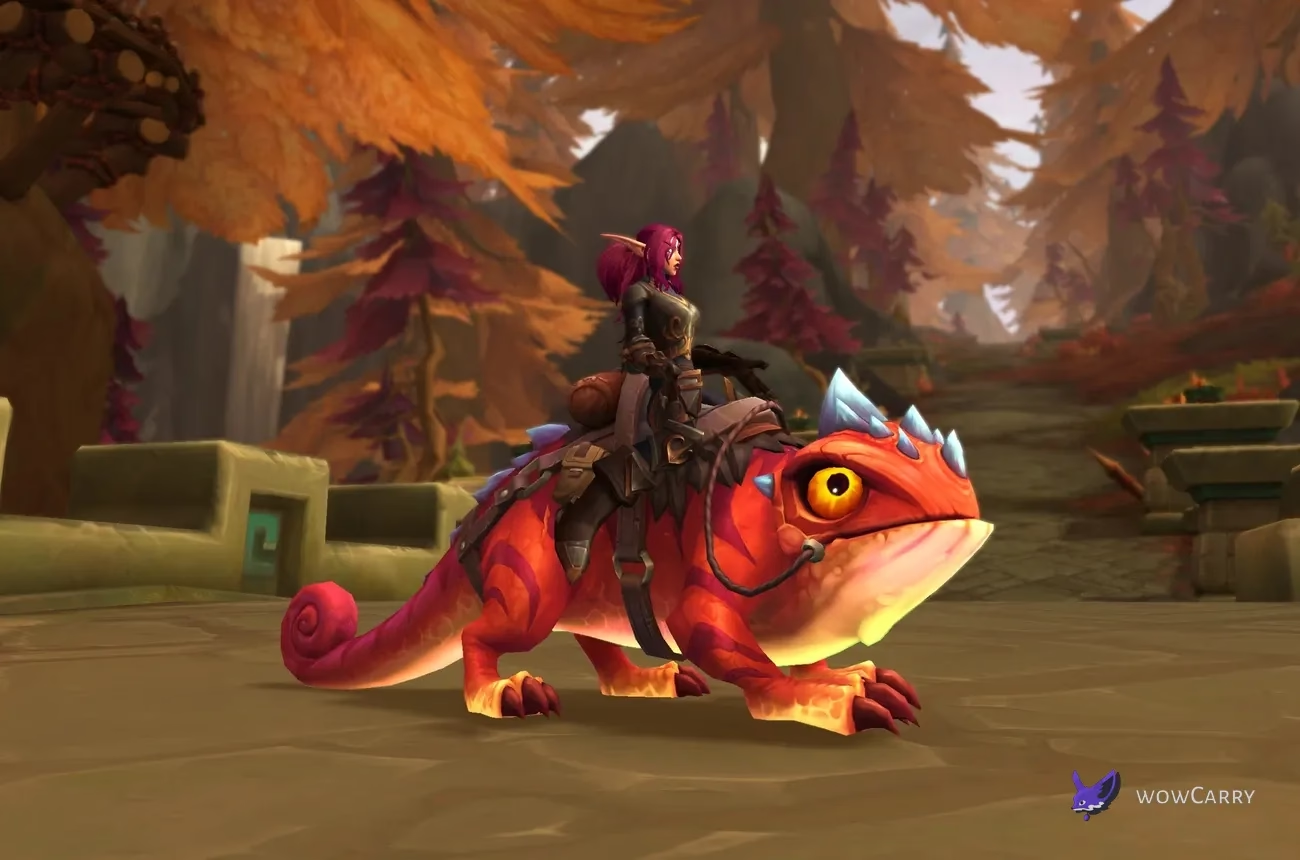
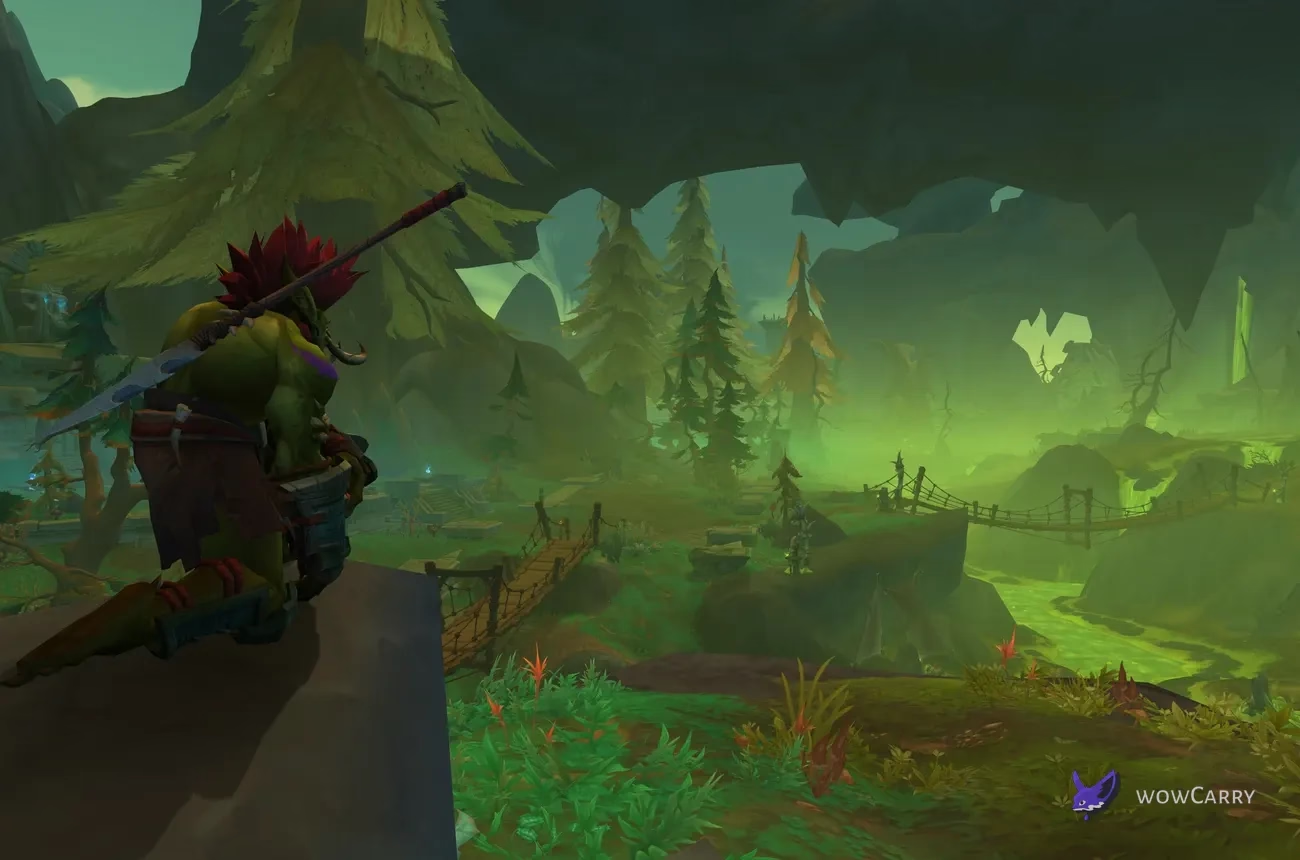
The Coiled Isle is the outdoor zone added east of Zul'Aman in WoW Patch 12.1, Curse of Ula'tek. Complete the campaign handoff that ends with What Lies Beyond the Fog, unlock Tokka's Landing for the Warband, then use surface flying to work through 12 achievement rares, 22 treasures, 11 Skyriding Glyphs, 10 lore objects, and the zone's exploration checklist.
Key Takeaways
- What Lies Beyond the Fog grants full Coiled Isle access, and completing the introduction opens the zone to the Warband.
- Coiled to Strike tracks exactly 12 standard rares and rewards the Amani Forge housing decor.
- Treasures of the Coiled Isle requires 22 objects and rewards the Auriferous Venomfang mount.
- The Coiled Isles Glyph Hunter needs 11 Skyriding Glyphs; these collectibles grant the achievement, not Skyriding talent points.
- Two Coiled Isle rares use interior map IDs, so surface-only waypoint lists cannot finish Coiled to Strike.
- Ula'tek Uncoiled combines the campaign, all 22 treasures, all 12 rares, and the ten-region exploration achievement.
The efficient approach is a clockwise surface sweep from Tokka's Landing, one western and southern loop, one eastern coastal loop, then a short interior cleanup for the two phased rares and nearby collection criteria.
How to Unlock and Reach the Coiled Isle
The island is initially protected by fog and a lethal boundary. Flying toward it before the campaign handoff sends the character back to the mainland. The restriction disappears through the Patch 12.1 story rather than through an item, reputation rank, or weekly reset.
Campaign Requirement
The lead-in begins with Hagar's Invitation and continues through the Legacy of the Amani and An Island of Fangs storylines. What Lies Beyond the Fog sends the character across the ruined Strait of Hexx'alor to meet Zul'jarra at Tokka's Landing. That quest is the reliable full-access checkpoint.
If the breadcrumb is missing, open the Adventure Guide and look for Legacy of the Amani, then confirm that the character has completed the earlier Midnight campaign requirements. An alt that already benefits from the Warband unlock can travel to the island without replaying the entire chain.
Travel Options and Flying Rules
- Direct flight: after the unlock, fly east from Zul'Aman across the strait. Surface flying works immediately.
- Flight path: discover Tokka's Landing around
/way #2512 59.4 49.5for a dependable return point. - Season 2 portal: a later Season 2 introduction opens a two-way route between Astalor's Sanctum in Silvermoon City and the island. It is not part of the initial zone unlock.
- Vaults boundary: the underground area has its own map and disables flying, even though mounts work normally on the surface.
Set the hearthstone or a favorite waypoint near Tokka's Landing before beginning the collection loop. Several treasure chains return to the hub or nearby vendors, and ending each circuit there avoids an unnecessary crossing.
✏️ Warband check: finish What Lies Beyond the Fog once, then test the Tokka's Landing flight path on the intended farming alt before copying a full set of waypoints.
With access confirmed, the next task is separating surface coordinates from interiors that use different map IDs.
Coiled Isle Map and Route Preparation
Use map #2512 for the outdoor island. The underground Vaults of Atal'Utek use map #2509, while the deepest rooms for two rares switch to #2613 and #2642. A waypoint that appears to point at empty terrain usually belongs to another map layer.
| Landmark | Waypoint | Use |
|---|---|---|
| Tokka's Landing | /way #2512 59.4 49.5 | Hub, flight point, vendors, and route start. |
| Gate of the Serpent's Eye | /way #2512 43.8 44.2 | Central Vaults approach and one glyph. |
| Gate of the Eastern Fang | /way #2512 45.8 64.9 | Southern Vaults approach, glyph, treasure, and an interior rare route. |
| Tomb of the Lost Priest | /way #2512 52.4 43.1 | Entrance for a separate interior rare. |
| Gnarldor Isle | /way #2512 64.6 78.0 | Southern Delve landmark and route edge. |
| The Ring of Glory | /way #2512 71.1 56.8 | Eastern Delve landmark near several treasures. |
TomTom accepts each /way entry shown in the tables, while HandyNotes can show vignette categories. Keep treasure, rare, and glyph filters visible together during the first pass; the route gains its efficiency by collecting nearby objectives from all three lists at once.
All 12 Coiled Isle Rares
The 12 creatures in Coiled to Strike are fixed achievement criteria. They are separate from the five rotating event bosses, so killing an event rare does not replace a missing standard rare. The two interior entries are the usual reason an achievement remains at 10 of 12.
| Rare | Waypoint | Access note |
|---|---|---|
| Farthik the Plunderer | /way #2512 53.8 72.0 | Open the Unguarded Chest to start the encounter. |
| Kari'zah the Forgotten | /way #2512 24.9 73.6 | Western coast, south of The Forum. |
| Hisstara | /way #2512 43.9 50.9 | Inside the nearby building. |
| Garsecg | /way #2512 69.6 44.8 | Eastern surface route. |
| Coin-Eye Skully | /way #2512 57.6 67.4 | Swims a broad circuit; watch the minimap. |
| Sss'alik | /way #2512 58.1 40.1 | Patrols up and down the hill. |
| Siltmouth | /way #2512 50.1 68.9 | South-central surface route. |
| Lockjaw | /way #2512 31.7 56.7 | Western route near The Forum. |
| Szarith the Fanged | /way #2613 37.7 17.5 | Enter the Vaults at #2512 45.4 64.9, then The Underbelly at #2509 47.3 6.4. |
| Nar'zira | /way #2642 63.5 62.4 | Enter Tomb of the Lost Priest at #2512 52.4 43.1. |
| Big Mon | /way #2512 70.4 63.7 | Eastern coastal loop. |
| Destra | /way #2512 52.1 32.4 | Northern central route. |
The Ruby Writhe and Topaz Skyfang are shared low-chance drops from Coiled Isle rare creatures. Treat every eligible kill as another attempt rather than assigning either mount to one named rare.
📌 Map-layer mistake: if Szarith or Nar'zira appears to be hundreds of yards away, enter the named interior first and paste the waypoint only after the map changes to
#2613or#2642.
Rare respawns can interrupt a perfectly ordered loop. Collect nearby permanent objects first, then detour to any live rare marker instead of waiting at an empty spawn.
All 22 Coiled Isle Treasures
The treasure achievement has 15 direct pickups and seven interaction chains. Looting all 22 awards Auriferous Venomfang immediately through the achievement. If progress does not advance, compare the character's criteria panel with the exact object name; several puzzle chains begin at one object but award credit at another.
Fifteen Direct-Pickup Treasures
| Treasure | Waypoint | Route area |
|---|---|---|
| Possessed Vase | /way #2512 31.4 83.5 | Southwest island |
| Tarnished Amani Glaive | /way #2512 55.2 37.9 | North-central |
| Damaged Loa Trinket | /way #2512 46.9 29.6 | Blistering Terrace |
| Ornate Bottle | /way #2512 66.9 28.1 | Northeast coast |
| Waterlogged Basket | /way #2512 49.5 32.0 | North-central |
| Crumbling Urn | /way #2512 73.5 56.6 | East coast |
| Fangbound Sack | /way #2512 45.9 66.3 | Eastern Fang gate |
| Malfunctioning Staff | /way #2512 75.4 68.4 | Southeast coast |
| Jaktu's Cursed Blade | /way #2512 60.4 59.4 | South of the hub |
| Cracked Skull | /way #2512 58.1 43.6 | Tokka's Landing |
| Venomjade Necklace | /way #2512 64.7 36.6 | Northeast |
| Stinking Vessel | /way #2512 53.1 43.1 | North of the hub |
| Smoldering Incense | /way #2512 29.6 67.2 | The Forum |
| Forgotten Mask | /way #2512 64.9 78.9 | Gnarldor Isle |
| Zul'jan's Stash | /way #2512 44.0 26.5 | Blistering Terrace |
These objects are the fastest progress on the route. Clear them while watching for rare vignettes, then reserve uninterrupted time for the seven chains that require keys, dialogue, fishing, or several stops.
Seven Puzzle Treasures
| Treasure | Start | Required sequence |
|---|---|---|
| Sunken Diver's Chest | /way #2512 65.4 5.6 | Defeat Glittering Grouper Brinetail until Diver's Key Fragment drops three times, combine them into Diver's Key, then open the chest. |
| Profane Ritual Spoils | /way #2512 43.6 67.4 | Stand at the table facing the altar; activate the Mysterious Trinkets upper right, upper left, lower right, then lower left. |
| Lost Spirit | /way #2512 68.0 65.9 | Pick up the Forgotten Trinket at /way #2512 70.2 64.5, then return it to the spirit. |
| Vul'zahn's Smuggled Treasure | /way #2512 58.2 45.8 | Ask Vul'zahn about the chest; visit the Witherbark Cook at /way #2512 58.0 48.8 and Apothecary Dezi at /way #2512 57.2 48.5; give the cook Potion of Headache Relief, then trade Snuffling Boar Stew to Vul'zahn for Soldier's Smuggled Treasure Key. |
| Grave of Someone Forgotten | /way #2512 67.3 48.5 | Interact with the Nameless Grave and Forgotten Soldier; ask Zan'ja at /way #2512 70.4 58.4, Ru'ko at /way #2512 66.4 57.2, and Zuzan at /way #2512 69.1 52.7 about Jin'ta; return and loot. |
| Brine-Crusted Chest | /way #2512 70.2 77.0 | Open Bubbling Clams until a Luminescent Pearl drops; place it by Nacretta at /way #2512 70.6 77.1, loot the Dropped Key, then open the chest. |
| Amani Privateer's Cache | /way #2512 71.9 66.7 | Fish the Grisly Cod Pool at /way #2512 73.4 66.1 for a Grisly Morsel; feed the Hungry Dolphin at /way #2512 72.5 67.2 and stay submerged; follow it to the Waterlogged Crate at /way #2512 73.1 67.0 for Privateer's Loop Half of Key and the Broken Urn at /way #2512 72.4 68.4 for Privateer's Teeth Half of Key; combine them into Amani Privateer's Key, then open the cache. |
Underwater chains are easier when the character has a breath extension, swim-speed utility, or the relevant island fishing progression. The treasure itself remains the achievement criterion; helper items and intermediate objects do not grant credit.
⚠️ Live grave route: ignore older PTR instructions that tell you to die or use a consumable. Interact with the Nameless Grave and Forgotten Soldier, ask Zan'ja, Ru'ko, and Zuzan about Jin'ta, then return to the grave.
After all 22 criteria are checked, the mount reward is deterministic. Repeating treasures is unnecessary for Auriferous Venomfang. Readers comparing completion paths can Browse Auriferous Venomfang options.
All 11 Coiled Isle Skyriding Glyphs
The glyph circuit is fastest from the island's highest western peaks toward Tokka's Landing and the eastern wrecks. Collecting all 11 completes the glyph achievement. Modern Skyriding progression no longer uses these objects as talent currency, so a collected glyph does not grant character power or increase the six shared Skyriding charges.
| Glyph | Waypoint | Position cue |
|---|---|---|
| The Fangs | /way #2512 37.4 60.5 | Top of the island's tallest peak. |
| Wreck of Sethralis's Scales | /way #2512 28.8 75.3 | Peak overlooking the wreck. |
| Gate of the Eastern Fang | /way #2512 45.8 64.9 | Above the serpent gate. |
| The Whispering Marsh | /way #2512 64.1 60.7 | Above a large broken tree. |
| The Serpent's Tail | /way #2512 52.0 38.4 | Under the long stone span. |
| Gate of the Serpent's Eye | /way #2512 43.8 44.2 | Inside the stone serpent's mouth. |
| The Forum | /way #2512 26.6 63.1 | Under an Amani arch. |
| Southern Island | /way #2512 40.6 90.5 | Near the summit of the curved island. |
| Tokka's Landing | /way #2512 58.9 48.9 | Above the central hub arch. |
| Wreck of Paku's Talon | /way #2512 70.3 48.2 | Under a rocky arch north of The Ring of Glory. |
| Blistering Terrace | /way #2512 42.9 30.6 | On the mountain beside the terrace ruins. |
Begin at The Fangs while the mount has full speed, descend through The Forum and the western wreck, then use Southern Island as the turn toward the eastern half. That order trades repeated climbs for a mostly descending route.
✏️ Altitude technique: climb before The Fangs, then carry that height through The Forum and Wreck of Sethralis's Scales. Starting the circuit at sea level forces repeated ascent between three close glyphs.
The glyph circuit overlaps most map-reveal regions, making it the natural bridge between treasure cleanup and the final exploration check.
Lore Objects and Exploration Achievements
The zone has two different exploration layers. Map discovery feeds the four-part meta achievement, while lore objects feed a separate ten-object achievement and toy. They overlap geographically but progress independently.
Ten Lore Objects
Student of Hissstory requires ten readable objects and rewards the Cursed Badge of the Soulcoilers transformation toy.
| Lore object | Waypoint | Location cue |
|---|---|---|
| Head Mason's Tablet | /way #2512 42.5 65.0 | Within the Vaults entrance structure. |
| Worn Tablet | /way #2512 70.0 65.9 | Inside the surface temple. |
| Message in a Bottle | /way #2512 31.6 83.7 | Beside the southwest shipwreck. |
| Forum Rules | /way #2512 25.0 67.8 | At the base of the stone square. |
| Zandalari Logbook | /way #2512 71.9 44.9 | In the water beside a wreck. |
| Amani Exile's Words | /way #2512 57.4 80.3 | At the base of a fallen tree. |
| Abandoned Tablet | /way #2512 50.7 68.4 | Below the broken bridge. |
| Oily Black Stone | /way #2512 45.8 47.9 | In a green pool; normal interaction grants credit. |
| Survival Journals | /way #2512 34.1 36.5 | Washed ashore on the small island. |
| Profaned Plaque | /way #2512 32.5 63.7 | Inside the left chamber near the western Vaults entrance. |
Several lore objects sit within a few yards of treasure or glyph waypoints. Collect Message in a Bottle with Possessed Vase, Forum Rules with the Forum route, and Amani Exile's Words with the southeast treasure circuit.
Ula'tek Uncoiled and Other Zone Goals
| Achievement | Requirement | Route impact |
|---|---|---|
| The Curse of Ula'tek | Complete the Patch 12.1 campaign storylines. | Do this first because it opens the island and story phasing. |
| Treasures of the Coiled Isle | Loot all 22 criteria. | Finish the seven interaction chains after the direct pickups. |
| Coiled to Strike | Defeat all 12 standard rares. | Take live rare detours and finish the two interiors last. |
| Explore the Coiled Isle | Reveal ten named map regions. | The glyph loop reveals most regions naturally. |
Those four achievements complete Ula'tek Uncoiled. The map component needs Blistering Terrace, Gate of the Serpent's Eye, Mlurkkr Mire, The Serpent's Tail, Tokka's Landing, Gate of the Eastern Fang, Gnarldor Isle, The Forum, The Whispering Marsh, and Wreck of Paku's Talon.
Additional collection goals include the glyph and lore achievements, Angler of the Coiled Isle, The Coiled Isle Safari, Snake Charmed, I'm Sure, and A Stack of Snacks. They do not replace any of the four meta criteria, so track them as parallel projects.
Efficient Coiled Isle Completion Route
This five-leg route favors permanent collectibles, takes rare detours only when a vignette is active, and leaves interior phasing for the end. Add only the current leg's table waypoints so the map does not become an unreadable cluster.
- Hub, north, and Mlurkkr Mire: begin at Tokka's Landing. Collect its glyph, Cracked Skull, Vul'zahn's chain, Stinking Vessel, Tarnished Amani Glaive, Waterlogged Basket, The Serpent's Tail glyph, Oily Black Stone, Damaged Loa Trinket, Zul'jan's Stash, and the Blistering Terrace glyph. Push through Mlurkkr Mire for Venomjade Necklace, Ornate Bottle, and Zandalari Logbook. Check Hisstara, Sss'alik, Destra, and Garsecg when their markers appear.
- Western height loop: climb to The Fangs glyph, descend through Gate of the Serpent's Eye, Lockjaw, The Forum glyph, Forum Rules, Smoldering Incense, Kari'zah, Wreck of Sethralis's Scales, Message in a Bottle, Possessed Vase, and Southern Island. Take the short northern-island detour for Survival Journals.
- Southern gate and Gnarldor Isle: collect the Eastern Fang glyph, Fangbound Sack, Profane Ritual Spoils, Profaned Plaque, Head Mason's Tablet, Siltmouth, Farthik, Coin-Eye Skully, Abandoned Tablet, Jaktu's Cursed Blade, Forgotten Mask, and Amani Exile's Words.
- Eastern coast and puzzle sweep: collect the Whispering Marsh glyph, then continue to Big Mon, Worn Tablet, Lost Spirit, Grave of Someone Forgotten, the Wreck of Paku's Talon glyph, Crumbling Urn, Amani Privateer's Cache, Brine-Crusted Chest, and Malfunctioning Staff. Take the northern water detour for Sunken Diver's Chest when three key fragments are ready.
- Interior cleanup: enter Tomb of the Lost Priest for Nar'zira, then use the Eastern Fang entrance and The Underbelly map for Szarith. Finish any missing map region before returning to Tokka's Landing.
The order is a completion route, not a spawn camp. If a rare is absent, continue collecting and revisit it on the return line. Permanent objectives provide progress every minute, while waiting at one spawn can stall the entire loop.
📌 Route discipline: keep a second list containing only missing criteria. After the first loop, leaving all 55 rare, treasure, glyph, and lore waypoints active makes the final three objectives harder to see.
Once the surface checklist is complete, use focused guides for the systems whose progression continues beyond the island map.
Where the Coiled Isle Systems Continue
The outdoor zone connects many Patch 12.1 systems, but each has enough rules and rewards to deserve its own guide.
| System | What this guide covers | Continue with |
|---|---|---|
| Vaults of Atal'Utek | Entrances and the two interior rare routes only. | Read our Vaults route guide for activities, Altar of Corrosion, currencies, and rewards. |
| Cursed Surges and Captain Tokka | Only their relationship to travel and underwater treasure work. | The dedicated reference covers the five events, fishing unlocks, friendship ranks, and vendor rewards. |
| Zul'jarra's Forces | Collection activities overlap its reputation sources. | The dedicated reference covers all 20 ranks, weekly sources, and purchases. |
| Omnium Folio | No rune or role recommendations are repeated here. | Compare all Omnium Folio runes before choosing a row setup. |
| Azta'rec | The island route identifies only the northern activity boundary. | Read the Azta'rec strategy for memory sequences and rewards. |
| Midnight Season 2 Delves | The Ring of Glory and Gnarldor Isle are route landmarks. | Explore Season 2 Delves for tiers, companion plans, and weekly progression. |
| The Venomous Abyss | The surface map does not reproduce raid mechanics. | Read the Venomous Abyss guide for encounter preparation. |
| Altar of Fangs | The surface map does not reproduce dungeon pulls. | Explore Altar of Fangs routes for Mythic+ planning. |
Keeping those boundaries clean lets this page remain a fast zone checklist while the linked guides absorb hotfix-sensitive builds, encounters, currencies, and reward tables.
Coiled Isle FAQ
These answers cover the checks that most often stop an otherwise complete island route.
How do I unlock the Coiled Isle in WoW?
Follow the Patch 12.1 campaign through Hagar's Invitation, Legacy of the Amani, and An Island of Fangs. Full access arrives with What Lies Beyond the Fog, which sends the character to Zul'jarra at Tokka's Landing. Once the introduction is complete, the Coiled Isle unlock is available across the Warband rather than requiring the full chain on every alt.
Can I fly on the Coiled Isle?
Yes. Surface flying is available immediately after What Lies Beyond the Fog removes the zone boundary. You can fly east from Zul'Aman or use the Tokka's Landing flight path after discovering it. Flying is disabled inside the Vaults of Atal'Utek, so an outdoor waypoint should be completed before entering the underground map unless the route specifically targets Szarith.
How many rares are on the Coiled Isle?
Coiled to Strike lists 12 standard rares. Ten are on the outdoor map, Szarith the Fanged is inside The Underbelly on map #2613, and Nar'zira is inside Tomb of the Lost Priest on map #2642. The five rotating Curse Surge bosses are a separate event roster and do not replace these achievement criteria.
How many treasures are on the Coiled Isle?
Treasures of the Coiled Isle requires 22 objects: 15 direct pickups and seven interaction chains. The longer chains include Sunken Diver's Chest, Profane Ritual Spoils, Lost Spirit, Vul'zahn's Smuggled Treasure, Grave of Someone Forgotten, Brine-Crusted Chest, and Amani Privateer's Cache. Completing all 22 awards Auriferous Venomfang.
Do Coiled Isle Skyriding Glyphs give talent points?
No. The 11 Coiled Isle Skyriding Glyphs complete The Coiled Isles Glyph Hunter achievement, but current Skyriding progression does not spend them as talent currency. Their practical value is exploration and achievement completion. If the glyph counter does not advance, check the 11 named criteria rather than looking for a new ability point.
Why am I missing two Coiled to Strike rares?
The common missing pair is Szarith the Fanged and Nar'zira because neither uses the outdoor #2512 waypoint layer at the final spawn. Enter The Underbelly before using Szarith's #2613 coordinate, and enter Tomb of the Lost Priest before using Nar'zira's #2642 coordinate. The achievement panel names both criteria directly.
What is the fastest way to complete the Coiled Isle?
Unlock Tokka's Landing, collect the hub and north-central objectives, sweep the western peaks and southern island, follow the southeast coast, then finish Szarith and Nar'zira inside their separate maps. Take live rare detours without waiting at empty spawns. This order combines treasures, glyphs, lore, and map discovery into the same flights and leaves phasing-sensitive interiors until last.
Last reviewed 2026-08-26 against Patch 12.1 Curse of Ula'tek — Maintained by WowCarry's WoW team.