Key Takeaways
- Magisters' Terrace in Midnight Season 1 features four entirely new bosses: Arcanotron Custos, Seranel Sunlash, Gemellus, and Degentrius. None of these appear in the original TBC version of the dungeon.
- Arcanotron Custos goes invulnerable during Refueling Protocol; send players to soak every Arcane Energy Orb or the boss gains a stacking damage buff that breaks the group.
- Seranel Sunlash applies Runic Mark to random players; anyone marked must step inside the Suppression Zone bubble to clear the debuff, or they take heavy damage.
- Gemellus splits into three clones at pull and again at 50% HP; all clones share one health pool, so cleave all three and do not let them spread.
- Degentrius divides the arena with Void Torrent beams; split the group into two halves to cover Unstable Void Essence orbs on both sides simultaneously.
- The seasonal affix is Xal'atath's Bargain: Pulsar. Soak Void Pulsar orbs for 30 seconds of Mastery and Leech; every unsoaked orb grants enemies +10% damage.
- Interrupt priority throughout: Arcane Magister casts on trash, Wave of Silence from Seranel, and summon channels from Shadowrift Voidcallers all cause wipes when they land.
This guide covers all four bosses, key trash priorities, and the Pulsar affix for Magisters' Terrace in WoW Midnight Season 1 Mythic+.
Dungeon Overview
Magisters' Terrace sits on the Isle of Quel'Danas, the sun-drenched peninsula that juts from the northern tip of Quel'Thalas. Players returning from the original Burning Crusade dungeon will recognize the grand architecture and arcane-charged corridors, but the Midnight re-imagining replaces every encounter wholesale. The four bosses here are wholly original to Season 1; no Selin Fireheart, no Vexallus, no Prince Kael'thas. The Terrace has been repurposed as a focal point of void corruption bleeding through the boundary between Quel'Thalas and the Twisting Nether, and its inhabitants reflect that shift.
Magisters' Terrace is one of four new dungeons added to the Mythic+ pool when Midnight launched on March 17, 2026. It runs in Patch 12.0.5 "Lingering Shadows" and shares the Season 1 affix roster with the rest of the pool. The dungeon suits groups comfortable managing split assignments and positional discipline; most of its punishing moments reward preparation rather than raw throughput.
Seasonal affix: Xal'atath's Bargain: Pulsar. At intervals throughout the dungeon, Void Pulsar orbs tether to nearby players. Absorbing an orb grants that player Mastery and Leech for 30 seconds. Any orb left unsoaked empowers enemies with +10% damage per orb. Coordinate who soaks each orb before pulls rather than scrambling mid-fight; the cumulative damage penalty compounds fast in extended trash pulls.
Lindormi's Glow is available for tanks as an optional routing aid that highlights recommended pathing through the dungeon. It does not affect enemy stats or the timer, but it does reduce the chance of pulling unintended patrols in the Terrace's tighter interior corridors.
Trash Mob Priorities
The Terrace's trash roster is interrupt-dense. Groups that assign crowd-control and interrupt targets before each pull move through the dungeon cleanly; groups that improvise get overwhelmed by stacking casts. Focus on the following mobs in order of threat.
- Lightward Healer: top kill priority. It heals other mobs and will undo DPS checks if left alive. Interrupt the heal cast; if the interrupt is on cooldown, CC the healer until you can catch it.
- Shadowrift Voidcaller: summons void adds through a channel. Interrupt the summon. If it completes, you deal with two fights at once and the orb penalty stacks while you clean up adds.
- Arcane Magister: ranged caster that chains Arcane Bolt and Arcane Surge. Assign a dedicated interrupt to Arcane Surge; the Bolt chain is manageable, the Surge is not.
- Spellwoven Familiar: kill first whenever it accompanies a caster pack. The Familiar empowers every caster mob in range; pulling without killing it extends trash timers substantially.
- Blazing Pyromancer: drops fire zones on the ground that persist. Interrupt fire casts and move the mob away from where its dropped fires would block the route to the next pack.
- Brightscale Wyrm: dragon-type creature with a breath attack frontal. Face it away from the group; the cone is wide and the Wyrm repositions if its initial facing goes unchecked.
- Devouring Tyrant: elite void mob that puts heavy tank pressure. Use a defensive cooldown if it lines up with a Void Pulsar orb and the healer is already reacting to melee damage.
- Runed Spellbreaker: melee mob with a defensive rune that reduces its incoming damage. Dispel the rune or wait for it to expire before burning the mob; DPS wasted against the rune is DPS off the timer.
- Arcane Sentry (patrol mob): interrupt Arcane Bolt on sight. Sentries patrol the Terrace's main corridors and can add to pulls if the tank's pathing overlaps with their route.
- Hollowsoul Shredder and Dreaded Voidwalker: melee mobs that front-load physical damage. Keep them clumped for cleave; neither has a dangerous cast but both contribute to ambient tank pressure that compounds with void add spawns.
- Animated Codex: ranged caster; interrupt its cast line. Low individual threat but dangerous when paired with a Spellwoven Familiar that has not been killed yet.
The Terrace's interior corridors narrow in several sections, which limits repositioning room when Blazing Pyromancers drop fire or Brightscale Wyrms need to be faced away. Scout the pull zone before engaging so the group knows which direction has clear floor space.
The second boss zone transitions through an open gallery that houses some of the heaviest mixed packs in the dungeon. Clear the Spellwoven Familiars and Lightward Healers in these rooms before engaging anything else; leaving either type alive in a mixed pull creates a cascade of overlapping casts that outpaces most healers.
Boss 1: Arcanotron Custos
Arcanotron Custos opens as a straightforward tank-and-spank with moderate AoE pressure, but the fight pivots entirely on its Refueling Protocol intermission. Groups that handle the orb phase well find the rest of the encounter trivial; groups that let orbs slip empower the boss to a point where the damage is unrecoverable.
- Arcane Expulsion: AoE blast followed by a knockback that shoves players toward the room's edges, where arcane puddles form on the ground. Position the group in the center of the room and move together after the knockback to avoid stepping into puddles. Do not let puddles accumulate near the center or the boss's placement becomes unmanageable.
- Repulsing Slam: tankbuster. Use a major defensive cooldown. The hit alone is survivable; the hit combined with a Void Pulsar orb penalty is not. Time cooldown use with awareness of the affix cycle.
- Ethereal Shackles: debuff applied to a random player. Dispel promptly. Shackles deals ticking damage to the target and, if left up, spreads an arcane debuff to nearby players. Designate one dispel per debuff application and do not let the target run through the group before the dispel fires.
- Refueling Protocol: intermission triggered at a set HP threshold. Arcanotron Custos becomes immune to all damage and Arcane Energy Orbs spawn around the room. Divide the group by orb position and soak every orb before they detonate. Each unsoaked orb empowers the boss when it drops immunity; the damage and cast speed increase from even two or three unsoaked orbs makes the second phase substantially harder. The orbs do not all spawn simultaneously, so stay mobile and call which player is taking each one as they appear.
📌 Common mistake: Groups stack near the boss during Refueling Protocol for convenience. The orbs spawn at fixed positions around the room perimeter; stacking center means every player has to run to the edge, and some orbs will expire before anyone reaches them. Pre-position at the room's midpoint during the transition so no orb is more than half a room away from someone.
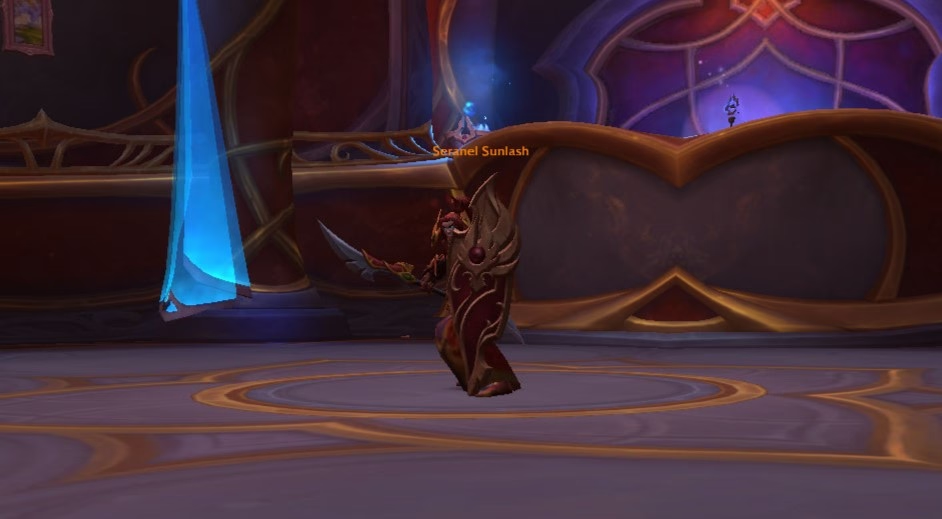
Boss 2: Seranel Sunlash
Seranel Sunlash is a position-check fight built around two interacting mechanics: the Runic Mark debuff and the Suppression Zone bubble. The fight is forgiving for groups that communicate who is marked; it is punishing for groups that let marked players stand outside the zone.
- Suppression Zone: Seranel creates a bubble in a fixed location within the arena. Players who carry the Runic Mark debuff must step inside this bubble to clear the mark. The bubble does not deal damage to players without the mark, but it has a limited radius, so the group needs to know where it is before Runic Mark is applied.
- Runic Mark: debuff applied to one or two random players each application. Marked players take ticking damage scaling in severity. Move into the Suppression Zone as soon as the mark appears; do not finish a cast rotation or wait for the healer to stabilize you first. Delay is the primary cause of mark-related deaths.
- Wave of Silence: long cast time, wide AoE, applies a silence to the entire group. Interrupt this every time. The silence window is long enough to kill a marked player whose healer cannot cast. Assign a primary and backup interrupt before the pull and call the cast clearly in voice or in chat.
- Hastening Ward: self-buff that increases Seranel's attack speed and damage output. Dispel or interrupt on sight. Letting Hastening Ward sit for even a few seconds increases tank damage to levels that overlap dangerously with other incoming hits.
- Null Reaction: frontal attack aimed at Seranel's current facing. The tank should position Seranel so the frontal cone points away from the group and away from the Suppression Zone entrance. A frontal that clips the Suppression Zone disrupts marked players trying to step inside to clear their debuff.
✏️ Technique: Keep the Suppression Zone at the boss's flank, not behind it. That way the tank holds Seranel stationary (necessary for Null Reaction facing) while marked players walk laterally into the Zone rather than running around the boss. Lateral movement is faster and cleaner in the room's geometry.
Boss 3: Gemellus
Gemellus is the cleave and split-management encounter of the dungeon. The boss clones itself at the start of the pull and at 50% HP, filling the room with three copies that all share a single health pool. The fight tests whether the group can maintain uptime across all three targets without losing track of positional mechanics.
- Triplicate: Gemellus splits into three clones at the pull and again when the group drops the shared health pool to 50%. All three clones share one pool: damage dealt to any clone applies to the boss's total HP. Use cleave and DoT effects to apply pressure to all three simultaneously. The clones rejoin when the shared pool reaches 5%, resetting to a single target for the final burn. Do not tunnel one clone; spread damage evenly to accelerate the phase.
- Neural Link: a link debuff chains two players together. Move in the direction the mechanic demands based on its current behavior; the link deals damage based on player positioning. Communicate immediately when the link fires so both players can adjust together rather than pulling in opposing directions.
- Astral Grasp: a channel that pulls players toward whichever clone is casting it. Interrupt the channel or move out of its pull-in range. The pull disrupts positioning relative to other clones, and being dragged through a Void Secretion puddle while Neural Link is active is one of the fight's most common wipe scenarios.
- Void Secretions: the clones drop void puddles on the ground during the fight. Puddles persist and accumulate; clear floor space by moving the encounter toward cleaner sections of the arena as the fight progresses. Do not stack all three clones in a corner or the puddle coverage makes the floor unnavigable by the 50% split.
⚠️ Warning: At 50%, Triplicate re-fires before all debuffs from the first phase have expired. Groups that tunnel to the phase transition while ignoring a live Neural Link or an incoming Astral Grasp channel find themselves handling the new clones with half the group mispositioned and the other half linked. Call the 50% threshold early and finish active mechanics before the split lands.
The gallery beyond Gemellus leads into the final chamber. This transition contains the Devouring Tyrant and a mixed pack of Dreaded Voidwalkers; clear them with cooldowns ready because Degentrius begins the final encounter at full energy.
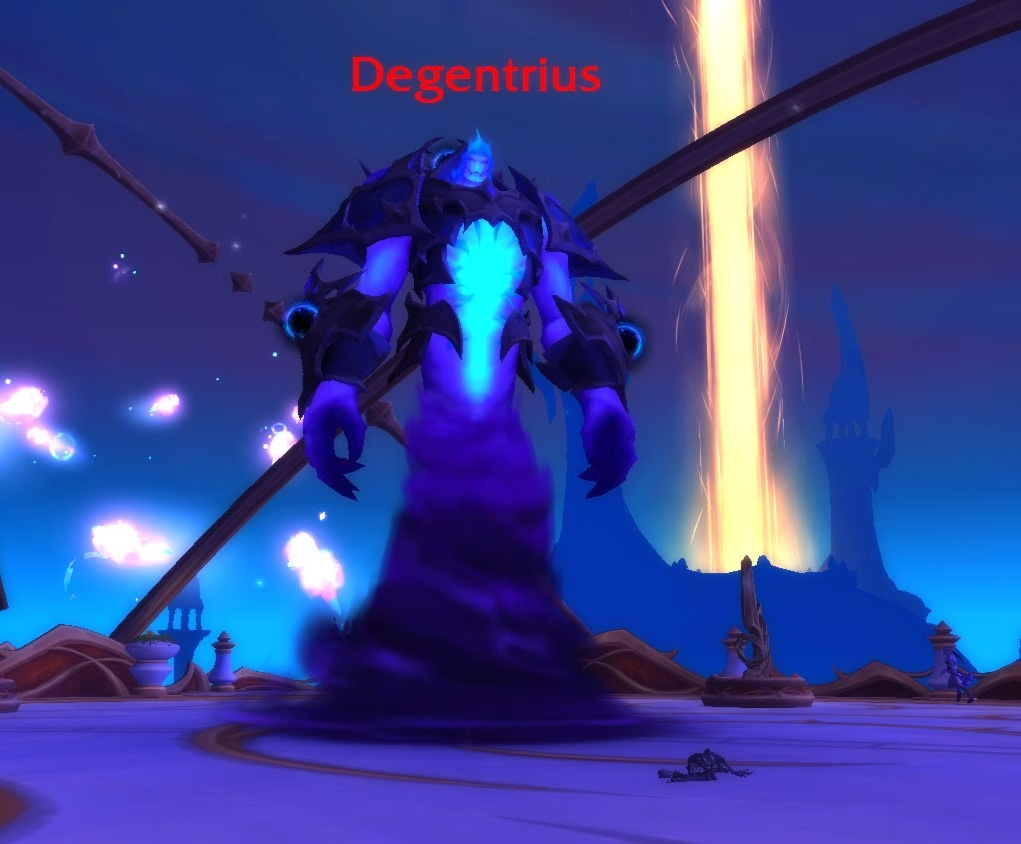
Boss 4: Degentrius
Degentrius is the dungeon's final encounter and its most mechanically layered fight. The arena is divided by sweeping beams, orbs require simultaneous coverage, adds demand attention, and the tank swap pattern punishes passive play. Groups that assign roles before the pull rather than reacting in the moment clear the fight cleanly; groups that improvise wipe to overlapping mechanics.
- Void Torrent: a beam that sweeps across the arena, dividing it into sections and dealing lethal damage to anyone standing in its path. Watch the beam's starting angle and move to the safe side before it completes its sweep. The beam pattern recurs throughout the fight; standing still is not an option. Call the safe side loudly so the group moves together rather than scattering.
- Unstable Void Essence: orbs spawn on two sides of the arena simultaneously. Designate two groups at the pull (two players left, two players right, with healer floating) and move to your assigned side when orbs appear. Orbs left unsoaked detonate for heavy raid-wide damage that compounds with the Void Torrent sweep. Tank movement during Void Torrent must account for which side needs a soak; coordinate explicitly rather than assuming.
- Hulking Fragment: a void add spawned during the fight. The add targets a random player and cannot be permanently kited or ignored; it requires CC or positioning discipline until Degentrius crosses a health threshold at which point the add despawns. Do not let the Hulking Fragment reach the healer; use a CC chain if the tank's attention is occupied by a Void Torrent sweep.
- Umbral Splinters: AoE projectile scatter. Players must spread to avoid sharing damage. The spread requirement conflicts with the stacking impulse during beam navigation; build in lateral separation between players even during beam repositioning so that Umbral Splinters can land with players already spread.
- Devouring Entropy: stacking debuff on the active tank. Swap tanks when stacks reach a dangerous threshold. The exact count depends on your tank specs and available externals. The debuff does not reset the boss's position, so the incoming tank should already be in position on their side of the beam before the swap happens.
📌 Pre-pull role assignment for Degentrius: (1) Tank A holds boss left, Tank B starts right and watches for swap threshold. (2) DPS 1 + 2 own left orbs, DPS 3 + healer cover right. (3) Melee DPS prioritize Hulking Fragment when it spawns; ranged maintain Degentrius pressure. Assigning all five roles before engaging removes the largest source of wipe-causing miscommunication.
For groups working on timed runs, the Mythic+ carry services at WowCarry cover Magisters' Terrace and all Season 1 dungeons. You can also browse WoW Midnight Season 1 boosts for gearing, raid clear, and PvP services.
Last reviewed 2026-06-17 against Patch 12.0.5 Lingering Shadows. Maintained by WowCarry's WoW team.
Frequently Asked Questions
Is the Magisters' Terrace in Midnight Season 1 the same dungeon as the TBC original?
The location is the same (Isle of Quel'Danas in Quel'Thalas), but the dungeon is a Midnight re-imagining with four entirely new bosses. None of the original TBC bosses appear in the Season 1 version. The architecture and setting are recognizable; the encounters are wholly original.
What is the seasonal affix for Midnight Season 1 Mythic+ dungeons?
The Season 1 affix is Xal'atath's Bargain: Pulsar. Void Pulsar orbs tether to nearby players throughout the dungeon. Absorbing an orb grants Mastery and Leech for 30 seconds. Each orb left unsoaked grants all enemies a permanent +10% damage increase for the remainder of the key. Soaking every orb is not optional at higher key levels.
What is Refueling Protocol on Arcanotron Custos and how do I handle it?
Refueling Protocol is an intermission at which Arcanotron Custos becomes immune to all damage. Arcane Energy Orbs spawn around the room's perimeter and must be soaked by players before they detonate. Each unsoaked orb empowers the boss when immunity drops, increasing its damage and cast speed. Divide the group by orb position before the intermission triggers and stay mobile; orbs do not all spawn at once.
How does the Suppression Zone mechanic work on Seranel Sunlash?
Seranel Sunlash creates a Suppression Zone bubble at a fixed location in the arena. Runic Mark is applied to random players and deals escalating damage. The only way to clear Runic Mark is to step inside the Suppression Zone. Moving into the Zone as soon as the mark appears is critical; delay causes rapid damage that can outpace healing. Players without the mark can enter the Zone without penalty.
Do all three Gemellus clones need to be killed separately?
No. All three Gemellus clones share a single health pool, so damage dealt to any one clone reduces the shared total. Clones split at the pull and again at 50%, then rejoin into a single target when the shared pool reaches 5% HP. The goal is to apply cleave damage to all three simultaneously rather than burning one clone at a time, which would leave the others at high HP when the rejoin phase triggers.
What is the correct split for Unstable Void Essence orbs on Degentrius?
Orbs spawn on two sides of the arena simultaneously. Assign two players to the left side and two players (plus the healer as needed) to the right side before the pull. Both groups cover their respective orbs when they appear. The split must account for Void Torrent beam repositioning; players assigned to a side should return to their designated zone after moving for the beam rather than drifting across the arena.
When should tanks swap on Degentrius?
Swap tanks when Devouring Entropy stacks reach a level your tank cannot sustain through the next Void Torrent or Umbral Splinters event. The threshold varies by spec and by whether external cooldowns are available; proactively calling a swap at moderate stacks is safer than waiting for the debuff to become critical. The incoming tank should already be positioned on their side of the beam before the swap completes.
Is Magisters' Terrace worth farming for loot in Season 1?
Yes. Gemellus in Magisters' Terrace drops Jelly Replicator, the top defensive Mythic+ trinket for tanks in Season 1. Its absorb shield activates on incoming damage and triggers a bonus absorb below 35% HP. The trinket is highly contested in groups running higher Mythic+ keys. Other slot upgrades from the dungeon are competitive at their item level range across DPS and healer loot tables.

