Nexus-Point Xenas Dungeon Guide: Midnight Season 1 Mythic+
Strategy for the WoW Midnight Season 1 dungeon Nexus-Point Xenas: route the three wings and beat Kasreth, Nysarra, and Lothraxion inside the timer.
By:
John Langan
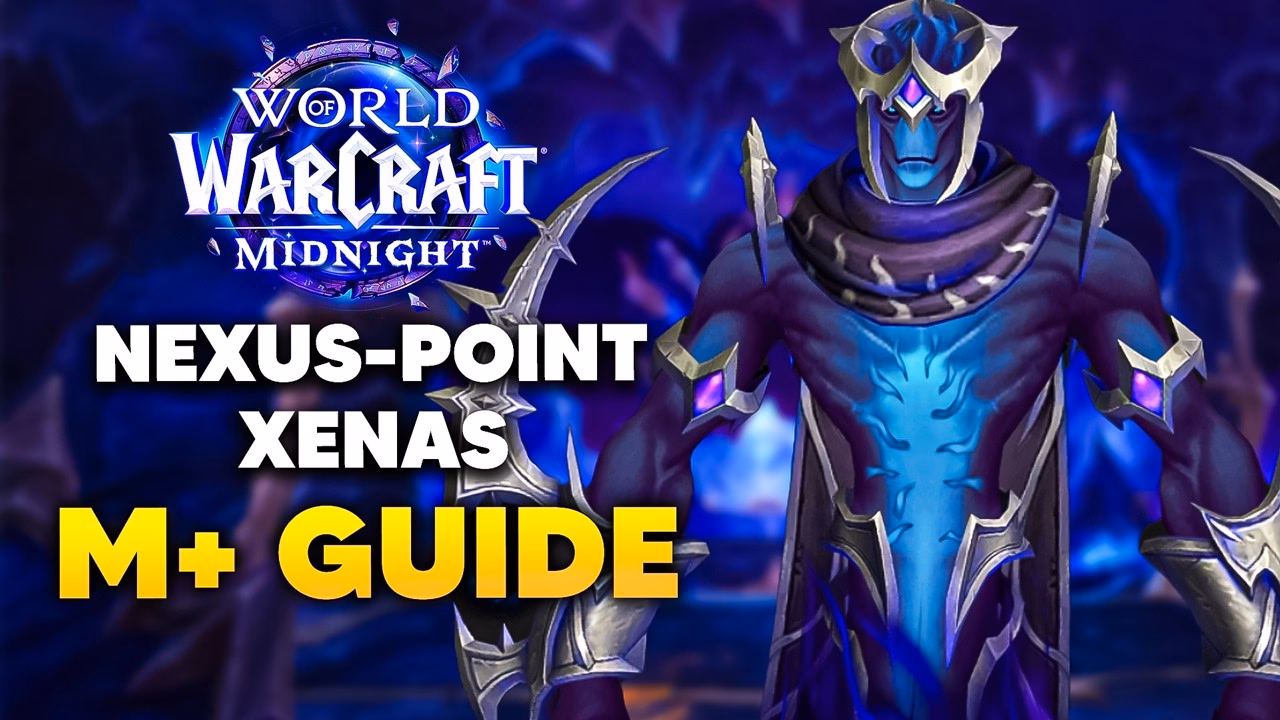
Nexus-Point Xenas is one of the eight dungeons in the World of Warcraft: Midnight Season 1 Mythic+ pool, set inside the Voidstorm zone. It is built around three wings held by three factions, the Ethereal arcanists, the Void, and the Light, and it closes with a boss many players will recognize. This guide covers the route, the three bosses, and the mechanics that decide a timed run. For players gearing toward Season 1 keys, the wider WoW Midnight catalog covers the rest of the seasonal grind.
Nexus-Point Xenas sits deep in Voidstorm, the newest Midnight zone, and its three-wing layout shapes the whole run.
The dungeon opens into a central area with three branching wings. The Ethereal wing to the west is packed with arcane mobs and holds the first boss. The Void wing to the east holds the second. The Light wing to the north unlocks once the first two are cleared and holds the final boss. Clearing in that order means you never backtrack through trash you already pulled, which matters against the 30:00 timer.

Each boss leans on one mechanic above the rest:
| Boss | Wing | Key mechanic |
|---|---|---|
| Chief Corewright Kasreth | Ethereal | Leyline Array beams cleared by Reflux Charge players |
| Corewarden Nysarra | Void | Lightscar Flare damage-amplification window |
| Lothraxion | Light | Divine Guile copies; interrupt the real boss |
Chief Corewright Kasreth comes first, so the Ethereal wing is where the run begins.
Kasreth is an arcane fight about clean positioning. His Leyline Array sends beams across the room that are lethal to walk through. The Reflux Charge debuff is the tool here: whoever has it walks their beam into the arrays to break them, so the charged player clears the room instead of dodging.
Corespark Detonation is his burst mechanic. Dodge the initial impact, then stay clear of the puddles it leaves and account for the knockback. Flux Collapse drops more ground puddles to move out of. Throughout the fight he replaces melee swings with Arcane Zap, an instant arcane hit that should be interrupted whenever it comes up. Miss an Arcane Zap interrupt and it lands as raw arcane damage on a random target, so keep kicks rotating across the group.
Nysarra is the damage check of the dungeon. Eclipsing Step targets two players with a hit and a damage-over-time effect, so spread out to avoid catching allies in it. Null Vanguard summons adds that need interrupts and focused damage before they pile up. Umbral Lash is a channel that calls for tank defensives.
The fight turns on Lightscar Flare. During this phase Nysarra takes 300% more damage, so this is the window to line up offensive cooldowns and push as hard as you can. Hold group defensives for it too, since incoming damage rises at the same time, and make sure any active adds die before the phase closes. Void Gash follows up as a debuff to track. Treating Lightscar Flare as the burn window, rather than a phase to survive passively, is what keeps Nysarra inside the timer.
The Light wing opens after the first two bosses fall, and Lothraxion closes the dungeon. Searing Rend is his tank buster, and it leaves persistent puddles, so the tank should drop the boss carefully and keep the floor clean. Brilliant Dispersion targets three players and spawns Fractured Images; the follow-up damage hits hard enough to warrant defensives.
Divine Guile is the signature mechanic. Lothraxion disguises himself among copies, and the group has to find and interrupt the real boss. The tell is the horns of light: the true Lothraxion has them, the copies do not, so interrupt the version without light horns. Interrupting the wrong shade triggers Core Exposure, a penalty you want to avoid, so call the correct target before anyone presses a kick.
Trash in Nexus-Point Xenas follows the faction theme of each wing. The Ethereal wing fields arcane casters such as Corewright Arcanists and Circuit Seers alongside Shadowguard Defenders, so interrupt assignments matter from the first pull. The Void wing brings Hollowsoul Scroungers and Null Sentinels, and the Light wing closes with Radiant Swarms and Flarebats. Keep casters interrupted, hold crowd control for the dangerous packs, and pull at a pace your healer can sustain rather than chaining everything at once.
The 30:00 timer is generous enough that a clean run beats a fast, sloppy one. Once the route feels comfortable you can push a timed Xenas key with a group that knows the three bosses cold.
Nexus-Point Xenas is in the Voidstorm zone, the new area introduced in WoW: Midnight Patch 12.0.5. It is one of the four new Midnight dungeons in the eight-dungeon Season 1 Mythic+ pool.
The dungeon has three bosses, in order: Chief Corewright Kasreth in the Ethereal wing, Corewarden Nysarra in the Void wing, and Lothraxion in the Light wing.
During the Chief Corewright Kasreth fight, Leyline Array sends beams across the room. Players who carry the Reflux Charge debuff use those beams to destroy the arrays, so the charged players clear the room rather than simply dodging.
Save offensive cooldowns for Lightscar Flare. During that phase Nysarra takes 300% more damage, making it the burn window. Hold group defensives for the same phase, since incoming damage rises at the same time.
Lothraxion disguises himself among copies. The real boss has horns of light on his head; the copies do not. Interrupt the version without light horns, and avoid kicking the wrong shade so you do not trigger Core Exposure.
The dungeon runs on a 30:00 Mythic+ timer. It is generous enough that a clean, controlled run usually beats rushing pulls, so prioritize interrupts and steady pacing over raw speed.
For a second reference on boss abilities, see the Icy Veins Nexus-Point Xenas dungeon guide. Last reviewed 2026-05-21 against Patch 12.0.5 Lingering Shadows. Maintained by WowCarry's WoW team.