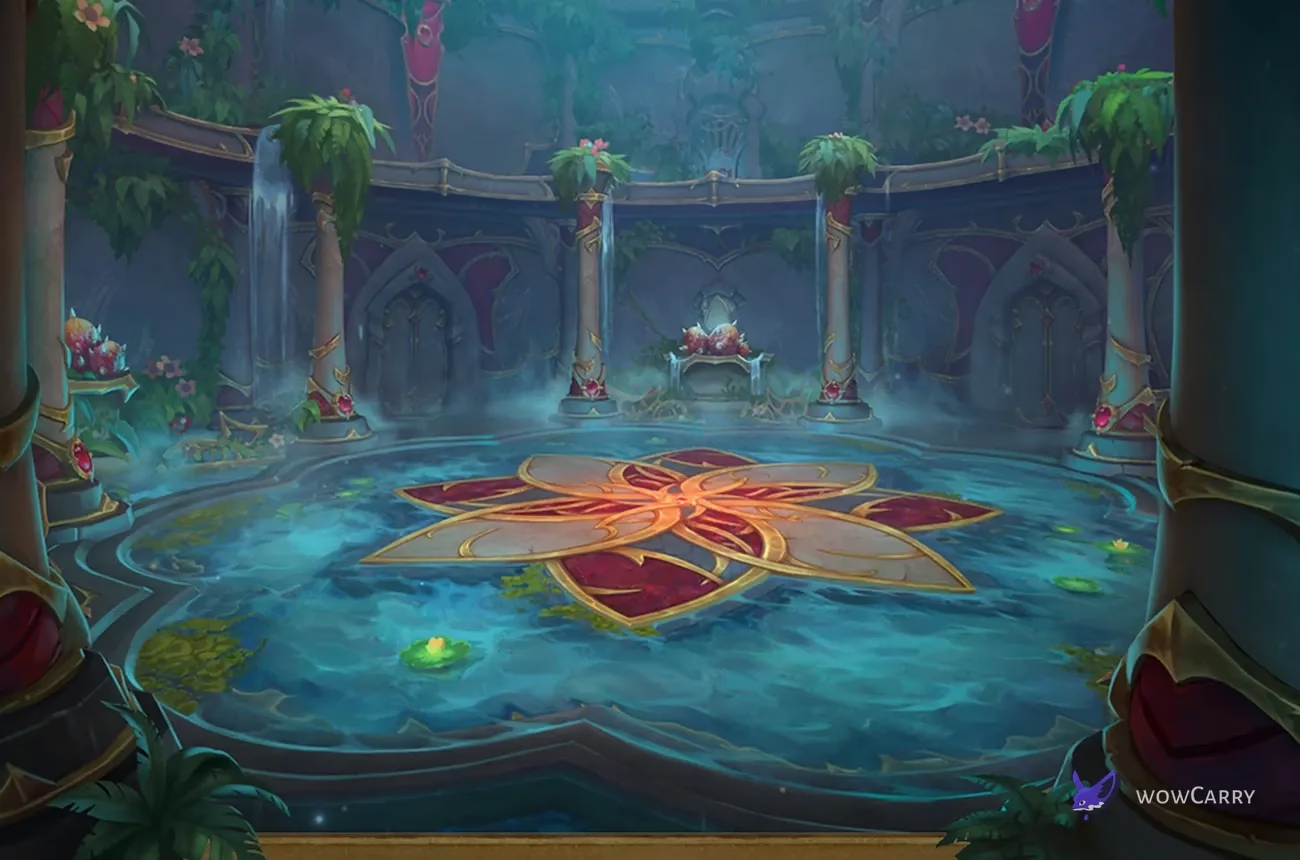
Ruby Life Pools Mythic+ at a Glance
Ruby Life Pools returns in Patch 12.1 with a 28-minute Mythic+ timer, repacked trash, grounded lieutenants, revised boss schedules, and a Waystone after the first boss. A current route bears little resemblance to a Dragonflight Season 1 route. To pair the route with weekly gearing goals, view the complete Season 2 guide for the shared season rules.
Key Takeaways
- The live Ruby Life Pools timer is 28:00, and a timed +10 unlocks its direct dungeon teleport.
- Melidrussa Chillworn now allows a key tank-cast interrupt and punishes scattered frost-mine placement.
- Kokia Blazehoof requires an immediate Blazebound Firestorm swap, priority kick, and 20-yard death-effect exit.
- Kyrakka and Erkhart Stormvein use a new fire debuff rather than the obsolete continuous-reapplication loop.
- A Waystone sits immediately after Melidrussa, while later checkpoint locations remain incomplete for the current build.
- Use only a current Season 2 route because opening packs, upper-ring locations, and enemy forces changed before launch.
A safe PUG plan splits the opening when stops are weak, assigns destroyer and storm-caster kicks, and protects space for every boss's persistent ground hazards.
Entrance, Timer, Route, and Checkpoint
Use the center seasonal Timeways portal from Silvermoon or travel to /way #2022 60.0 75.7 in the Waking Shores. Timing +10 or higher unlocks Path of the Clutch Defender in the general spellbook.
| Route stage | PUG-safe action | Progress and release rule |
|---|---|---|
| Opening courtyard | Match pull size to kicks and defensives; a popular opening package is optional, not mandatory. | Defeat Defier Draghar and complete the boss approach. |
| Melidrussa | Stack frost impacts at an edge, collect whelps, and break the shield before interrupting the channel. | The confirmed Waystone immediately after the boss shortens later releases. |
| Upper ring | Clear a controlled live route around grounded lieutenants and avoid simultaneous lieutenant death effects. | Four Blazebound Destroyers currently gate Kokia; follow the in-instance counter after any later build change. |
| Kokia | Keep a clean boulder lane and reserve a kick for each Firestorm. | Complete the encounter before taking the linear storm approach. |
| Final approach | Stagger Primal Thundercloud purges and control High Channeler Ryvati's shield and adds. | Finish required forces and defeat Kyrakka with Erkhart. |
The current client does not expose a stable raw enemy-forces denominator. Import a current Mythic Dungeon Tools route for percentages, and name every substitute pull before adding an invisibility skip.

The current progression gates and post-Melidrussa Waystone remain valid, while Dragonflight pull percentages and old lieutenant paths do not.
📌 Season 2 reset: opening density and upper-ring placements changed, Thunderhead and Flamegullet are grounded, the first-boss tank cast is kickable, and old continuous-reapplication instructions are invalid.
Use older footage only to learn the platforms and flight path, then follow live mechanics and a current route string.
Dangerous Trash, Interrupts, and Dispels
The opening needs planned caster stops, while the upper ring adds purge timing, heavy tank hits, and knockback risk. Several current dungeon debuffs and affix events compete for the same magic dispel, so assign an order.
| Enemy and mechanic | Response | Failure cost |
|---|---|---|
| Deepstone Earthshaper: Tectonic Strike | Use allowed stops and tank mitigation for the reworked live cast. | Old frontal-cast assumptions misread the current pressure. |
| Flashfrost Chillweaver: Ice Shield | Interrupt or hard-control; purge or burst a valid landed shield. | The protected caster delays the whole opening. |
| Defier Draghar: Blazing Rush | Bait toward a safe wall, leave the line, and remove the bleed when possible. | A charge through the group blocks the Melidrussa approach. |
| Ashseer Flamelasher: Flaming Barrage | Hard-stop the dangerous channel instead of spending every stop on filler bolts. | Party-wide damage overlaps other fire mechanics. |
| Blazebound Destroyer: Fiery Blast | Priority interrupt, then move more than 20 yards from Burnout. | A missed kick plus death blast can wipe a stacked group. |
| Thunderhead: Rolling Thunder | Assign first and second magic dispels so their group hits do not overlap. | Simultaneous removals create avoidable burst damage. |
| Primal Thundercloud: Stormcloud Barrier | Purge one shield at a time and heal each resulting Detonation. | Simultaneous purges overlap several group hits. |
| Tempest Channeler: Thunder Blast | Priority interrupt and retain burst or purge for the next shield. | A free cast compounds Lightning Torrent pressure. |
Blaze of Glory is a valuable purge, Flamegullet and Thunderhead frontals must be aimed away, and upper-ring Thunderstorm can knock players off. Split lieutenant pulls when Fortified cooldowns or dispels are limited.
⚠️ Stormcloud Barrier: mark a purge order and wait for each Detonation to settle; removing every shield together turns correct utility into a wipe.
The final approach is faster when Ryvati's shield and summoned adds are treated as planned damage targets rather than leftovers before the boss.
Boss Strategies
Each encounter attacks arena space differently: frost mines, fire death zones, then embers and wind on a small platform.
Melidrussa Chillworn
Assign a kick to Frigid Shard. Place Hailburst in a compact edge pattern, then move the Chillstorm target away without crossing those mines.
- Tank: collect Infused Whelps immediately and keep their Cold Claws stacks from freezing you.
- Healer: track the storm target, remove valid movement effects, and prepare for add-phase party damage.
- DPS: burst Ice Bulwark, then interrupt Frost Overload as soon as the shield falls.
Melidrussa calls whelps twice in the live loop. Health markers changed during the rework, so react to the cast and energy sequence rather than routing cooldowns around a fixed percentage.
💡 Hailburst: the live cast lasts three seconds after the August 18 hotfix, giving the party time to stack its impacts at one edge instead of filling the room.
A missed Frigid Shard is avoidable tank damage; a missed Frost Overload after the shield breaks is avoidable party damage, so use separate assigned kicks.
Kokia Blazehoof
Place Ritual of Blazebinding close enough for cleave but outside the stack. Everyone swaps to the Firestorm, interrupts Blaze Volley, and leaves before Burnout.
- Tank: keep Kokia near the rim, use mitigation for Searing Blows, and preserve a clear boulder lane.
- Healer: plan throughput for the add's party damage and the tank combo without standing in its death zone.
- DPS: kill the Firestorm first, keep its kick covered, and give Molten Boulder a direct path to a wall.
The Ritual marker should not be dropped across the arena for safety; excessive distance destroys cleave and makes the next boulder harder to position.
🔥 Burnout: stop chasing the last global and move more than 20 yards before the Firestorm dies, then keep clear of the scorched ground it leaves.
Kokia is a strong boss-cooldown target under high scaling when extra add cycles would consume the platform, but a split opening may make Melidrussa the earlier safer use.
Kyrakka and Erkhart Stormvein
Spread Inferno Spit targets and place Flaming Embers compactly at the platform edge. Read Kyrakka's breath direction, magic-dispel Stormslam, pause casts for Interrupting Cloudburst, and counter Winds of Change without being pushed through fire.
- Tank: hold Erkhart where the party can see Kyrakka's facing and reposition cleanly when the dragon lands.
- Healer: assign Stormslam dispels, top ember targets, and reserve throughput for the combined phase.
- DPS: preserve edge space, stop casts for Cloudburst, and pool damage for Kyrakka after the landing transition.
The current encounter text places the landing transition at 40%, while Method's August 18 route still states 50%. Until that mismatch is resolved in the live client, follow the landing cast and visual rather than committing cooldowns to either number.
✏️ Inferno Spit: this is the current replacement for the Dragonflight fire-debuff pattern, and its embers do not use that old continuous reapplication rule.
August 18 reduced ember radius to 5 yards and improved the landing sequence; August 20 also closed a combat-drop breath cancel, so never build the strategy around that exploit.
Roles, Cooldown Plan, and Season 2 Affixes
The 28-minute timer rewards a deliberate opening decision. A large package commonly receives the major group haste cooldown, but a PUG without coordinated stops should split it and spend the cooldown on a boss.
| Pressure | Tank | Healer | DPS |
|---|---|---|---|
| Fortified | Split opening casters, Destroyers, lieutenants, and clouds when cooldowns are missing. | Stagger magic dispels and purge damage. | Rotate priority kicks and hard stops. |
| Tyrannical | Call mine, boulder, and breath lanes. | Map cooldowns to add phases, party damage, and combined boss pressure. | Hold burst for shields, Firestorms, or the landing phase. |
| Season 2 events | Keep affix targets away from mines, boulders, edges, and embers. | Assign Xal'atath's Bargain: Devour separately from Rolling Thunder and Stormslam. | Do not lose Frigid Shard, Frost Overload, Blaze Volley, or Thunder Blast coverage. |
| Bloodlust | Announce whether the opening is large or split. | Pair throughput with the actual overlap. | Align cooldowns with the chosen opening or boss target. |
A +10 combines Fortified with Tyrannical, and the weekly Bargain may alter the safest pack size. Keys from +2 to +5 also carry Guidance; neither modifier bypasses a boss or Blazebound Destroyer gate.
Wipe Recovery, Runbacks, and Skips
The Waystone immediately after Melidrussa is part of the live rework. Use the client marker for later releases because no complete post-Kokia checkpoint map is available.
Avoid invisibility skips unless the current imported route names substitute forces. Players arranging a specific run can choose a Ruby Life Pools key after selecting the level and specific-dungeon option.
After a wipe, correct one cause: opening kick order, Hailburst edge, Firestorm swap, Burnout exit, Stormcloud purge timing, ember placement, or Stormslam dispel.
Useful Season 2 Loot
Effects and coefficients scale with item level, so compare each trinket's role and simulate the exact live drop rather than copying a low-level tooltip value.
| Drop | Boss and audience | Current note |
|---|---|---|
| Ruby Whelp Shell | Melidrussa; configurable multi-role trinket | Value depends on its trained live behavior and specialization. |
| Blazebinder's Hoof | Kokia; offensive users | Haste-oriented effect suited to planned damage windows. |
| Kyrakka's Searing Embers | Kyrakka and Erkhart; healer-oriented Intellect users | Healing rose 80% and damage rose 50% on August 14. |
The dungeon also supplies several weapon types, but exact item level, class eligibility, and current simulation results decide whether any one is an upgrade.
Patch 12.1 Hotfix Boundary
The August 21 Patch 12.1 hotfixes include the August 14 Thunderhead fix and Kyrakka's Searing Embers buff. August 18 changed Hailburst to a three-second cast, reduced Flaming Embers to a five-yard radius, improved Kyrakka's landing, and corrected opening visuals and overlap behavior.
August 19 fixed unexpected Stormslam targeting, and August 20 fixed breath cancellation when its target left combat. Those changes remain the current Ruby Life Pools tuning through August 21.
FAQ
What is the Ruby Life Pools Mythic+ timer?
Ruby Life Pools has a 28-minute timer. The short limit makes an agreed opening pull valuable, but a PUG should split it when available stops and defensives cannot safely cover the reworked casters. Protect time by assigning the Destroyer, Firestorm, and storm-caster interrupts before the key instead of gambling on one oversized package.
Where is the Ruby Life Pools entrance?
Use the center seasonal Timeways portal or travel to /way #2022 60.0 75.7 in the Waking Shores. Timing Ruby Life Pools at +10 or higher unlocks Path of the Clutch Defender in the general spellbook. The teleport is a convenience and is not required to enter.
Is there a checkpoint after Melidrussa?
Yes. The Patch 12.1 rework added a Waystone immediately after Melidrussa, so release there after a later wipe when the client marker points back to it. No complete post-Kokia checkpoint list is available for the current build; follow the current release marker instead of assuming a second permanent pad exists.
Is Frigid Shard interruptible now?
Yes. Frigid Shard is interruptible in the live reworked encounter. Assign it to one kicker, then reserve a separate kick for Frost Overload after Ice Bulwark is broken. Dragonflight-era instructions that treat Frigid Shard only as unavoidable tank damage miss a valuable Patch 12.1 control point.
Does Kyrakka still use the Dragonflight fire-debuff loop?
No. Inferno Spit replaced that old pattern for Season 2. Spread its targets, place Flaming Embers at the edge, and keep safe lanes for breath and Winds of Change. The current embers do not continuously reapply in the same way described by older Dragonflight instructions.
At what health does Kyrakka land?
The current encounter text says 40%, while Method's August 18 route says 50%. Treat neither number as a fixed cooldown trigger until the live client resolves the mismatch. Watch the landing cast and visual, and preserve cooldowns as the transition approaches.
How much enemy forces does Ruby Life Pools require?
The route still requires a complete enemy-forces bar. Since the current client omits a dependable raw total, import a live route and check every pull. Four Blazebound Destroyers currently gate Kokia, so a full trash bar does not bypass that progression or replace the in-instance counter.
Last reviewed 2026-08-24 against Patch 12.1 Curse of Ula'tek — Maintained by WowCarry's WoW team.