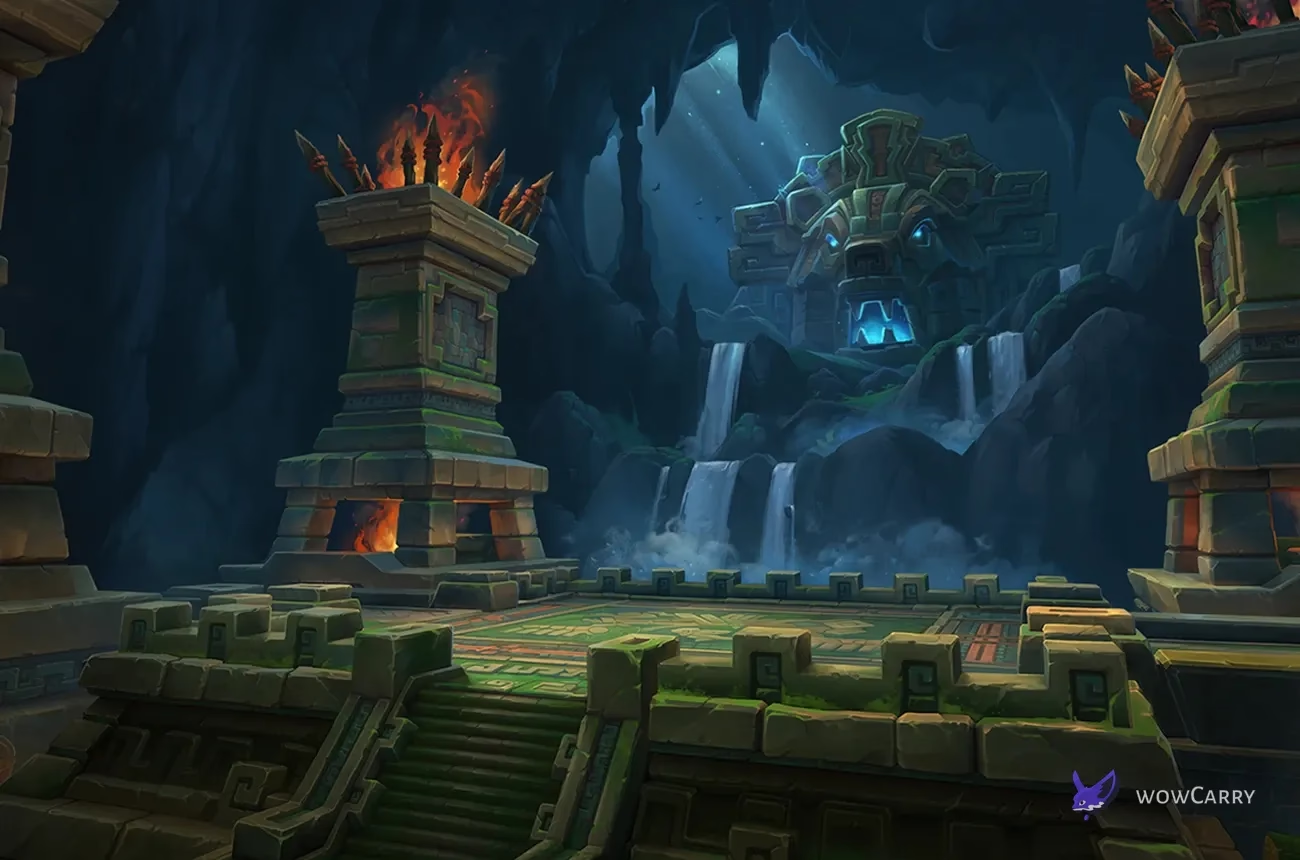
Den of Nalorakk Mythic+ at a Glance
Den of Nalorakk is a 32-minute Midnight Season 2 key with three trials: an opening foraging objective, a winter bridge and wind sequence, and a final war trial. Its route is safer when the party checks the objective tracker, activates both available utility buffs, and saves enough control for the gauntlet instead of spending every stop on the opening packs. For shared key-level and reward rules, view the complete Season 2 guide.
Key Takeaways
- The live Mythic+ timer is 32:00; plan trash by current route percentage because no stable raw enemy-forces denominator is published.
- Complete the marked opening offerings, finish the winter sequence, and use the post-second-boss campfire path before the final trial.
- The party Versatility incense grants 5% after the August 18 hotfix and persists through death.
- The wind-section rune reduces forced movement by 50% for 15 minutes but does not make players immune to damage or boss mechanics.
- The first boss accumulates every chosen resource ability on Mythic+, while the second boss requires separate soaks for each frost shard.
- The final boss is a lane-assignment encounter in which one player intercepts each charging echo before it reaches the allied defender.
The strongest route advantage comes from controlling forced movement and trial positioning; the baseline uses no death skip.
Entrance, Timer, Trial Route, and Forces
The entrance is the stone bear mouth in Zul'Aman at /way #2437 31.4 83.9. Enter Nalorakk's dream through the campfire inside. Timing a +10 or higher unlocks Path of the Worthy Aspirant.
| Route stage | PUG-safe action | Route or recovery note |
|---|---|---|
| Foraging trial | Follow the current tracker, gather the marked offerings, and deliver one to each channeling ritualist. | Expect six offerings, but count the live tracker instead of relying on fixed fishing yields or pickup coordinates. |
| The Hoardmonger | Defeat the boss, then cross the bridge before combining the nearby pack with wind pressure. | Use the opened trial path on a release. |
| Winter gauntlet | Use rocks against the heavy winds, defeat the wind-source enemy, and preserve control for frost and knockback enemies. | The baseline route uses no slow-fall death skip. |
| Sentinel of Winter | Finish the soak encounter, then use the campfire return toward the final branch. | Check the campfire prompt before relying on it for a recovery route. |
| Nalorakk | Clear the war trial and enter with echo-drop and charge-intercept lanes assigned. | No class-specific group stealth, consumable, or death skip is mandatory. |
The live build requires 100% enemy forces, but it does not expose a stable raw total. Follow the percentage checkpoints in a current Mythic Dungeon Tools or Keystone.guru route; the required trials remain progression gates even after the enemy bar is complete.

Protect interrupts and forced-movement tools for the winter trial rather than building the opening pulls around control that will still be on cooldown at the bridge.
💡 Warding Incense: 25 Midnight Alchemy or a Druid in bear form can activate it after the apple bundles, granting all allies in the instance 5% Versatility for 10 minutes and preserving the aura through death.
The August 18 hotfix sets the 5% magnitude, instance-wide scope, and death persistence; older 1% tooltips are stale.
📌 Rune of Anchoring: Night Elves, Trolls, and Druids in bear form can use the wind-section provisions to gain 50% forced-movement reduction for 15 minutes, which helps in the wind sequence and later knockbacks.
Anchoring reduces displacement but does not prevent damage, cancel a soak, or make the party safe outside the eye of a storm.
Dangerous Trash, Interrupts, and Utility
The gauntlet contains interruptible heals, group casts, enrages, dispellable magic, and priority summons. Call a first kick and a backup for the two most dangerous casters, then keep soothe and magic dispel available for the mechanics that cannot be solved by damage alone.
| Priority mechanic | Required response | Failure cost |
|---|---|---|
| Mother's Wrath | Soothe the enrage and focus the empowered enemy. | Do not ask a normal offensive purge to remove an enrage. |
| Healing Breeze | Highest-priority interrupt; purge a removable landed benefit. | A completed heal extends the whole pack and consumes more stops. |
| Insatiable Hunger | Curse-dispel the removable debuff and kill its associated effigy. | Each stack reduces maximum health by 15%, with a hard cap of five after August 18. |
| Cryo Surge | Magic-dispel the target and isolate the effect until removal. | Overlap creates unnecessary frost pressure across the pull. |
| Frigid Roar | Priority interrupt. | A miss reduces Haste and movement speed by 50% for 15 seconds. |
| Arc Lightning | Save the first kick for this cast and use spare stops on filler bolts. | The chain can strike up to three targets. |
| Bestial Wrath | Soothe the enrage and control the linked beast. | A loose fixate plus empowered melee pressure can split the party. |
The wind-source enemy is a priority target that ends the live gauntlet; use rocks, Anchoring, and safe facing rather than pulling knockback-heavy enemies into a gust window.
⚠️ Arc Lightning: a PUG should reserve one ranged interrupt for it and let spare stops cover the filler bolt, because the chain can strike up to three players during wind movement.
On trash-strengthened weeks, reduce any pull that combines a mandatory target swap with two casters unless the group has enough separate kicks and displacement control.
Boss Strategies
Each trial changes the party's positioning rules. The first asks the tank to choose persistent abilities, the second asks the group to build and use safe snow, and the third asks every player to own a charge lane.
The Hoardmonger
At 90%, 70%, and 40% health, Resourceful Measures makes the boss jump to the nearest resource pile. On Mythic+, each selected ability remains for the rest of the fight: mushrooms intensify the thrown-supplies pattern, bones add Bonespike Slam terrain, and meat adds Hearty Bellow.
- Tank: stand nearest the chosen pile before each threshold, aim Earthshatter Slam away, and preserve clean space if bones are active.
- Healer: plan cooldowns for Ravenous Bellow overlaps and distribute poison cleanses across mushroom soakers.
- DPS: touch growing mushrooms before they expire, rotate players so one character does not take every Toxic Spores stack, and never miss an active threshold call.
No single resource order is universally correct; the safest sequence depends on healer cooldowns, poison removal, and how much arena space the group can protect.
🔥 Resourceful Measures: the thresholds are 90%, 70%, and 40%, and every selected ability persists on Mythic+, so the tank must reach the intended pile before damage crosses each threshold.
Default Bloodlust on the pull shortens the number of accumulated-mechanic cycles, but a group that consistently dies after the third choice can hold it for the 40% phase.
Sentinel of Winter
Shattering Frostspike marks two separate impact points and reveals two adds. Interrupt each add's Winter's Shroud, kill both, and preserve the resulting Snowdrifts for the storm.
- Tank: stack adds for cleave without overlapping the two initial impacts, and keep the arena clear of long-lived moving squalls.
- Healer: magic-dispel the long frost effect, top assigned soakers, and prepare throughput during Frozen Tempest.
- DPS: split kicks between the two adds and assign exactly one player to each Rimeshatter marker on Mythic+.
During Frozen Tempest, stand both inside the eye and within a Snowdrift: the drift handles forced movement, while the eye avoids the much larger outside tick.
📌 Rimeshatter: two players stacking into one marker does not cover the other; one assigned player soaks each five-yard impact, or the missed shard damages and roots the entire party.
The August 18 marker improvement did not change the mandatory Mythic+ soak assignment.
Nalorakk
Echoing Maul marks players for four seconds, then creates echoes that repeat their eight-yard bursts on later casts. Drop new echoes around the arena edge and keep the allied defender's approach lanes clear. At 100 energy, Fury of the War God sends every echo charging toward her.
- Tank: all five players hide behind the allied defender's Defensive Stance for Overwhelming Onslaught; after its final hit stuns her, step alone into the immediate Forceful Slam with mitigation while everyone else clears the six-yard impact.
- Healer: top the group before Forceful Roar, then track the stacking bleeds created by Mythic+ interceptions.
- DPS: assign one player per charge lane and intercept before an echo reaches the allied defender; never double-soak one lane while another stays open.
An echo reaching the allied defender causes a party hit and a stacking 30-second damage-taken increase, while a successful Mythic+ intercept still knocks nearby players and applies a bleed.
✏️ Echoing Maul: place each new echo with the next Fury in mind, because every existing echo repeats its burst and later charges; random center drops turn the intermission into crossing lanes with no safe interception points.
Use the second Bloodlust on Nalorakk at the pull so the party reaches later high-echo cycles with fewer total placements and bleeds.
Role Plan, Bloodlust, and Affix Scaling
Forced movement connects the route even though each trial looks different. Tanks control facings and thresholds, healers schedule cleanses and group cooldowns, and DPS preserve named kicks plus one player per soak or charge lane.
| Pressure point | Tank call | Healer call | DPS call |
|---|---|---|---|
| Fortified | Cross the bridge before adding nearby packs and keep frontals away from edges. | Protect magic dispel and soothe windows during the gauntlet. | Reserve kicks for Healing Breeze, Frigid Roar, and Arc Lightning. |
| Tyrannical | Call every resource threshold, snow placement, and echo lane early. | Assign cooldowns to accumulated bellows, Tempest, and later Fury cycles. | Hold burst for the called first-boss phase or final boss as planned. |
| Xal'atath's Guile | Avoid experimental winter death skips because each death costs 15 seconds. | Call a full reset before the wind sequence creates staggered deaths. | Release together and use the opened trial or campfire route. |
| Bloodlust | Default to the Hoardmonger and Nalorakk. | Move the first use to 40% only when the late accumulated phase is the wall. | Align potions and burst with the announced timing. |
The weekly affix may justify different pull sizes, but it does not remove the offering, wind, campfire, snow, or echo sequence.
Wipe Recovery, Checkpoints, and Skips
Use the already completed trial path after an early death. The campfire after Sentinel returns the party toward the entrance or final branch; check its prompt before the run and do not assume follower-mode graveyard behavior will match the key.
Slow-fall positioning and death movement around the winter section are too variable for a PUG baseline. A planned group can choose a Den of Nalorakk key after selecting a level and the specific-dungeon option, while still using a current 100% route for forces.
After a boss wipe, correct only the failed rule: nearest resource pile, one frost-soaker per marker, or one interceptor per echo lane. Repeating every ability wastes more of the timer than the runback itself.
Useful Season 2 Loot
The Den's three trinkets cover healing, tank survival, and Strength damage. Exact values scale with item level, so evaluate the effect against the character and the encounter window where it will proc.
| Drop | Best fit | Current effect note |
|---|---|---|
| Mycolic Medicine | Intellect healers | Proc supplies an immediate heal and a 10-second mushroom another ally can collect; all healing rose 30% on August 14. |
| Permafrost Essence | Tanks | Taking damage can build Critical Strike marks, which convert into a shield when health falls below 25%. |
| Idol of the War Loa | Strength users | Abilities can grant Strength and provide nearby favored allies with a short movement-speed rally. |
Sim the damage trinket and judge defensive effects against actual key danger instead of ranking them only by a low-item-level tooltip.
Patch 12.1 Hotfix Boundary
The August 18 Patch 12.1 hotfixes made the apple barrels interactable without form restrictions, increased Warding Incense from 3% to 5%, made it instance-wide and persistent through death, improved the Sentinel soak marker, and capped Insatiable Hunger at five stacks.
The August 18 Den changes remain current through August 21; older 1% and 3% incense values are stale.
FAQ
What is the Den of Nalorakk Mythic+ timer?
The live timer is 32 minutes, equal to 1,920 seconds. That clock includes the opening offerings, three bosses, the winter gauntlet, and the final trial. The group protects more time by checking each objective before leaving its area than by attempting a winter death skip that can produce staggered releases.
Where is the Den of Nalorakk entrance?
The entrance is the stone bear mouth in Zul'Aman at /way #2437 31.4 83.9. Nearby pins around 30, 84 point to the same approach. Enter through the campfire inside the mouth. Finishing a +10 Den key in time adds its permanent portal to the general spellbook.
How much enemy forces does Den of Nalorakk require?
The enemy-forces goal is 100%, but the current client does not expose a stable raw total. Use a current Mythic Dungeon Tools or Keystone.guru route and follow its percentage checkpoints. Trial objectives and required encounters remain progression gates, so reaching the end of the enemy bar does not make the offering or wind sequence optional.
How does Warding Incense work?
A character with 25 Midnight Alchemy or a Druid in bear form can activate the incense after the apple bundles. It grants all allies in the instance 5% Versatility for 10 minutes and persists through death. The August 18 value is 5% and instance-wide; older 1% or 3% tooltips are stale.
Who can activate Rune of Anchoring?
Night Elves, Trolls, and Druids in bear form can interact with the provisions in the wind section. The resulting 15-minute buff reduces forced movement by 50% and persists through death. It helps against gusts and knockbacks, but players must still avoid damage, stay inside the storm eye, and complete assigned soaks.
When should a PUG use Bloodlust?
The repeatable plan uses Bloodlust on the Hoardmonger and again on Nalorakk. If the first boss only becomes dangerous after the 40% resource threshold, the group can delay the first use to that accumulated-mechanic phase. Call the adjustment before the pull so offensive cooldowns and the final-boss recharge expectation remain aligned.
Is the post-Sentinel campfire a checkpoint?
The campfire after Sentinel returns the party toward the entrance or final branch. Check the prompt before relying on it for recovery, use the opened trial path if it is unavailable, and release together rather than staggering the runback. Treat it as a convenience, not a guaranteed checkpoint.
Last reviewed 2026-08-24 against Patch 12.1 Curse of Ula'tek — Maintained by WowCarry's WoW team.