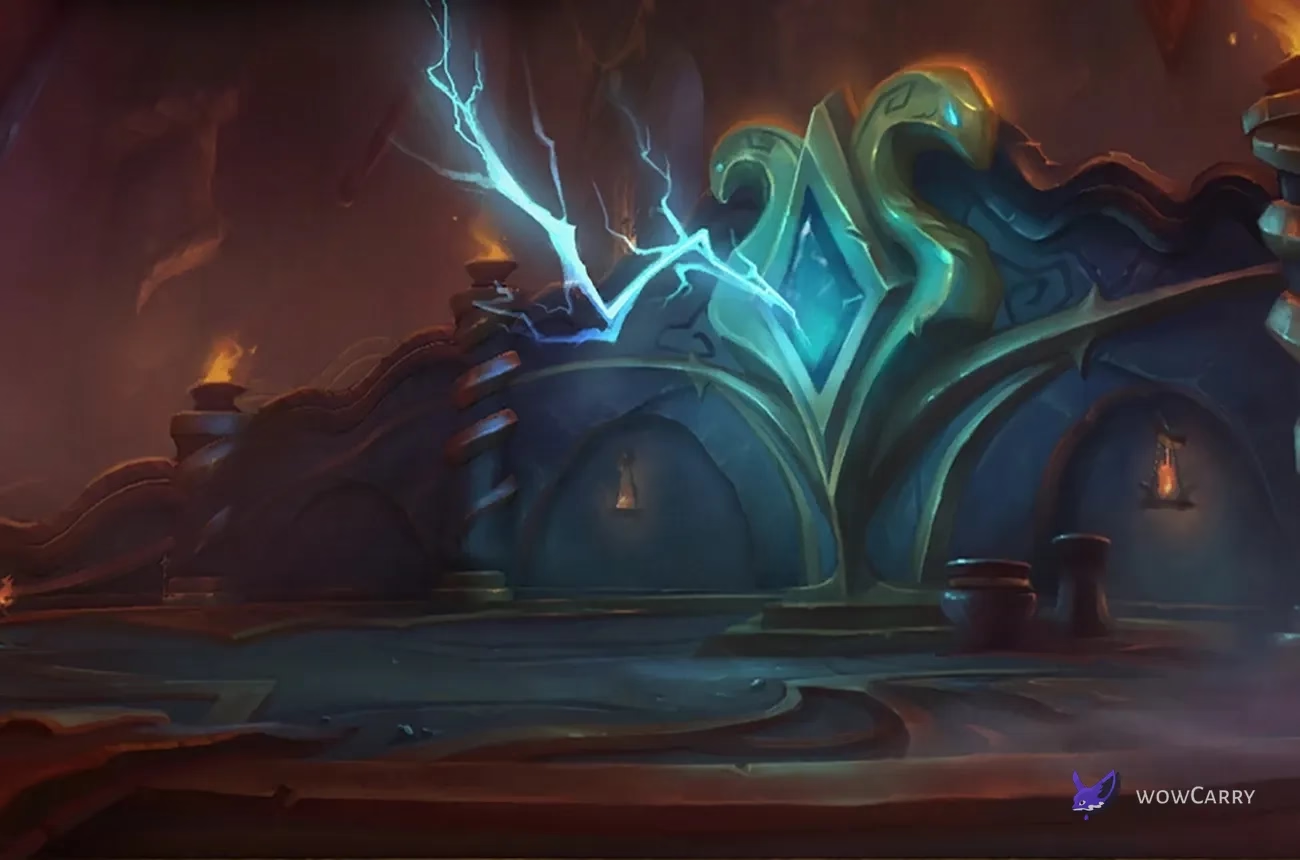
Voidscar Arena Mythic+ at a Glance
Voidscar Arena is a three-boss Patch 12.1 dungeon with a 30-minute Mythic+ timer. A clean run chooses one opening champion, preserves space through two hazard-heavy bosses, and defeats all three final lieutenants before the final encounter. Shared key-level breakpoints and rating rewards are covered when you view the complete Season 2 guide.
Key Takeaways
- The live Voidscar Arena timer is 30:00, and a timed +10 unlocks its direct dungeon portal.
- Taz'Rah rewards compact puddle placement and clear movement lanes.
- Atroxus becomes a priority-add fight whenever its Toxic Creeper enters the arena.
- Charonus requires every player to pair one personal orb with a separate arena hazard.
- Proof of Endurance grants 3% Versatility, while Proof of Mastery grants 3% Mastery until the party leaves.
- Patch 12.1 replaced four preview minibosses before Charonus with three mandatory Devouring Brutalizers.
The PUG baseline values complete control over one opening wing, then spends Bloodlust where the chosen pull plan creates a real burn window.
Entrance, Timer, Route, and Objectives
Use the Voidstorm portal in Silvermoon at /way #2393 35.3 65.3, then enter the dungeon at /way #2444 53.6 34.4. Timing +10 or higher unlocks Path of the Brutal Combatant in the general spellbook.
| Route stage | PUG-safe action | Progress rule |
|---|---|---|
| Opening arena | Choose Aegyra on the left for Versatility and fewer caster stops, or Raj'kess on the right for Mastery. | Finish the chosen champion to receive its persistent Proof buff. |
| Taz'Rah | Enter with loose spread positions and one compact edge reserved for fissures. | Do not scatter the opening puddles through the center. |
| Atroxus fork | Match the path to poison removal and beam discipline; split Watchful Harrowers if the PUG lacks cooldowns. | Harrowers carry useful forces, but no exact percentage is universal. |
| Final approach | Defeat all three Devouring Brutalizers and control Voidminder healing. | The lieutenants open Charonus even when the trash bar is already complete. |
| Charonus | Assign each player a different nearby singularity before the first orb set. | Preserve separate orb lanes and face tank waves away. |
No reliable raw forces total or full respawn-pad map appears in the live client. Import a current Mythic Dungeon Tools route for pull percentages, and release only at a location shown by the current marker.

The two opening rewards persist through the run, while mandatory encounter gates remain separate from exact pull percentages and weekly Bargain choices.
💡 Proof choice: Aegyra's 3% Versatility is the forgiving PUG option, while Raj's 3% Mastery gains value only when the party can control the caster-heavy approach.
Both Proof effects persist through death until the group leaves the instance, so an opening choice continues to matter for every later boss.
Dangerous Trash, Interrupts, and Dispels
Assign primary and backup kicks before the opening wave. Poison removal, a magic dispel, soothe, and hard crowd control solve different failures and cannot substitute for one another.
| Enemy and mechanic | Response | Failure cost |
|---|---|---|
| Dominated Brawler: Demoralizing Shout | Priority interrupt; soothe the brawler's enrage or kite that window. | A group debuff and fast melee swings compound tank pressure. |
| Voidtouched Magi: Shadowbolt Volley | Assign a named kick and retain a hard stop for Null Eruption. | One free cast damages all five players. |
| Sycophantic Tarasek: Melt Armor | Magic-dispel the tank promptly and use active mitigation. | The armor loss makes ordinary melee overlap lethal. |
| Kilivore Screamer: Mad Shriek | Interrupt the group cast and hard-stop the secondary shriek. | Lost control leaves later casters unassigned. |
| Agitated Voidscythe: Corrosive Essence | Stop the cast; poison-cleanse landed applications. | Three poison targets overlap the tank attack. |
| Voidminder: Mending Void | Priority interrupt and use spare crowd control on its secondary cast. | A completed heal extends a mandatory lieutenant section. |
| Watchful Harrower: Sky Strike | Assign the indicated soak and sidestep Void Beam. | Two unassigned Harrowers can overlap group hits and beams. |
| Devouring Brutalizer: Dreadbellow | Use a group defensive; kill a weakened victim before Devour completes. | The required lieutenant heals and extends party damage. |
Do not spend every kick on filler. Violent Sand, Mad Shriek, Shadowbolt Volley, and Mending Void need an ordered rotation, while Enrages require soothe or control instead.
⚠️ Demoralizing Shout: call the next kicker before pulling two Brawlers, because overlapping the first interrupt leaves the party exposed to the second group debuff.
On Fortified keys, splitting one high-forces Harrower from a Brutalizer is faster than recovering from a pull that combines two group hits, a beam, and a lieutenant heal.
Boss Strategies
Each boss taxes a different resource: Taz'Rah consumes floor space, Atroxus consumes add damage and poison control, and Charonus consumes coordinated movement lanes.
Taz'Rah
Loosely spread for Nether Dash so its shade lines do not cross multiple players. Drop Umbral Rupture toward one edge, then read the fissure pattern during Dark Bloom and rotate through a gap.
- Tank: keep Taz'Rah stable, use mitigation for Void Blast, and leave the center open for the next movement pattern.
- Healer: prepare for unavoidable Bloom damage and triage anyone clipped by a Dash damage-over-time effect.
- DPS: place Ruptures compactly, stop crossing another player's line, and keep moving through the safe fissure gap.
The common wipe begins with one central Rupture, then ends when Dark Bloom forces the group through that puddle and a second player's Dash line.
📌 Dark Bloom: start near usable space and rotate after the fissures appear; running early around the outside usually sends the party into old Umbral Rupture ground.
Bloodlust is optional here when the opening arena was split. Groups that used it on a large opening package should save the next available charge for Atroxus or Charonus.
Atroxus
Sidestep Noxious Breath and move from every Poison Splash impact. When the boss roar summons a Toxic Creeper, all DPS swap because its Mythic Toxic Aura remains active until the add dies.
- Tank: hold boss and Creeper predictably, then use mitigation or an external for the escalating Hulking Claw sequence.
- Healer: poison-cleanse Mind-Numbing Poison when it disrupts casts and plan throughput while Toxic Aura is active.
- DPS: kill the Creeper immediately, avoid the random frontal, and preserve clean ground instead of spreading poison through the middle.
A slow add kill increases both party pressure and the tank's Nature-damage risk, which makes tunneling the boss the least efficient choice.
🔥 Toxic Creeper: treat every spawn as a survival target; its aura drains the whole party while repeated bites make the next Hulking Claw harder to cover.
Atroxus is the strongest default boss Bloodlust target when the group has poison removal and expects the final charge to return before Charonus.
Charonus
Avoid Unstable Singularity until Gravitic Orbs fixate the party. Each player then kites one orb into a different singularity, destroying both hazards without crossing another lane. Spread for Cosmic Crash.
- Tank: face Dark Waves away and avoid rotating the boss through players pairing orbs with singularities.
- Healer: top the group before Crash and keep moving while singularity pulls and the Mythic Void Cascade path overlap.
- DPS: ping one singularity each, use a movement freedom when valid, and keep orb paths parallel rather than crossing the arena.
The fight becomes stable as soon as all five players treat an orb as a personal assignment instead of following the same nearest target.
✏️ Gravitic Orbs: ping separate singularities before the set, then approach from the outside so a late Cosmic Crash cannot force two players through the same lane.
Use the final Bloodlust on pull unless the party needs it for the first complete orb-and-Cascade overlap.
Role Plan, Cooldowns, and Affix Scaling
Voidscar rewards assignments by function. The tank calls pull size and boss facing, the healer protects the relevant dispel, and DPS name kick and add-swap ownership.
| Pressure point | Tank | Healer | DPS |
|---|---|---|---|
| Fortified | Split Harrower and Brutalizer overlaps when group cooldowns are missing. | Reserve poison and magic dispels for named effects. | Rotate kicks, soothe Enrages, and swap to required victims. |
| Tyrannical | Call arena movement and add timing before it happens. | Map cooldowns to Bloom, Toxic Aura, and Crash. | Hold burst for the Creeper or a clean final-boss window. |
| Season 2 affix events | Keep Ascendant, Voidbound, Pulsar, or Xal'atath's Bargain: Devour away from frontals and soak lanes. | Assign Devour separately from dungeon dispels. | Handle the affix without missing a priority kick or boss target swap. |
| Bloodlust | Call opening, Atroxus, and Charonus priorities before the key. | Pair throughput with the dangerous mechanic, not automatically with Lust. | Use offensive cooldowns in the announced burn. |
Both Fortified and Tyrannical apply from +10, while the weekly Bargain may justify smaller or larger pulls. At +2 through +5, Guidance can reshape pull sizing too; mandatory lieutenants and boss mechanics still remain.
Wipe Recovery, Runbacks, and Skips
Release only when the live respawn marker is known, and favor combat resurrection during a boss or the final lieutenant sequence. A route can choose either opening wing, but it cannot skip the chosen champion's progression or any of the three Devouring Brutalizers.
Discard old four-miniboss routes, temporary Proof durations, and beta forces percentages. Players scheduling a specific run can choose a Voidscar Arena key after selecting the level and specific-dungeon option.
After a wipe, correct one assignment at a time: puddle edge and dash lanes on Taz'Rah, Creeper damage on Atroxus, or singularity pings on Charonus.
Useful Season 2 Loot
Trinket coefficients scale with item level, so compare the effect shape and simulate the exact drop rather than treating one tooltip number as universal.
| Drop | Boss and fit | Current note |
|---|---|---|
| Void Execution Mandate | Taz'Rah; Agility users | Two-minute mark grants Haste and builds Critical Strike through attacks. |
| Tumor of the Swarm | Atroxus; Agility or Strength users | Damage rose 15% and healing rose 40% on August 14. |
| Mindpiercer's Sigil | Charonus; Intellect users | Damage rose 15% on August 14; simulate the live item-level version before a spec ranking. |
The dungeon also expands the Season 2 weapon pool across one-handed and two-handed options, but class eligibility and item level still decide whether any drop is an upgrade.
Patch 12.1 Hotfix Boundary
The August 21 Patch 12.1 hotfixes include the August 13 Aegyra door fix, the August 14 Brutok door fix and Tumor plus Mindpiercer's Sigil buffs, and the August 18 Proof classification, Champion's Spear health, and Raj disruption changes.
The August 13, 14, and 18 changes remain the current Voidscar Arena tuning through August 21.
FAQ
What is the Voidscar Arena Mythic+ timer?
Voidscar Arena has a 30-minute timer. The route has only three bosses, but the opening champion, Atroxus fork, and three mandatory Devouring Brutalizers add progression time that the trash bar alone does not show. Budget extra time for the chosen champion and each lieutenant instead of judging pace only from enemy forces.
Where is the Voidscar Arena entrance?
Take the Voidstorm portal in Silvermoon at /way #2393 35.3 65.3, then travel to the dungeon entrance at /way #2444 53.6 34.4. Timing Voidscar Arena at +10 or higher unlocks Path of the Brutal Combatant, a direct teleport found in the general spellbook.
Should a PUG take Aegyra or Raj first?
Aegyra is the safer default because her wing is less caster-heavy and Proof of Endurance grants 3% Versatility. Raj grants 3% Mastery and fits specializations that value that stat, but his side asks for firmer interrupt discipline. Both buffs persist through death until the party leaves the instance.
How much enemy forces does Voidscar Arena require?
Complete the enemy-forces bar even though the live client supplies no trustworthy raw total. Follow the percentage checkpoints in a fresh Mythic Dungeon Tools or Keystone.guru export. All three Devouring Brutalizers remain mandatory before Charonus even if the party completes enemy forces earlier.
When should Bloodlust be used in Voidscar Arena?
Organized groups commonly use Bloodlust on the planned opening arena package, then on Atroxus or Charonus as it returns. A PUG that splits the opening can save its first charge for Taz'Rah. Call the plan before the key, because pull size and deaths change the number of available uses.
Which dispels matter most in Voidscar Arena?
Poison removal answers Corrosive Essence, Mind-Numbing Poison, and other landed venoms. Magic dispel handles Melt Armor. Soothe removes dangerous enrage effects, while hard crowd control protects kick rotations. These utilities solve separate problems, so one dispel type cannot replace the missing one.
Are there confirmed Voidscar Arena checkpoints?
No complete live respawn-pad list is available for the current build. Use the marker shown by the client, prefer combat resurrection during a boss or final lieutenant sequence when release is uncertain, and discard beta checkpoint claims or untested death skips.
Last reviewed 2026-08-24 against Patch 12.1 Curse of Ula'tek — Maintained by WowCarry's WoW team.