Strategy at a Glance
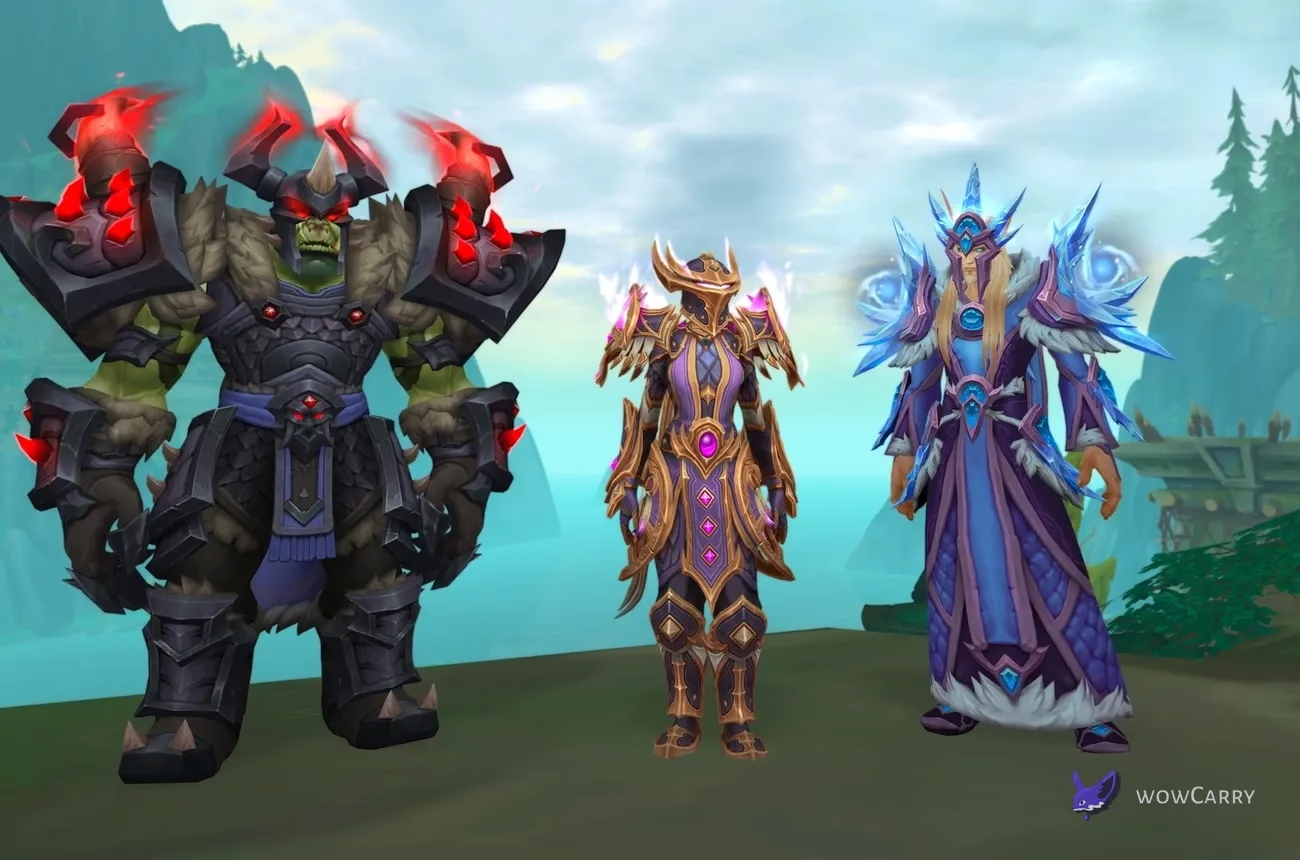
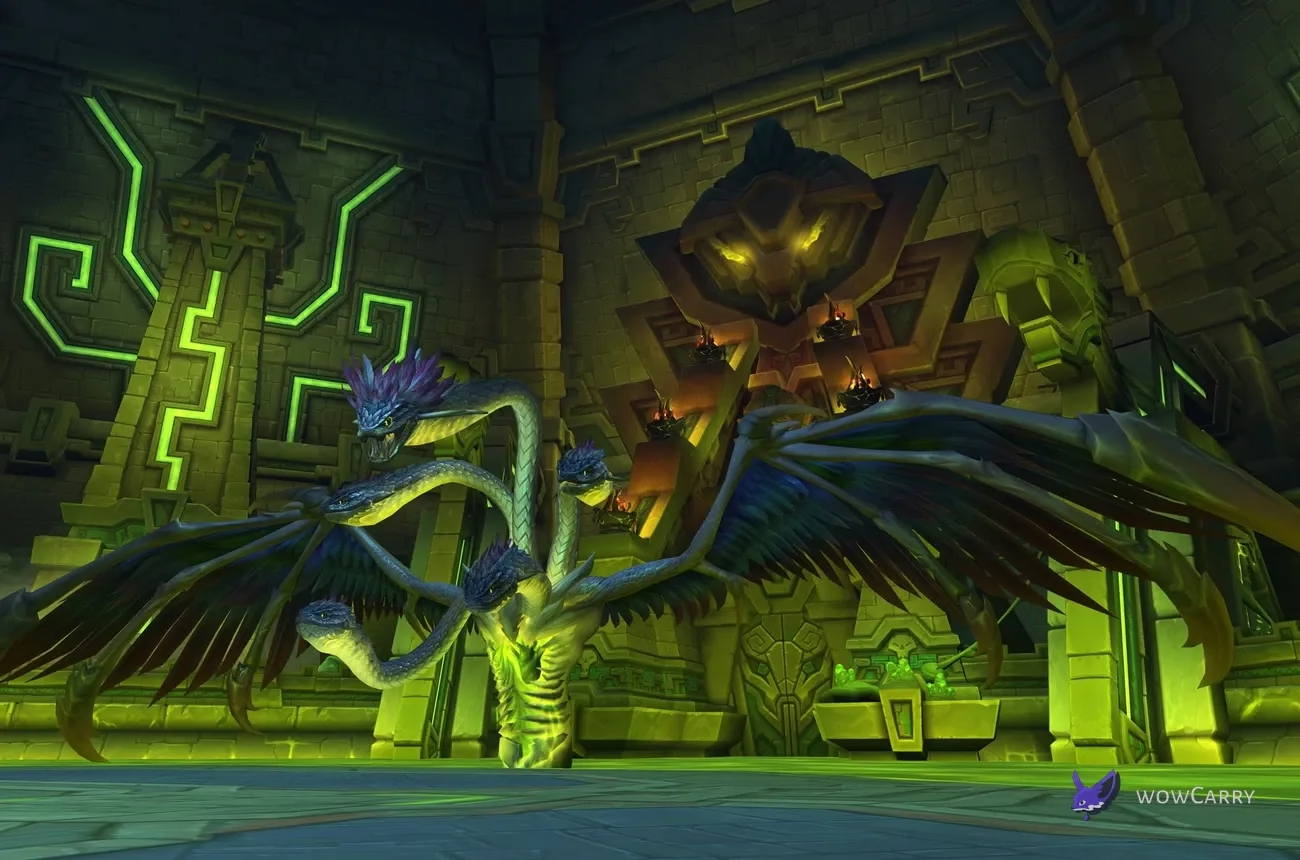
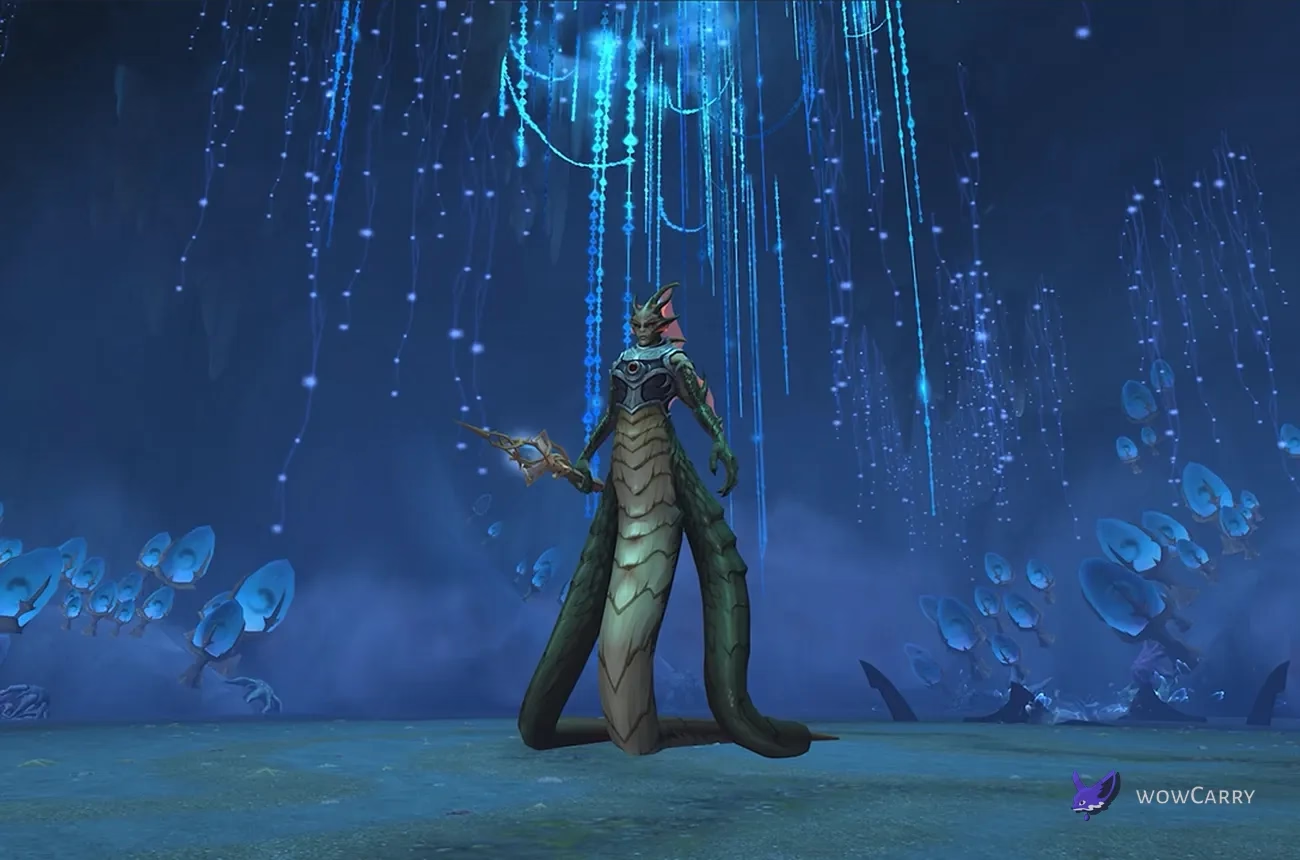
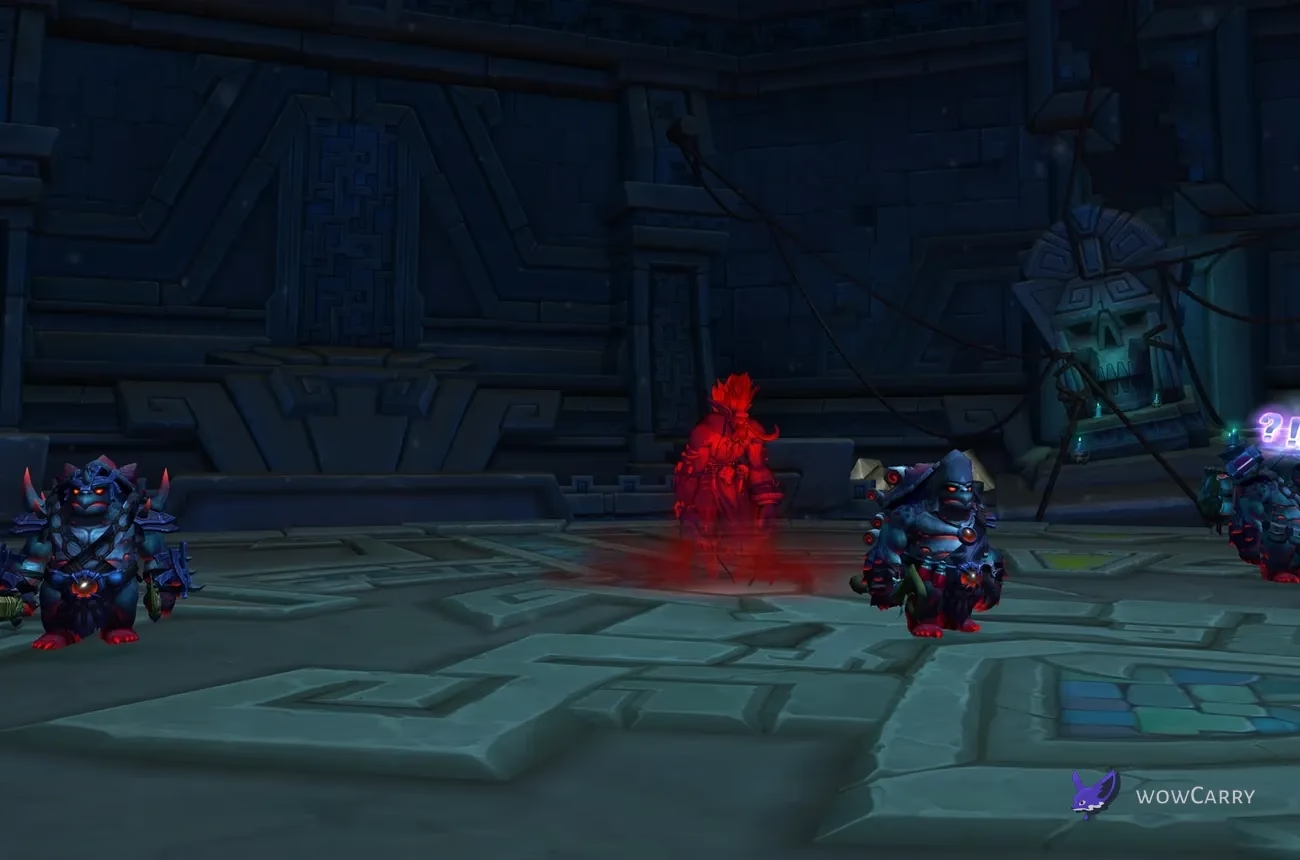
The Lost Explorers is a three-target council encounter in The Venomous Abyss. This Patch 12.1 strategy covers Normal, Heroic, and Mythic. The raid fights Mor'zahi, Trader Gebbo, Scrollsage Iku, and First Mate Nama as one coordinated problem: stop the possession cycle, solve each explorer's mechanics, and bring all three health bars into the same execute window.
Key Takeaways
- Final Ascension is the hard timer, and an assigned player must use a Disgusting Fish on the currently controlled explorer before the channel finishes.
- Every crate from Throw Junk must be opened before its 25-second Relic Rupture, even after the raid has found the fish.
- Frostfire Volley requires a 10-yard spread, while Burning Flames and Piercing Frost are cleared with the opposing element.
- Every one of the three Mighty Thud marks needs a player in its six-yard landing, and Heroic adds United Defense when all three explorers are within 30 yards.
- Mythic turns Splinters into a raid-wide stacking bleed, so crate openings must be staggered around Fishy Feedback.
- The three death punishments, Smashing Shovel, Cataclysmic Invocation, and Relentless Escalation, make a synchronized council kill mandatory.
A successful pull repeats those six rules without improvisation.
Quick Pull Plan
Start with two tanks, roughly one healer per five raiders, and enough short interrupts to cover Iku. Mythic uses a fixed 20-player roster, so a standard two-tank, four-healer, fourteen-DPS setup is a practical starting point. Normal and Heroic flex groups can add a healer while learning because ambient raid damage, fish resets, and missed casts overlap often.
Recommended Raid Setup and Assignments
Lock these owners before the countdown so every high-impact mechanic has a primary call and a backup.
| Assignment | Owner | Live call |
|---|---|---|
| Tanks | One holds the two-boss pair; one isolates the third. | Trade targets when a repeat vulnerability makes another hit unsafe. |
| Interrupts | Primary and backup kick on Iku. | Say “backup” before movement breaks the rotation. |
| Crates | Three healthy openers and one reserve. | Mythic openers move only on the raid leader's release. |
| Fish | One carrier and one controlled-target caller. | Throw only after healer readiness is confirmed. |
| Thud soaks | Three small teams follow the three marks. | Reach the six-yard landing without crossing elemental ground. |
| Execute | One health caller watches every boss. | Report 20%, 10%, and 5%, then count down the finish. |
For raid order, entrance context, and loot across all eight encounters, view the complete raid guide. The council-specific plan begins with positioning and target separation.
Positioning Before the Pull
Put the two-boss cleave group on one side of the room and the isolated target on the opposite side. On Heroic and Mythic, the separated boss must remain more than 30 yards from both members of the pair so all three never form the United Defense cluster. Leave a clear lane for Gebbo's crates and mushrooms, plus a separate landing area for Nama's three Thud marks.

Ranged players begin loosely spread, close enough for healing but ready to reach 10-yard spacing. Melee stand behind the cleave pair and leave each tank's frontal lane empty. The fish carrier waits near the middle so the current controlled explorer is reachable without running through an elemental patch.
Raid Cooldown Plan
Bloodlust has no encounter-scripted requirement here. Using it on the pull gives every player clean uptime and helps establish balanced health early. A progression group that consistently reaches the final execute but loses control after the first death can instead hold it for the synchronized burn. Pick one plan before the pull and avoid delaying so long that a full cooldown use is lost.
Map healing cooldowns to each fish throw because the immediate raid hit becomes a 12-second damage-over-time effect. Keep another mobile healing tool for Blink Nova or a late crate. The raid should never combine a planned fish reset, multiple Mythic crate openings, and an unassigned Thud soak.
📌 Raid-lead technique: call “crate one,” wait for the Splinters timer to clear, then release “crate two.” A free-for-all stomp is the fastest way to turn a controlled Mythic pull into overlapping raid bleeds.
Rosters blocked by the interrupt and fish handoff can compare single-boss clear options after identifying which assignment repeatedly breaks.
Fight Overview and Timeline
The fight stays in one stage, but Mor'zahi's control changes which explorer adds the next major mechanic. Damage values scale by difficulty and raid size, so assignment timing matters more than memorizing a fixed damage number. Boss-mod bars are useful for overlaps, while the visible controlled target and crate timers remain the primary calls.
The Possession Cycle
Dark Whispers identifies the explorer under Mor'zahi's control. When the raid feeds that explorer a fish, the spirit loses concentration, damages the raid, and later uses Mor'zahi's Command to take control again with an expanded ability kit. Current live-guide execution reports that each explorer can accept one fish, which gives the raid three valid resets before it runs out of recipients.
The carrier should wait until the raid has opened every urgent crate, stabilized recent damage, and confirmed the controlled target. Throw early enough that network delay cannot allow Final Ascension to finish. After the throw, heal through the feedback effect and immediately identify the new controlled explorer rather than treating the reset as downtime.
The Council Execute
The explorers do not share health on Normal, Heroic, or Mythic. DPS players must target-swap throughout the pull, especially when cleave pushes the paired targets ahead of the isolated boss. Stop uncontrolled damage when one boss approaches the agreed execute threshold.
Once all three sit inside the burn range, count down the kill. Gebbo's empowered melee knockback, Iku's rising raid explosions, and Nama's rapidly stacking damage all punish a long cleanup. A one- or two-second difference is manageable with defensives; a staggered kill that leaves one explorer alive for a full mechanic set is usually not.
The timeline is therefore simple to call: identify possession, resolve the controlled kit, open all crates, throw the fish before Final Ascension, rebalance health, and repeat. The exact order between explorer abilities varies with control, so use this decision sequence rather than a rigid timestamp script.
Mechanics and How to Handle Them
Each explorer has a distinct job for the raid. Gebbo tests environmental assignments, Iku tests spacing and interrupts, and Nama tests soaks and tank positioning. Mor'zahi adds constant background pressure through Malevolent Presence, while Evil Eyes places three-yard spirit-flame impacts around the room.
Trader Gebbo
Gebbo's crates are never optional. A crate lands with a small impact, and a player opens it by stepping on it. Opening applies Splinters; leaving it shut for 25 seconds triggers Relic Rupture for enormous raid damage. Finding the fish does not remove the remaining crate timer, so finish the whole set before returning to boss damage.
Mushroom Toss places bounce mushrooms at player locations. Touching one launches the player and makes that mushroom erupt shortly afterward. Preserve at least one accessible mushroom for Explosive Surprise: avoid the bomb's 10-yard Concussive Blast, then use the launch to pass above the traveling Blast Wave. Heroic and Mythic also leave Spreading Flames, so bait the bomb away from the next crate lane.
Do not stand on mushrooms accidentally, and do not place them in the Thud soak area. A used mushroom has its own short local eruption, making a late crossing dangerous even after the launch has succeeded.
Scrollsage Iku
Spread 10 yards for Frostfire Volley. Each impact applies Fire or Frost and leaves a matching five-yard patch. A later impact hitting a player who still carries either elemental debuff causes a raid-wide explosion. After all missiles resolve, Burning Flames players touch Frost and Piercing Frost players touch Fire; the opposing element removes both the debuff and its matching ground where the effects meet.
Fire Patch and Frost Patch are tools only when crossed deliberately. Do not cleanse during an active Volley, do not run through the wrong color, and do not drag a marked Thud group through the exchange lane.
Maintain a hard kick on Icebound Flames. If it completes, the target takes a heavy hit, a 12-second damage effect, and a slow; the Adventure Guide says the lingering effect is dispellable, but it does not expose a school in the live spell detail. Use the raid frame's dispel indicator rather than assigning a named dispel type. Move away from Iku's landing point for Blink Nova, whose damage falls with distance.
Shredding Shards is a 3.5-second tank channel, and every shard increases later Shredding Shards damage for 1.3 minutes. Swap or change the active target before a repeat and use magic or general mitigation during the channel.
First Mate Nama
Mighty Thud marks three players, then Nama jumps to each in turn. Damage in every six-yard landing is split among players hit; an empty landing damages the whole raid. Each marked player moves to a preassigned team, waits for at least one partner, and leaves the landing immediately because Aftershock makes the ground unsafe on every covered difficulty.
Shell Spin sends three shells through a frontal cone and stuns anyone struck for four seconds. Face Nama away from crate openers and sidestep the shells. Steady Strikes adds 4% Physical damage taken to the current tank per melee for 30 seconds, so swap when the other tank can safely take over rather than chasing a universal stack count.
⚠️ Common council error: a marked Mighty Thud player who runs toward an unopened crate forces the soak team to choose between two lethal jobs. Reserve separate lanes before the pull and keep them separate.
With each explorer's job isolated, role assignments become short enough to call during combat.
Tank, Healer, Melee, and Ranged Responsibilities
Role notes should supplement the mechanic calls, not replace them. Every player still tracks the controlled explorer, current crate timer, and council health.
Tanks
Keep the Heroic/Mythic geometry legal: two bosses may share a cleave marker, but the third stays beyond 30 yards. Point Nama's shells and Iku's tank channel away from the raid. Trade targets around the long Shredding Shards vulnerability and Nama's Steady Strikes, while keeping Gebbo's post-death knockback away from the edge. Call boss health whenever a swap changes cleave distribution.
Healers
Expect constant two-second raid ticks. Assign a cooldown for every fish reset and track Splinters, especially the six-second raid bleed on Mythic. Top the three Thud targets before their jumps, cover Blink Nova, and dispel a completed Icebound Flames only when the frame confirms eligibility. A fish throw into a low-health raid is a leadership error, not a throughput check.
Melee DPS
Stay out of tank frontals, follow the current health-balancing target, and preserve the mushroom needed for Blast Wave. Melee are strong crate openers on Normal and Heroic when healthy, but Mythic openings belong to the named rotation. If assigned to a Thud mark, reach the correct player without cutting through Aftershock or elemental ground.
Ranged DPS
Begin loosely spread for Volley, keep interrupts in range of Iku, and place ground effects at the arena edge rather than across the fish route. Ranged players are natural fish carriers because they can continue limited damage while waiting for the throw call. During execute, swap targets early enough that travel time does not leave the separated boss alive.
Clear ownership reduces voice clutter: tanks call geometry, healers call readiness for the fish, and the raid leader calls crates and the execute countdown.
The difficulty step-up changes separation, fire placement, and the cost of opening a crate.
| Difficulty | New rule | Assignment change |
|---|---|---|
| Normal | Personal eight-second Splinters; no United Defense or Spreading Flames. | Rotate healthy crate openers and learn the full council loop. |
| Heroic | United Defense at a three-boss 30-yard cluster; Explosive Surprise leaves Spreading Flames. | Keep the isolated target beyond 30 yards and preserve bomb lanes. |
| Mythic | Every crate opening adds raid damage and a stacking six-second Splinters bleed. | Release one opener at a time around fish and Thud overlaps. |
Rehearse the separation, crate, and kill-order change for the selected difficulty before the ready check.
Normal Strategy
Spread for Frostfire Volley, wait for every impact, then pair opposing elements to clear. Kick Icebound Flames, soak all three Mighty Thud jumps, and use a mushroom to cross Blast Wave. Feed the controlled explorer before Final Ascension finishes, heal the 12-second feedback, then rebalance all three health bars.
The final minute is target discipline. Stop damage on any explorer that reaches the execute threshold early, let damage-over-time effects expire where practical, and count down a three-target kill. Normal still has every death-trigger punishment, so “we can finish the last one” is not a safe plan.
Heroic Changes
Explosive Surprise also leaves Spreading Flames. Place the bomb and its follow-up fire away from mushrooms, crates, the fish carrier, and the next elemental cleanse lane. The Splinters bleed remains personal, so crate openers can still rotate normally. Aftershock remains active and unsafe; it is not a Mythic-only addition.
No new dispel is required. The strongest Heroic improvement is a marker layout that preserves the separation line while giving healers range to both groups. If United Defense activates, call the closest boss immediately and move that tank out rather than trying to damage through the reduction.
Mythic Changes
Plan fish resets around the assigned crate-opener rotation. Opening a crate, throwing the fish, and soaking a Thud in the same few seconds can overwhelm the raid even when each mechanic is solved correctly. Move one flexible healing cooldown from the pull to the first forced overlap, and require personal defensives from the Thud teams during later cycles.
✏️ Mythic execution tip: display a six-second Splinters bar beside the 25-second Relic Rupture bar. The short timer tells the next opener when to go; the long timer tells the raid leader when waiting is no longer safe.
Aftershock remains unsafe on Mythic, just as it is on Normal and Heroic. The actual Mythic delta is raid-wide Splinters layered over the Heroic positioning and fire rules.
Common Wipe Causes and Recovery Calls
Match the first visible failure to one recovery call instead of moving every marker after each pull.
| Failure | Immediate call | Next-pull fix |
|---|---|---|
| Final Ascension is nearly complete | Confirm the controlled explorer and throw the held fish. | Shorten the carrier path; no valid recipient means the hard failure is reached. |
| A crate nears 25 seconds | Release the reserve opener, using personals on a forced Mythic overlap. | Move the opener queue earlier than Relic Rupture. |
| United Defense activates | Move the closest boss directly away from the three-target cluster. | Restore the isolated marker beyond 30 yards. |
| An elemental carrier faces another Volley | Spread and use a defensive; prevent the raid-wide explosion. | Delay the cleanse path until every missile resolves. |
| One boss dies early | Commit damage cooldowns, immunities, and externals to the survivors. | Stop uncontrolled cleave sooner and tighten health calls. |
That response keeps a recoverable mistake from turning into a second overlapping failure.
📌 Fast diagnosis: if the raid dies with unopened crates, fix ownership; if damage stalls under United Defense, fix geometry; if the final two bosses kill tanks, tighten the execute balance.
Record the first broken assignment after each pull. Changing the whole strategy after a single missed kick hides the actual progression problem.
Loot and Achievement Notes
The Lost Explorers drop item level 295 Champion 2/6 gear on Normal, 308 Hero 2/6 gear on Heroic, and 321 Myth 2/6 gear on Mythic. The encounter supplies shoulder tokens: Venomwoven Remnant, Venomcured Remnant, Venomcast Remnant, and Venomforged Remnant.
Notable drops include First Mate's Shellward, Gebbo's Bottomless Bag, Gebbo's Backup Blaster, Venom-Slashed Scuteward, and Malevolent Spiritcudgel. Blizzard's August 14 item tuning increased Shellward's damage by 25% and reduced Bottomless Bag's secondary-stat effects by 29%.
The same official ledger lists an August 19 fix for Trader Gebbo sometimes failing to despawn, but no encounter-specific numerical tuning through the August 20 entry. Treat future boss tuning as live data and recheck the ledger before changing a damage or timing claim.
FAQ
Do The Lost Explorers Share Health on Normal, Heroic, or Mythic?
No. Trader Gebbo, Scrollsage Iku, and First Mate Nama have independent health pools on all three difficulties covered here. Normal, Heroic, and Mythic raids must balance damage manually and kill all three explorers together because every survivor gains a dangerous death-trigger ability when an ally falls.
When Should the Raid Throw the Disgusting Fish?
Throw the fish to the explorer currently controlled by Mor'zahi before Final Ascension completes. The caller should first confirm that urgent crates are open and healers are ready for Fishy Feedback. Do not wait for a universal timestamp because control order and mechanic overlap alter the safe moment. Current live guidance reports one valid fish use per explorer, leaving three resets for the encounter.
How Do You Survive Explosive Surprise and Blast Wave?
Move outside the bomb's 10-yard landing and Concussive Blast zone, then touch a preserved mushroom to launch above the traveling Blast Wave. Leave the mushroom's local eruption immediately after landing. On Heroic and Mythic, place the bomb so Spreading Flames does not block crates, Mighty Thud teams, or the route used to deliver the next fish.
What Must Be Interrupted or Dispelled?
Assign interrupts to Icebound Flames from Scrollsage Iku. If a cast completes, the Adventure Guide says its lingering damage and slow can be dispelled, but the current spell detail does not name a school, so follow the raid-frame indicator. Burning Flames and Piercing Frost are environmental cleanses: Frost removes Fire, and Fire removes Frost. No other standard player dispel is supported by the live Journal.
What Changes on Heroic for The Lost Explorers?
Heroic adds United Defense and Spreading Flames. Keep the third explorer more than 30 yards from the two-boss cleave group so all three cannot gain 99% damage reduction. Explosive Surprise leaves persistent fire, which makes bomb placement part of the room plan. Splinters is still a personal bleed on Heroic, while Aftershock remains unsafe after every Mighty Thud landing.
What Changes on Mythic for The Lost Explorers?
Mythic keeps the Heroic separation and fire rules, then makes each crate opening damage the entire raid and apply a stacking six-second Splinters bleed. Assign a strict opener order, stagger stomps until the prior bleed clears when the 25-second crate timer allows, and separate those openings from fish resets. Mythic still requires a synchronized three-boss kill.
Last reviewed 2026-08-22 against Patch 12.1 live data — Maintained by WowCarry's WoW team.