

Guide Navigation
- Introduction to The Amalgamation Chamber Fight
- Phase 1: Handling the Elemental Bosses
- Phase Transition: Preparing for the Final Form
- Phase 2: Tackling the Combined Boss
- Heroic Difficulty Differences
- Conclusion


The Amalgamation Chamber Normal, Heroic And Mythic Strategy Guide - Aberrus, The Shadowed Crucible Raid
Introduction to The Amalgamation Chamber Fight
Welcome to the WowCarry guide to The Amalgamation Chamber fight in Aberrus, the Shadowed Crucible on Normal and Heroic difficulty. This encounter starts with two elementals that combine into a more powerful boss when one of them reaches 50% HP. To make it through this challenging battle, you'll need to employ smart tactics and coordinate with your team. In this blog, we'll walk you through each phase, providing the tips you need to succeed.
Phase 1: Handling the Elemental Bosses
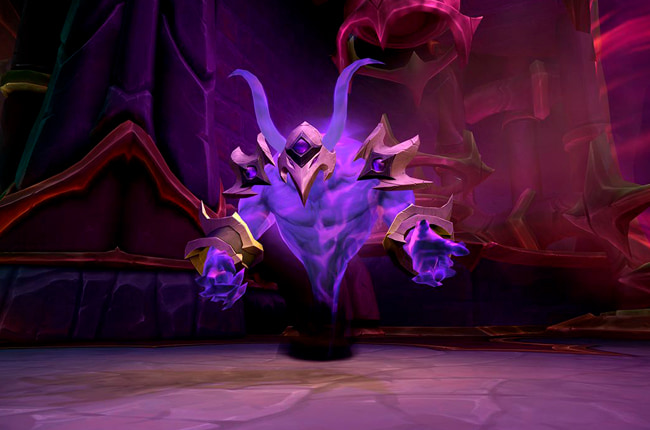
In the first phase, you'll face two elemental bosses: the Shadow boss (purple) and the Fire boss (orange). Your raid should split into two groups, with one group handling each boss. It's crucial to deal damage to the bosses evenly, so you don’t have an overwhelming amount of health to tackle in the final phase. On Normal difficulty, you might be able to stack the elementals and quickly move to the next phase. However, on Heroic difficulty, you must split the bosses, as they deal much more damage when tanked too close together.
Shadow Boss Abilities
Shadow Spike:
The Shadow boss deals damage to its tank with this ability. Use mitigation to minimize the damage taken.Umbral Detonation:
Several players are marked with this debuff, which causes them to drop large puddles. Make sure to run out of the raid to avoid harming your teammates.Coalescing Void:
This ability creates a large purple orb that explodes, dealing damage based on proximity. Move away from the orb to minimize the damage taken.
Fire Boss Abilities
Flame Slash:
The Fire boss deals damage to its tank with this ability. Use your tank cooldowns to mitigate the damage.Fiery Meteor:
This ability targets a player with a ring, splitting the damage among all players inside the ring. Move in to help soak the damage.Swirling Flame:
The boss aims a series of molten tornadoes at a random player. Watch where they're pointing and avoid them.
Phase Transition: Preparing for the Final Form
When one of the bosses reaches 50% HP, they'll transition into their final form, combining their health pools. During this transition, the bosses will also launch large swirls that your raid must dodge. Try to get both bosses as close to 50% HPas possible before pushing them into the second phase, as this will make the final fight more manageable.
Phase 2: Tackling the Combined Boss
In the second phase, you'll face the combined boss, which presents new challenges for your raid. The tanks will have to deal with a two-move combo, and the entire raid will be affected by a stacking debuff that damages and reduces maximum health. You'll need to act quickly and efficiently to overcome this phase.
Withering Vulnerability and Shadowflame Burst
Withering Vulnerability:
This ability deals heavy damage to the tank and applies a debuff.Shadowflame Burst:
The boss follows up Withering Vulnerability with a frontal cone attack that deals significant damage, especially to the tank with the debuff. Tanks should swap after Withering Vulnerability and position the cone away from the raid.
Blistering Twilight
This ability marks players to drop puddles that then send molten tornadoes across the room. Run the puddles out of the raid and dodge the tornadoes to avoid taking damage.
Gloom Conflagration
The boss targets a player with a large group soak meteor, which then explodes for dropoff damage five seconds later. Help soak the meteor and then quickly move out before the explosion.
Heroic Difficulty Differences
On Heroic difficulty, the elemental bosses must be tanked at least 25 yards apart, or they deal significantly more damage. Additionally, both bosses gain new abilities:
Heroic Shadow Boss Abilities
Shadows Convergence:
Orbs collapse in on the boss, forcing players to navigate between them to avoid damage.
Heroic Fire Boss Abilities
Molten Eruption:
The boss scatters single-person soaks that require one player each to absorb the damage.
Heroic Phase 2 Ability: Convergent Eruption
In Heroic Phase 2, the combined boss gains the Convergent Eruption ability. This ability sends out a set of soaks that need one player each, followed by orbs spawning to collapse in on those soak points. Make sure not to miss any soaks and avoid the orbs to stay alive.
Conclusion
Mastering The Amalgamation Chamber fight requires a combination of teamwork, coordination, and quick reactions. By understanding the mechanics of each phase and properly executing your role, you and your raid can conquer this challenging encounter in Aberrus, the Shadowed Crucible. With practice and perseverance, you'll soon become an expert at handling the Elemental bosses, the combined boss, and their Heroic difficulty variations.
We hope this guide has been helpful in preparing you for The Amalgamation Chamber fight. Remember to keep practicing, communicate with your teammates, and stay flexible as you adapt to the challenges presented by this encounter. Good luck, and happy raiding!
Don't forget to check out our other raid guides on the WowCarry website for more tips and strategies to help you conquer the challenges of WoW Dragonflight. Have a fantastic day, and see you in Azeroth!