

Guide Navigation
- First Impressions of the Dragonflight Season 3 Tier Set Bonuses
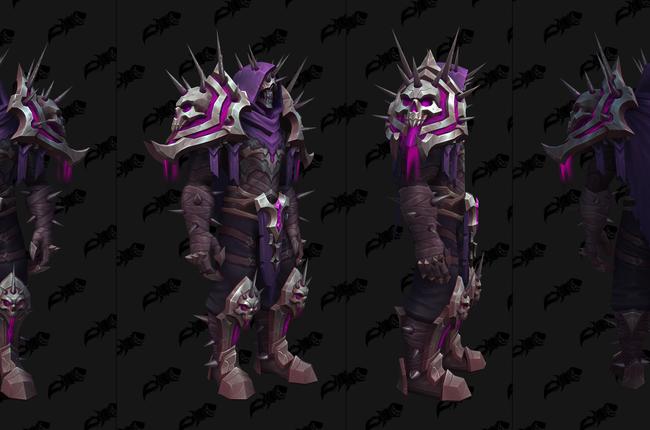
- Blood Death Knight Season 3 Tier Set First Impression
- Gameplay Implications
- The Elephant in the Room: The 2-Piece Bonus
- Abomination Limb
- Build Choices
- Single Target
- 2-4 Targets
- More Than 4 Targets
- Verdict & Closing Thoughts
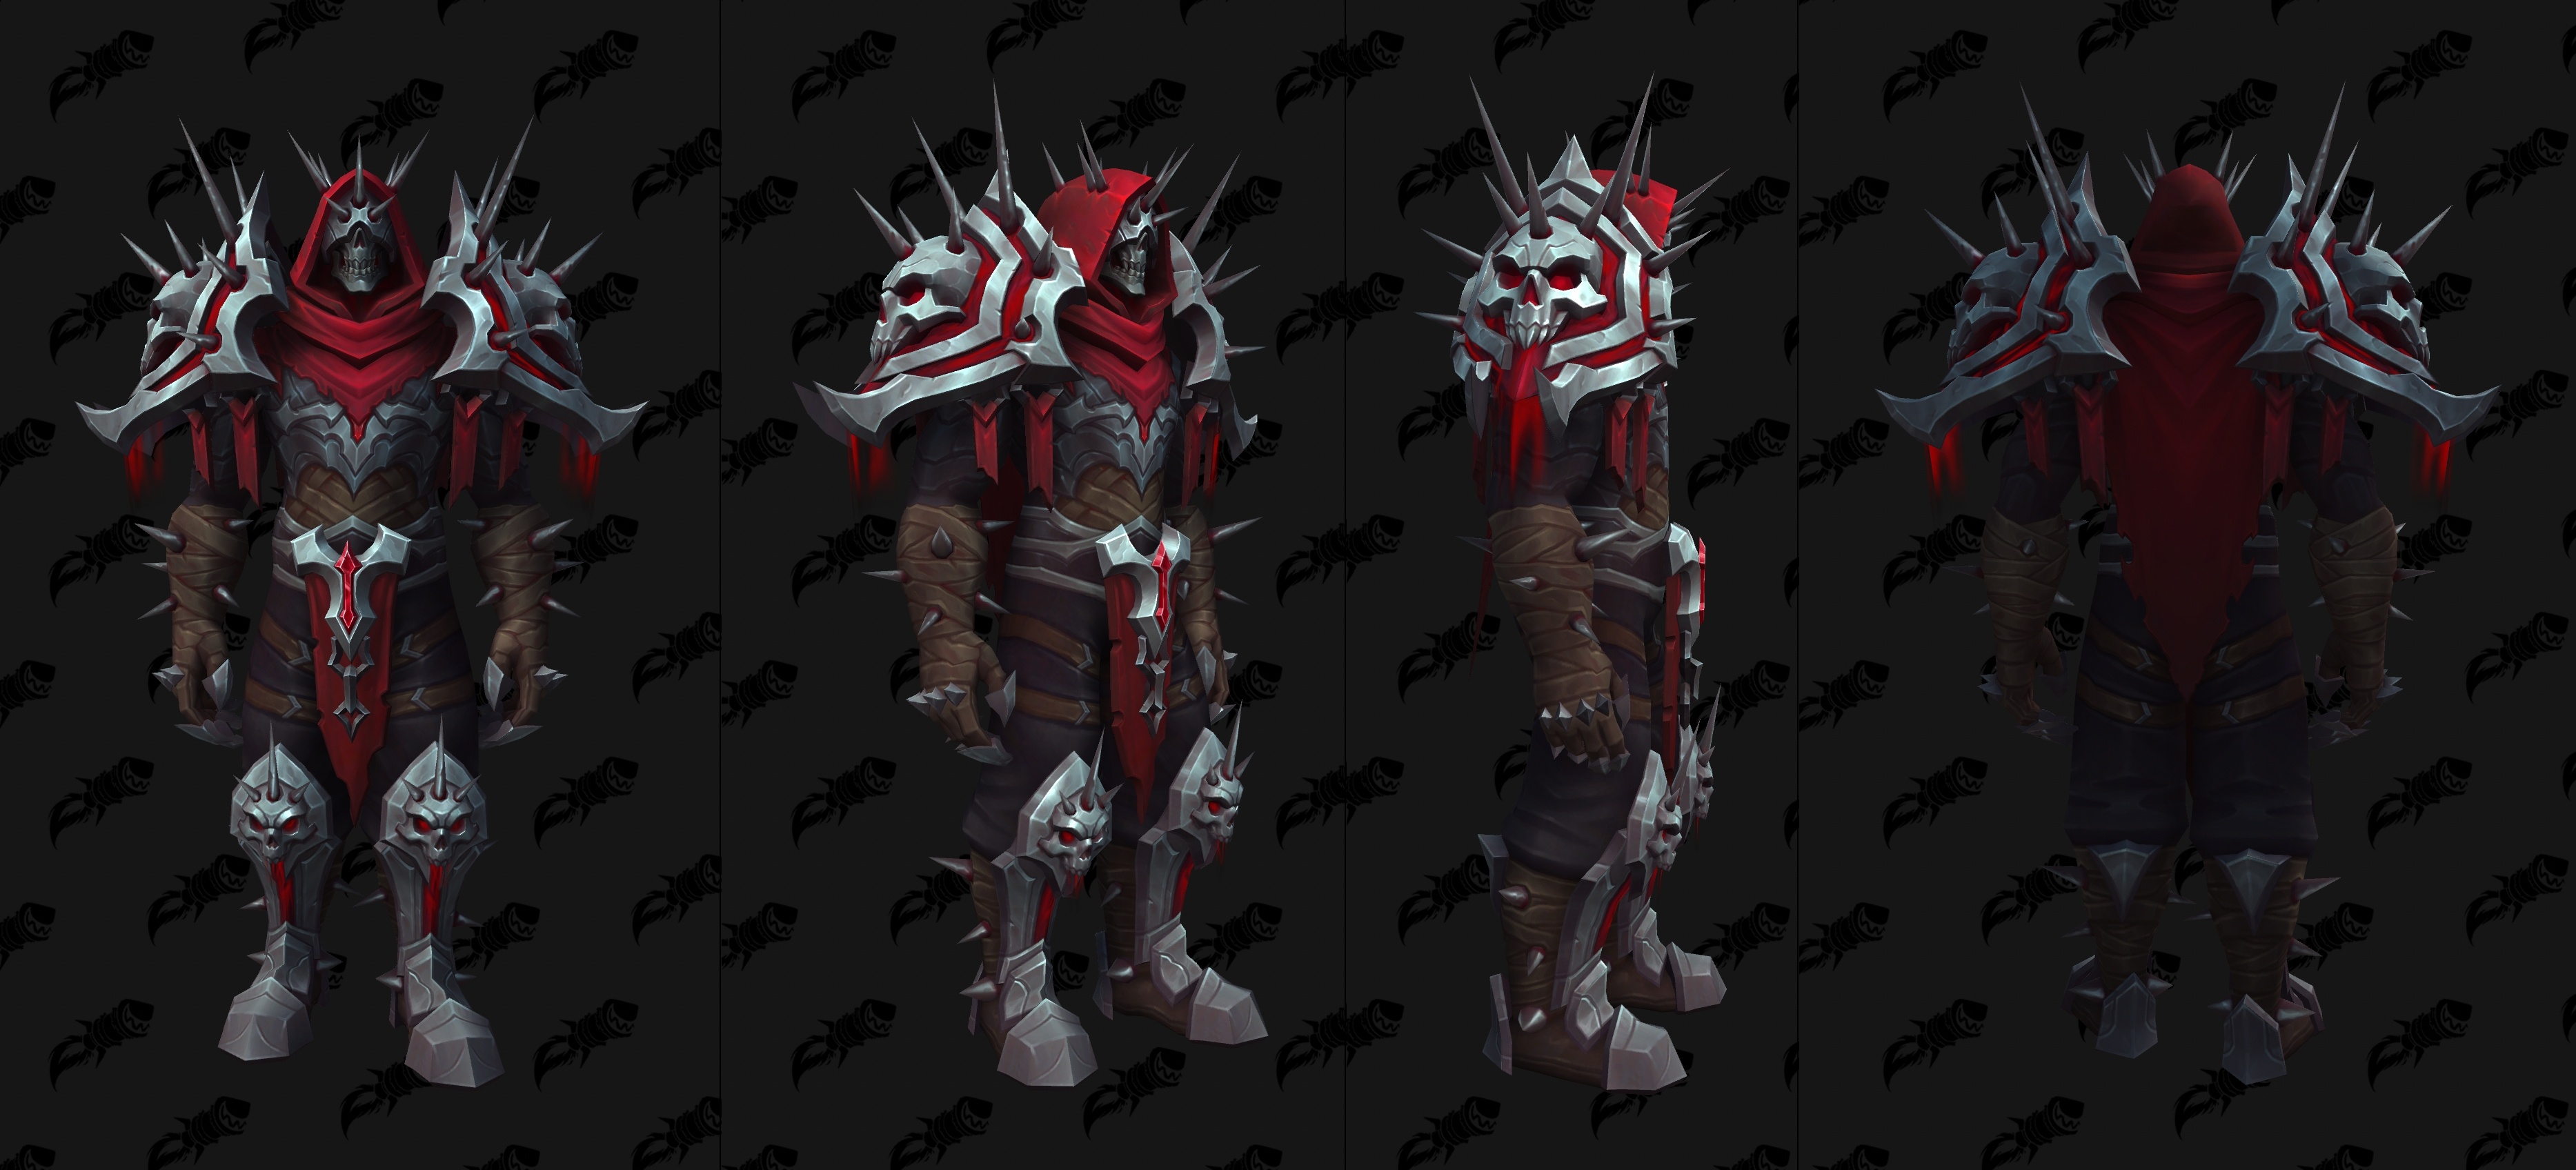
- Frost Death Knight Season 3 Tier Set First Impression
- 2-Piece Set Bonus
- 4-Piece Set Bonus
- Feedback
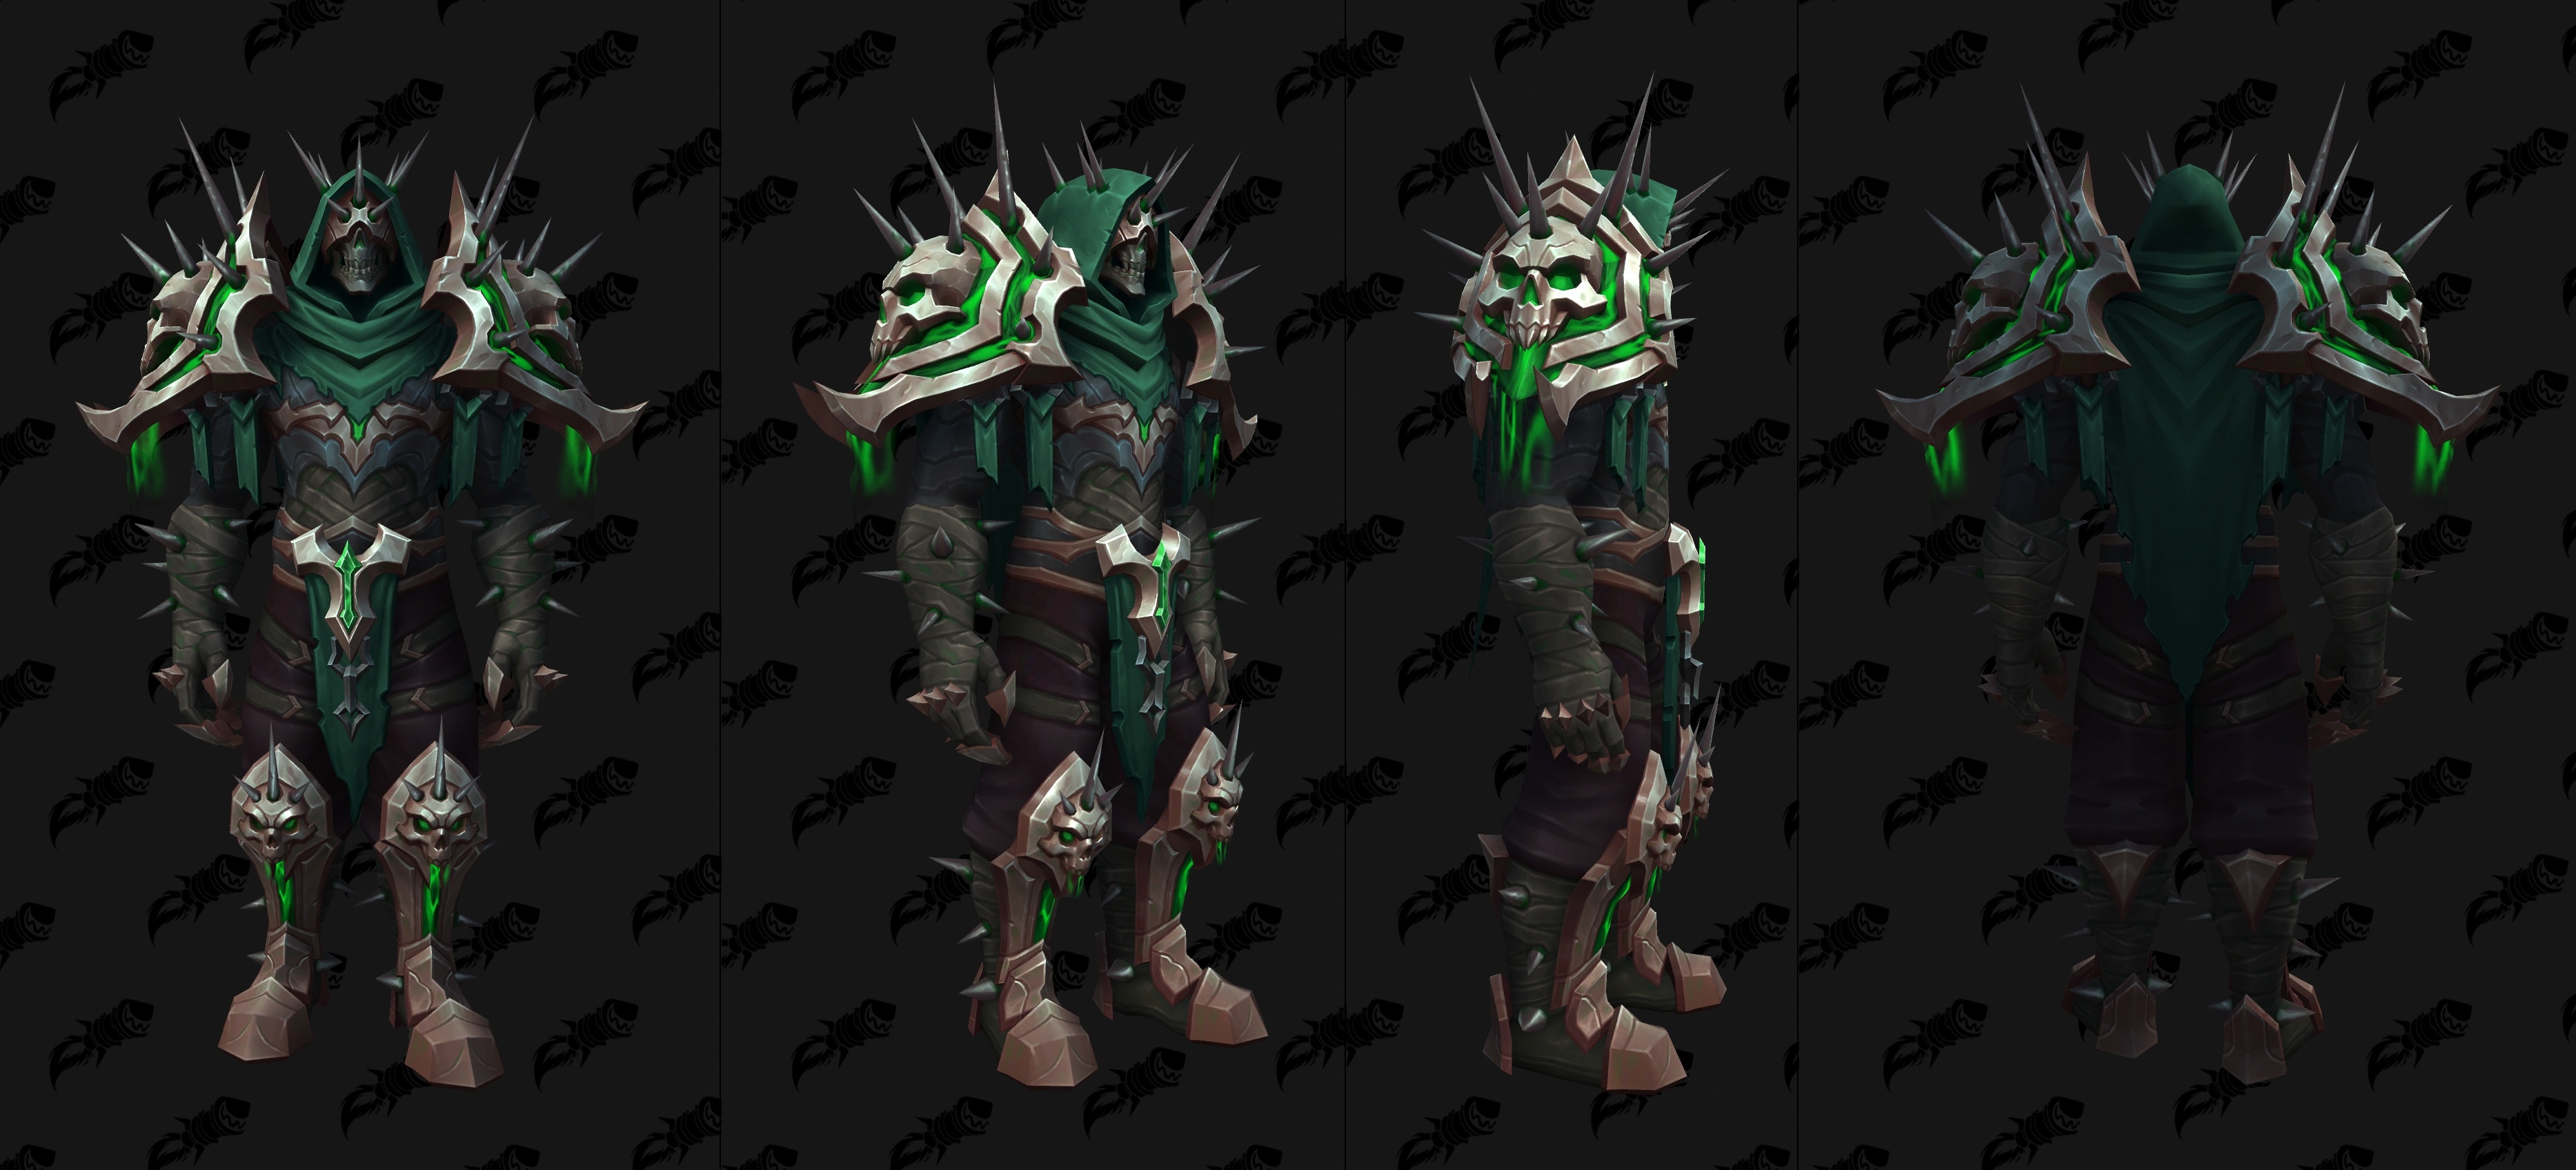
- Unholy Death Knight Season 3 Tier Set First Impression
- 2-Piece Set Bonus
- 4-Piece Set Bonus
- Conclusions


First Impressions and Review of Death Knight Dragonflight Season 3 Tier Set Bonuses: A Guide Writer's Perspective
Dragonflight Season 3 Tier Set bonuses have been revealed and are currently testable as part of the Patch 10.2 PTR content preview. Our Death Knight Guide Writers breakdown their initial impressions of these tier bonuses, offering insight into the implementation, relative strength, and even some valuable feedback.
First Impressions of the Dragonflight Season 3 Tier Set Bonuses
Our Death Knight writers, Panthea & Mandl (Blood) and Bicepspump (Frost & Unholy), have dissected the newly datamined tier set bonuses to give a deeper first look as to how these bonuses will likely affect their specs in Dragonflight Season 3.
Blood Death Knight Season 3 Tier Set First Impression
- 2-Set-Death Knight Blood 10.2 Class Set 2pc- Consuming a Bone Shield charge has a chance to cause your next Heart Strike to apply Ashen Decay, reducing damage dealt to you by 10% and increasing your damage dealt to afflicted targets by 20% for 8 sec.
- 4-Set-Death Knight Blood 10.2 Class Set 4pc- Soulreaper's execute damage and Abomination Limb's damage applies Ashen Decay to enemy targets, and Heart Strike and Blood Boil's direct damage extends Ashen Decay by 1.0 sec.
As we venture to Amirdrassil and tackle Fyrakk, Blood Death Knights will be able to gather a new set bonus, with a brand new set of interactions and a couple of interesting playstyle changes. Today, I'll attempt to break down the impact of this set. It's not all blue skies and rainbows, but there is a significant salvageable core to this set; it is also the first time in Dragonflight that a Blood set manages to shake talents up, and we'll cover this in detail.
The Set:
Ashen Decay can currently be extended to a maximum of 10.4 seconds (30% of its duration as a bonus, the standard pandemic mechanism for debuffs).
We have already extensively covered why tier sets relying on Bone Shield charge loss are impossible to balance (and lackluster, gimmicky, and jarring as a player due to the inability to interact with Bone Shield short of showing your back or relying on a single use of Tombstone once per minute) when the Vault of the Incarnates set was showcased. The 2-piece relies entirely on this, which is disappointing, to say the least.
The proc chance appears to be either in the 10-15% range, or 2ppm; as we get more data, we'll figure out the exact details.
Tombstone appears to have a 50% chance to trigger the effect, making it pretty consistent with being a 10% chance. Needless to say, this effect is boring, and actually harmful for reasons we'll cover in detail as we discuss the implications of the set on gameplay.
On the other hand, the 4-piece is interesting. It is both the first time we get a set that interacts directly with the use of a capstone talent (two of them, in fact!), and it stands on its own as a unique set bonus. This set effect is dynamic, interesting, is purely driven by the player's actions instead of being a boring proc, and actually encourages players to change both playstyle, priorities, and talent builds.
Gameplay Implications
The Elephant in the Room: The 2-Piece Bonus
The 2-piece bonus is probably the biggest letdown of the expansion in terms of set design for Blood Death Knight. Rotationally, it is extremely gimmicky, as it manages to tie every single negative element of a proc all at once together: it is a reactive proc with a short duration tied to a filler spell (Heart Strike) that can reliably hit only a fixed amount of targets (2 or 5 depending on whether you get a proc while Death and Decay is on the floor) that itself is tied to an event completely outside of your control: a boss successfully meleeing you and you losing a charge of Bone Shield. The proc chance itself is ludicrously small, the effect is tiny, the magnitude of the buff is tiny, the conditions of application with the 2-piece bonus are ludicrously finicky, and it has every problem debuffs like Fiery Brand have defensively.
This is made even worse by how other abilities also apply this debuff with a massively higher uptime potential than this 2-piece, and cause you to often waste precious procs of Death Knight Blood 10.2 Class Set 2pc (such as on the opener when playing Abomination Limb. It is a net loss to delay Tombstone in order to gamble at a 50% chance for more Ashen Decay uptime... but it sure looks appealing, doesn't it?).
Soul Reaper:
A couple of changes slipped past during the 10.1 patch and buffed the damage Soul Reaper does when copied by Dancing Rune Weapon. In 10.2, Soul Reaper gets buffed by a further 20%; while this was listed as an Unholy-specific buff on the patch notes, its implementation as a direct buff to Soul Reaper outside of spec choice is fantastic, as both Blood and Frost were struggling to justify picking Soul Reaper outside of super niche scenarios.
Our tier set seems to be intended to whammy on this even more by essentially guaranteeing 100% uptime on Ashen Decay in execute. As Ashen Decay has a default 8 second duration, and Soul Reaper has a 6 second cooldown, you can very reliably get 100% uptime on a single target just by hitting Soul Reaper on cooldown - which you should be doing if you pick the talent anyway!
The fun part is when multiple targets are close together and in execute at the same time. We will know closer to raid testing if the raid features encounters that do so. If there is such a fight, it is possible to maintain Ashen Decay at 100% uptime on 3 targets by tab-targeting Soul Reaper between targets, and letting your Heart Strike and Blood Boil passively extend them with no real constraint or rotational change outside of keeping track of which Ashen Decay needs to be refreshed next.
If you decide to play Soul Reaper in an environment with more than one target, we strongly recommend that you bind Soul Reaper as a mouseover ability rather than a target-cast ability. The reason for this is that you will very frequently juggle casts between targets (every 5-10 seconds depending on resources), and as this is the only cast you need to actively alternate targets for, it is easier to just bind it so you can cast it on a nearby target without having to select that target.
You absolutely should enable an execute target health tracker module on Plater if you use Plater. If you don't, find a way to easily find out which targets are below 35%.
Abomination Limb
This is where things get potentially unintended, potentially very fun, and potentially very unfun yet once more for the 2-piece bonus. Each and every single tick of Abomination Limb refreshes Death Knight Blood 10.2 Class Set 2pc, and pandemics if it possible (up to a maximum of 10.4 seconds). This means that, even if you do absolutely nothing during Abomination Limb, for 22.4 seconds, you are guaranteed to have Ashen Decay on all targets nearby before you even consider the extensions from casting Blood Boil or Heart Strike (which you absolutely will do). In real world testing, this means easily upwards of 50 seconds of continuous Ashen Decay from a single Abomination Limb cast on all targets as long as you do not have more than 5 targets engaged.
Once six or more targets are engaged (or if your management of Death and Decay or your runes needs improvement), things get progressively less fun, as Heart Strike is target-capped to strictly 5 targets. As our brand new 4 piece's refresh/extension mechanism works off both Blood Boil and Heart Strike, in this situation, each Blood Boil will extend all Death Knight Blood 10.2 Class Set 2pc debuffs (which are currently on all targets thanks to Abomination Limb), while Heart Strike will only extend Ashen Decay on the 5 (or 2 if you weren't in Death and Decay) targets hit by Heart Strike.
As a result, we strongly recommend two UI changes if you play this tier set in Mythic+, as some dungeons have an exceedingly large number of high density pulls (Waycrest in particular). Now is the perfect time to clean up your Plater profile, or to set up Plater. Make sure that:
- Blood Plague is only visible once (not at all is also an option once you are familiar with your rotation, as you do not interact with Blood Plague directly in any way, shape or form) instead of the 1-3 copies you get depending on whether Blood Boil was cast during Dancing Rune Weapon
- Unnecessary/passive debuffs are not visible on your target
- You are able to track Ashen Decay on enemies, and be able to quickly discern copies of Ashen Decay needing to be extended slightly compared to others in large pulls. The best way to do this is to push this debuff as the highest possible priority on nameplates and to make it bigger than the rest
Build Choices
The choices and trade-offs you were used to on the Blood tree do not change much; Blood Tap once again gains a bit of power, but not enough to mandate it as a default choice, especially considering its significantly higher skill cap.
Instead, we'll focus on the class tree, where all the fun decisions will happen.
Single Target
We chose to highlight the build variant without Blood Tap, as it forces a non-trivial utility choice. This choice is better explained in depth on the upcoming talents page for 10.2. There are two options for this - you can play what you played in 10.1.5 with Death's Echo, or you can gamble on a significantly higher skill cap variant without it for a relatively minor gain (this can be optimized further on APL in favor of not playing Death's Echo - it's just a conservative minimum).
The set gameplay is very simple and does not change from 10.1 if you played a build with Soul Reaper already. Below 35%, your goal is to always keep a rune ready to never delay casting Soul Reaper while using Death Strike at least once every 8 seconds. It sounds easy, but the reduced runic power gained by sending a rune every 6 seconds into Soul Reaper complicates matters significantly.
Closer to 10.2, the rotation page will be fully updated with an in-depth single- and multi-target priority list for execute phases.
2-4 Targets
This is where the fun begins. You now have two more options in addition to being able to forsake Death's Echo: you can forsake Empower Rune Weapon in order to pick Soul Reaper and Abomination Limb simultaneously.
This is a net gain on 2-4 targets with varying value. The goal is effectively to gain 40-50 seconds of Ashen Decay uptime on all targets with Abomination Limb, while sniping execute targets with Soul Reaper whenever possible in order to maintain 100% uptime on Ashen Decay on anything that has reached execute range near you.
We defaulted to the options with Death's Echo for simplicity - you can easily drop it and put the point elsewhere.
For completeness, the Soul Reaper + Abomination Limb variant is currently ahead defensively and offensively in these situations, but this is only when played optimally and with some basic assumptions (long-ish fights for a decent opportunity for Soul Reaper, basically). Again - when 10.2 is released and the guides get fully updated for it, I will walk you through all of these choices in a lot more detail.
More Than 4 Targets
Above four targets, it is absolutely advised not to pick Soul Reaper unless you have a significant opportunity to leverage it (such as a damage amp phase on a priority target, or most other targets being pad). As such, we simply default back to the build you were playing in 10.1, with Empower Rune Weapon and Abomination Limb as capstones.
Verdict & Closing Thoughts
Mechanically, the 4-piece is a success. It is by far the most interesting element of this set, and warrants keeping. It is mechanically interesting, promotes build diversity, actively encourages proper play and rewards you - albeit very weakly - for it.
The 2-piece, on the other hand, is the exact opposite. It is the literal culmination of everything you should not do when designing a set bonus. On the upside, the proc chance is low enough that you likely will not notice the difference if another boss like Rashok shows up, as you will literally not be losing Bone Shield charges anyway.
In terms of raw power compared to Aberrus, this set needs a lot of love to be something worth caring about, as it is significantly weaker than our Aberrus set defensively, while also being much more restrictive.
Vampiric Blood had no damage source conditions, especially not when the application is strictly capped at 5 targets or on a 2min cycle.
Vampiric Blood procs were also ~4x stronger in magnitude defensively than Ashen Decay (if you assume that the damage is sourced properly from a target you can apply Ashen Decay to and that it is currently applied), and while you can keep a single proc of Ashen Decay from the 2-piece rolling for upwards of 20 seconds with near-perfect play, you are neither guaranteed to get a proc when you want it, nor be able to spend it, and its defensive impact (10% damage reduction on damage sourced to the target it applied to) is weaker than any of our cooldowns.
Probably the most jarring feeling about this entire set is that, barring two technicalities (the 2-piece and 4-piece bonuses applying the same debuff), it feels like the two effects were designed independently, or the 2-piece bonus was designed as an afterthought. It, in turn, punishes players who play around Ashen Decay copies applied by Soul Reaper and Abomination Limb, since the procs they get while Ashen Decay is already on target will either go to waste due to the debuff being capped at such a low duration, or contribute in a very minor fashion to a trifling amount of additional uptime on Ashen Decay.
Frost Death Knight Season 3 Tier Set First Impression
- 2-Set-Death Knight Frost 10.2 Class Set 2pc- Chill Streak's range is increased by 4 yds and can bounce off of you. Each time Chill Streak bounces off an enemy your damage is increased by 4% for 10 sec, stacking up to 5 times.
- 4-Set-Death Knight Frost 10.2 Class Set 4pc- Chill Streak can bounce 2 additional times and each time it bounces, you have a 40% chance to gain a Rune, reduce Chill Streak cooldown by 5 sec, or reduce the cooldown of Empower Rune Weapon by 10 sec.
The Frost Death Knight receives a tier set entirely focused on Chill Streak in 10.2. It significantly increases the power of the spell, as well as injecting a significant amount of resources in the rotation. It does force you to pick up Chill Streak, sacrificing points elsewhere but I'm personally okay with this. From the testing, it feels good to use and synergises well with both Breath of Sindragosa and Obliteration! Let's dig into the various aspects of the new set, how it works, how powerful it is and how it feels like to play.
2-Piece Set Bonus
The 2-set has three distinct effects. It increases the bounce range by 4 yards (from 6 to 10), allows the snowball to bounce off of you and gives a stacking damage buff. The range of Chill Streak has been a sore spot of the talent for a long time. 6 yards is simply not that large of a range, causing the ability to relatively often get cancelled mid bounce. 10 yards is almost twice as large of a range and will make it significantly more reliable. Allowing the ability to bounce off you is a huge improvement that we gain from the set. Chill Streak currently has 0 value in any Single Target encounter, presenting a big liability of the talent. By bouncing off you, you now get full value even in single target. Furthermore, any bounce that goes off you doesn't count to the total, meaning that a Chill Streak used on single target would bounce a total of 18 times (hitting the enemy 10 times). The damage buff is just a nice addition, synergising well with our talents. Chill Streak into Obliteration will be a powerful combo every 45 seconds or so, and Breath of Sindragosa will see a solid benefit.
4-Piece Set Bonus
The 4-set adds 2 more bounces to the total (9 to 11 baseline) and adds a proc chance for each enemy bounce. With a 40% chance, one of three procs can occur. You can gain a Rune, reduce the cooldown of Chill Streak by 5 seconds or reduce the cooldown of Empower Rune Weapon by 10 seconds. Increasing the number of bounces is nice and has good synergy with both Piercing Chill and Enduring Chill. Small tidbit, Enduring Chill adds 25% more bounces on average if you were wondering how that works out. The resource proc has really good synergy with both our primary builds. The cooldown reduction on Chill Streak allows us to consistently align the ability with every Obliteration window. Furthermore, the Rune gain reduces the risk of starving in your Obliteration window and amps our Breath of Sindragosa uptime. Finally, Empower Rune Weapon cooldown reduction means more Obliteration buffed with the haste and resources, or more uses during Breath of Sindragosa which gives longer breaths on average!
Feedback
The set is overall strong and has great synergy with both of our primary builds. Getting infinite Breath of Sindragosas looks to be on the menu but also really amped up Obliteration windows. It's currently unclear whether the self-bouncing not counting to total number of bounces is intended and there are some other minor bugs associated with the set. The set is primarily focused around Single Target but there is some AoE scaling as well. I'm a bit worried that the long Breath uptime will hurt the spec in the long run, since it'll be tuned around it in Raid. Forcing you to stick to the enemy for the entire fight is a recipe for having to avoid mechanics, or getting unlucky and completely bricking some pulls.
Unholy Death Knight Season 3 Tier Set First Impression
- 2-Set-Death Knight Unholy 10.2 Class Set 2pc- Apocalypse summons an additional Magus of the Dead. Your Magus of the Dead Shadow Bolt now fires a volley of Shadow Bolts at up to 4 nearby enemies.
- 4-Set-Death Knight Unholy 10.2 Class Set 4pc- Each Rune you spend increases the duration of your active Magi by 0.5 sec and your Magi will now also cast Amplify Damage, increasing the damage you deal by 5% for 10 sec.
The Unholy Death Knight Tier set in 10.2 is focused entirely around Magus of the Dead. Making it deal significantly more damage, as well as scale into AoE! It does force us to pick up the talent (technically works without the talent but very not recommended to do that) but it's part of pretty much all builds anyway so I don't expect much disruption at all. Overall, it will make our damage distribution more versatile, and help plug in the cleave weakness we currently have.
2-Piece Set Bonus
The 2-set makes Apocalypse summon an additional Magus of the Dead (1 to 2) and makes your Magus of the Dead cleave up to 4 additional enemies. Summoning an extra Magus pretty much doubles the value of the talent (we still only get one Magus from Army of the Dead so not quite double). Allowing it to cleave up to 5 targets is a huge improvement as well. Unholy's AoE profile is currently very strong in huge pulls. Pretty much no one can beat us at 20+ targets. However, when we are hitting 2-4 targets, we are among the weakest classes in the game. This 2-set will significantly help that low-target cleave and make our damage profile a lot more attractive in Mythic+!
4-Piece Set Bonus
The 4-set increases the duration of any active Magus of the Dead by 0.5 seconds for every Rune you spend. Furthermore, Magus of the Dead will cast a buff on you every 10 seconds that increase your damage by 5% for 10 seconds. This might not seem strong at a first glance but the increase in uptime is significant. The 5% buff is up 70%+ of the time! A solid increase in both Single Target and AoE from the damage buff as well as the increased Magus of the Dead uptime.
Conclusions
Overall, the tier set is strong in both Single Target and Cleave. It moves our damage a bit more into the 45 seconds CD window, making us less reliant on the 3 minute burst. Furthermore, it significantly increases the amount of damage we can do in low target cleave, plugging a gap that currently hinders us in Mythic+. The set will make us change our gameplay slightly, emphasizing Rune spending a bit more. If you are excited to pick this set in 10.2, feel free to pre-order Amirdrassil raid clear today!