Ruby Life Pools Mythic Plus Dungeon Guide

December 03, 2022 11 minutes
In this guide, I will teach you everything you need to know about the Ruby Life Pools for Mythic Plus in Dragonflight. I've been testing all the dungeons on beta and wanted to make a quick and easy-to-understand guide.

Remember that this guide covers Mythic mechanics, so some of this may be missing if you're running the dungeon in normal or heroic mode.

Melidrussa Chillworn

  • Melidrussa Chillworn Notable Trash

The beginning area has tons of trash mobs, so be careful only to pull a little or no extra. The Big Primal Juggernaut puts swirlies and puddles on the ground that do a ton of damage if you stand in them. The dangerous cast in these packs is Tectonic Slam from the Earthshapers. Make sure you stun or disrupt it when you see it.

The other notable cast is Ice Shield. You have to stop it or break it before you can interrupt the mob it goes on. This situation can get annoying when the shield goes on the Earthshaper, casting the Tectonic Slam. If you run over the eggs on the side of the room, it spawns whelps. The whelps have a stacking debuff Primal Chill, which stuns the target if they get too many stacks.

At the end of the hall is a mini-boss who isn't too scary. He hits the tank hard, has some swirlies, and has a hefty frontal charge.

  • Melidrussa Chillworn Boss Fight

The first boss is Melidrussa Chillworn. This boss is a heavy AOE damage fight with some simple mechanics.

There will be spikes of ice spawn under your feet. I found it best to stay stacked and keep them together to save space.

One person will then get targeted by Chillstorm, which drops a puddle that pulls everyone to it. Drop the puddle away from the Ice Spike, so you don't get dragged in.

Twice in the fight, the boss will spawn a wave of whelps. This is when you use all your DPS cooldowns and trinkets. The whelps have a similar debuff to the ones in the hallway that should be dispelled.

Lastly, the boss will cast the shield: Frost Overload that will deal party damage until it's broken.

Kokia Blazehoof

  • Kokia Blazehoof Notable Trash

Once you fly up and finish the boss, you can either go left or right. It doesn't matter, but we prefer to go left because you can fight the Thunderhead mini-boss immediately. Otherwise, he flies around and can jump on you unexpectedly.

He has a big frontal, so watch out for that. His main mechanic is Rolling Thunder. Two debuffs will get put out. When either is removed, they deal massive party damage. So when you see this ability, everyone should use a defensive and then dispel one of them so that the Healer can top everyone up before the next one goes off itself.

To spawn the second boss, you must clear all of the Blazebound Destroyers in this room. This mob pulses group damage and has a single target Dot that explodes at the end. You can stand by enemies with the circle Dot, and the explosion will knock them up if you run out of stops.

Primalist Cinderweavers are casters that should be kicked as much as possible because their bolts hurt a lot.

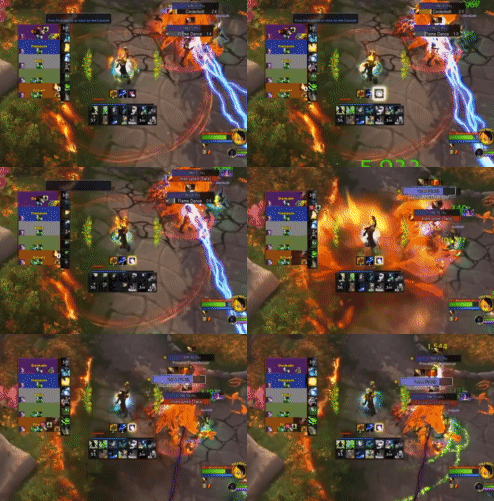
The Flamedancers cast is Flame Dance, and it's very similar to the slam from earlier. Stun or disrupt that, or it will deal massive group damage.

On the other side of the circle, you'll run into another Dragon mini-boss, Flamegoulet. This mob has a similar frontal as the other dragon. However, his mechanic is that he pulses increasing damage once you take him below 50% health. If you accidentally pull him or you're in trouble, you can choose not to damage him, and he won't do much until he drops below that 50% health threshold. Then just fast DPS him down.

  • Kokia Blazehoof Boss Fight

The second boss is Kokia Blazehoof. This boss summons a fire Elemental that has to be kicked. Elemental gets spawned on top of Ranged players, so try to stand in a safe position for the rest of your team to hit it if you're a ranged player. The Elemental cannot be moved and will leave a 25yd radius fire circle around them upon death. It would be best to get out of the fire circle before it exploded.

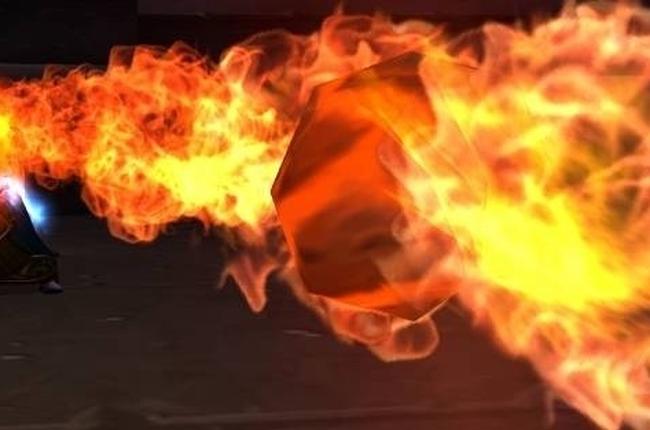
He also throws a meteor that explodes when it hits a wall dealing significant damage. Be careful not to stand near walls or trees because it might cause the meteor to explode instantly.

Kokia Blazehoof deals tons of group damage as well as heavy tank damage. The room is huge, and the boss will not reset. So don't be afraid to drag him far if you're running out of space from the fire.

Kyrakka/Erkhart Stormvein

  • Kyrakka/Erkhart Stormvein Notable Trash

Several casters mini-bosses guard the last area. The main mechanic of these mobs is Lightning Storm. It just pulses incredibly High AOE damage to your entire group. Big healer cooldowns, defensives, and health potions will likely be needed because these guys hurt. There are three lightning channelers and two flame channelers that must be killed. The flame ones are pretty easy. They have a cast: Flashfire, that you need to kick.

  • Kyrakka/Erkhart Stormvein Boss Fight

The final boss is one of the most challenging bosses. It's a two-boss fight, but when one of them reaches 50% health, the guy jumps on top of the dragon, and they fight together in phase two.

The dragon is scary, so you mainly want to focus on it even though it's flying around a bit. The dragon has a debuff: Infernocore that applies to players dealing damage and then dropping a pool of fire under their feet. Once phase two starts, every time the dragon uses that debuff, it gets applied to everyone simultaneously, causing chaos. I'd recommend saving bloodlust for Phase 2 and focusing the dragon down.

The guy has a tank hit that puts a stacking magic debuff: Stormslam that makes the tank take more damage, so that needs to be dispelled often.

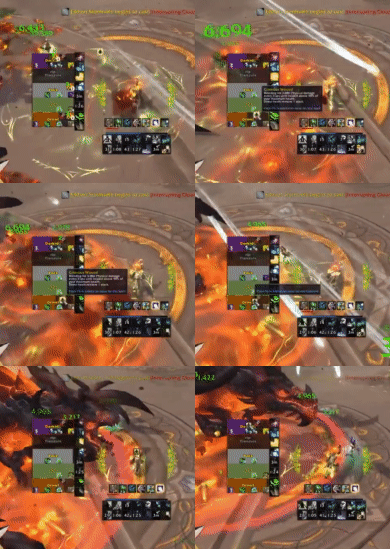
He also casts Interrupting Cloudburst, which does light party damage but also interrupts any spell casting. It's a tough healer fight with lots to juggle between the dispels, the interrupts, the puddles, and the debuffs.

Once you've finished with the dragon, the fight becomes very easy, and then you're done with the dungeon.

Final Thoughts

That covers my quick rundown on the Ruby Life Pools Mythic Plus Dungeon for Dragonflight. I hope it was helpful.


More from Wowcarry
We will guide you through the game
John Barrymore April 25, 2024 5 minutes
This blog post provides an overview of the datamining changes in the War Within Alpha build. It specifically highlights the Mage Fire class changes, including new talents and updates to existing abilities. The post also mentions changes to the Frost Mage, Windwalker Monk, Retribution Paladin, Warlock, and Warrior classes.
John Barrymore April 25, 2024 3 minutes
Blizzard has implemented a Fire Mage Rework on the War Within Alpha, focusing on addressing maintenance buffs and providing more choices in AoE abilities. The changes aim to simplify rotational complexity, offer adaptive damage profiles, and competitive choice nodes for players. Additionally, adjustments have been made to Sun King's Blessing and maintenance buffs like Firemind and Improved Scorch. Feedback on the new Fire talents is welcomed.